
Ditch the single use plastic and DIY your own Reusable Beeswax Food Wraps. They’re durable and convenient with antimicrobial properties.
Hi all! Heather here. It’s been a while since I’ve crafted anything and posted it to Confetti Fix. But recently I made something really neat that I wanted to share it with you.
Reusable Beeswax Food Wraps are have been around for a long time. They’re sold in kitchen supply shops as an environmentally friendly, antimicrobial option for natural food storage (see some reviews here). I decided to DIY a batch with some organic cotton fat quarters I had on hand. It wasn’t difficult, and gaining the know-how made me feel like I’d bettered myself – and my kitchen!

Cloth Materials for Reusable Beeswax Wraps.
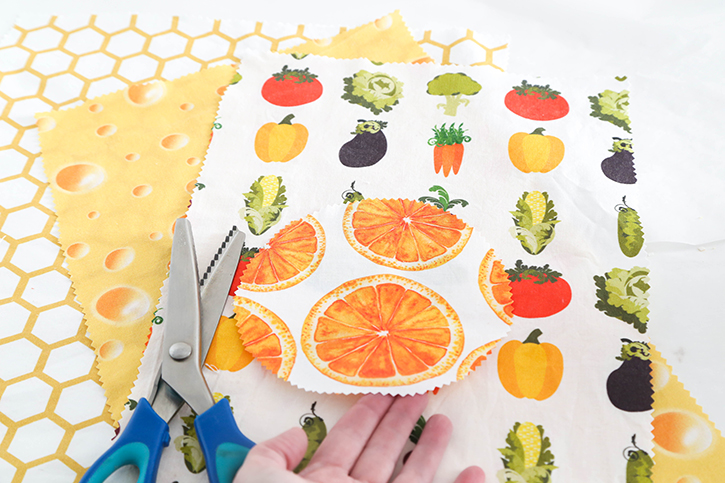
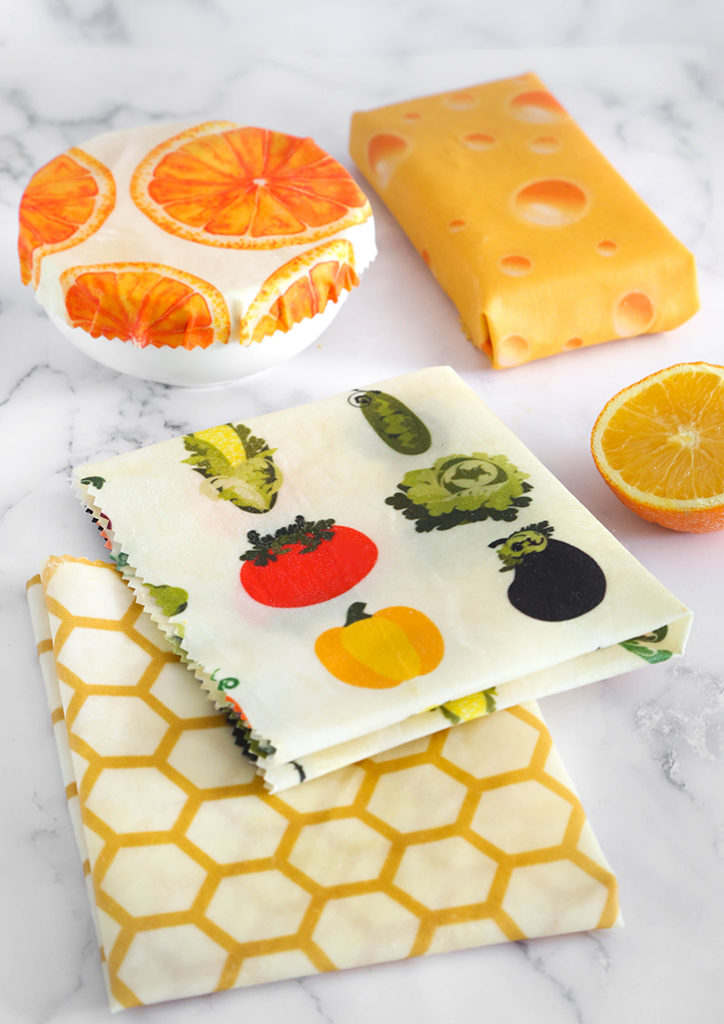
The best fabric to use is prewashed 100% cotton. It is natural and highly absorbent. And that means it will soak up the beeswax mixture evenly. If you’re into upcycling, you can cut up an old sheet or even a men’s 100% cotton dress shirt. Fabric can be printed or plain – here you see my fat quarters have a food theme.
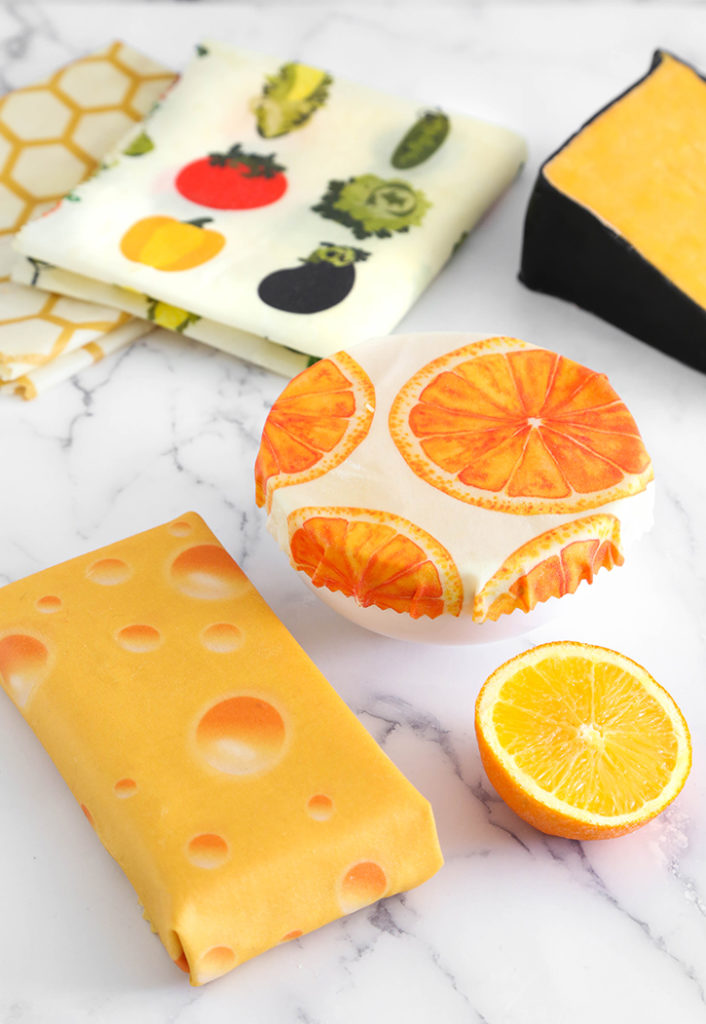
Since you can’t see through beeswax wraps like you could a piece of plastic, I designed these to give myself a hint. Citrus print is for fruits, veggie print is for veggies, and the swiss cheese print is for cheeses, of course. I also purchased a honeycomb pattern as an all-purpose wrap. Theming your fabrics is not necessary, as they can be labeled with a fabric pen (permanent) or a piece of painters tape and a sharpie.
The Beeswax Formula for Wraps.
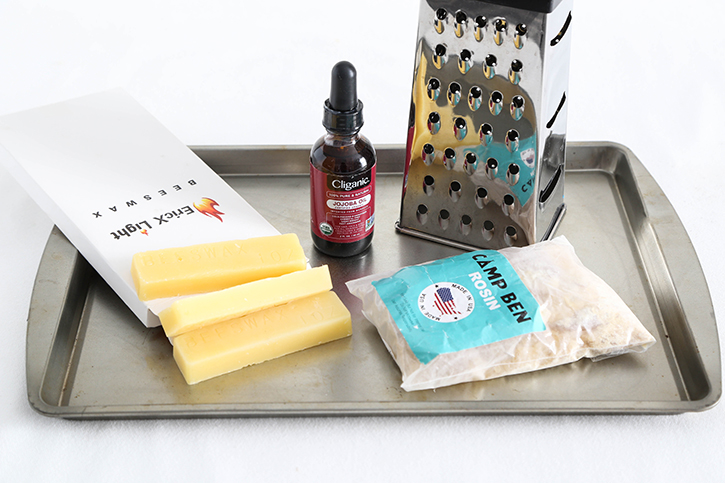
Three simple ingredients are used to create the dip for the fabric. Beeswax, rosin (tree resin), and jojoba oil. The rosin adds stickiness to the melted beeswax while the jojoba oil keeps it moisturized for flexibility and longevity. The initial purchase of these raw materials costs as much as a pack of ready-made wraps, however, you can make MANY more than 6 or 7 wraps.
You’ll also need a pan larger than the size of your fabric pieces. A box grater can be used for grating the beeswax to fine shreds. However, I discovered this is a real job. Do yourself a favor and get the beeswax pellets instead.
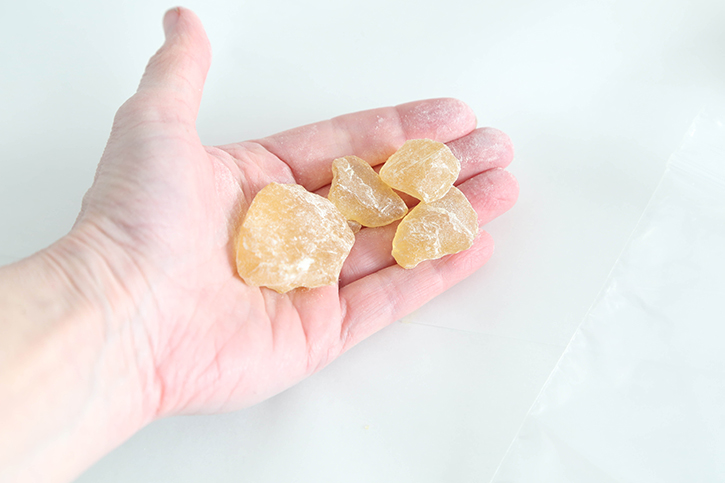
Powdered rosin is the easiest to use ready-made, but I couldn’t’ find any. Large rosin pieces will need to be crushed fine before using, so it melts quickly with the other ingredients. Do do this, put the resin in a brown paper bag and use a rolling pin, kitchen mallet, or a hammer to pound it to a powder. This doesn’t take long because the resin isn’t very hard.
Mix up the Beeswax Dip.
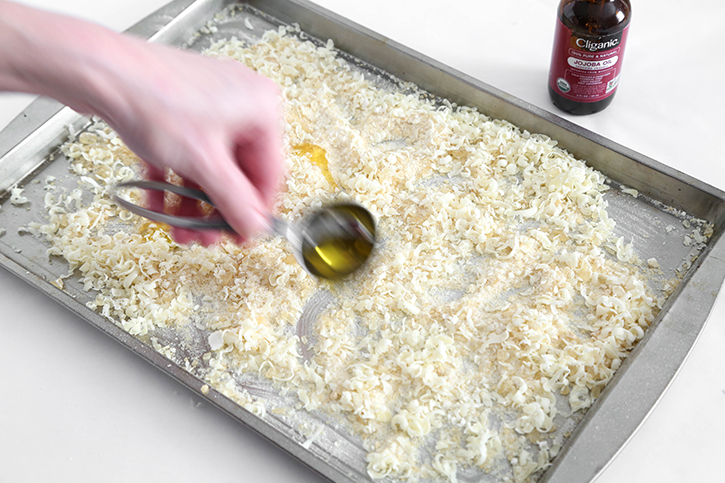
Place the grated wax and powdered resin on the baking sheet (2:1 ratio of wax to resin). Drizzle over 2 tablespoons of jojoba oil. Place the pan in a preheated 300°F oven for a few minutes until melted.
Stir the melted mixture gently with a spoon, and then dip a piece of cloth into the melted wax. Dip and re-dip until the cloth is completely saturated. The wax will be hot, but not so hot that you can’t handle it with your bare fingers. It is ready when the cloth seems like it is almost too heavy and saturated with wax.

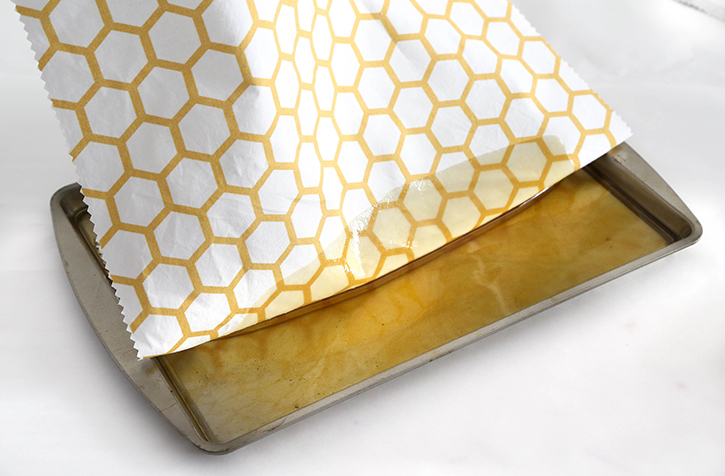
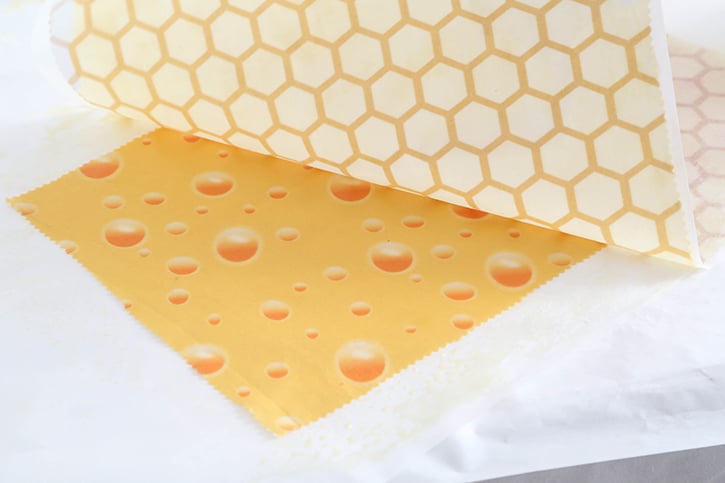
On a parchment-covered work surface, lay the saturated cloth on top of a piece of unsaturated cloth the same size or smaller.
Iron the Beeswax Wraps
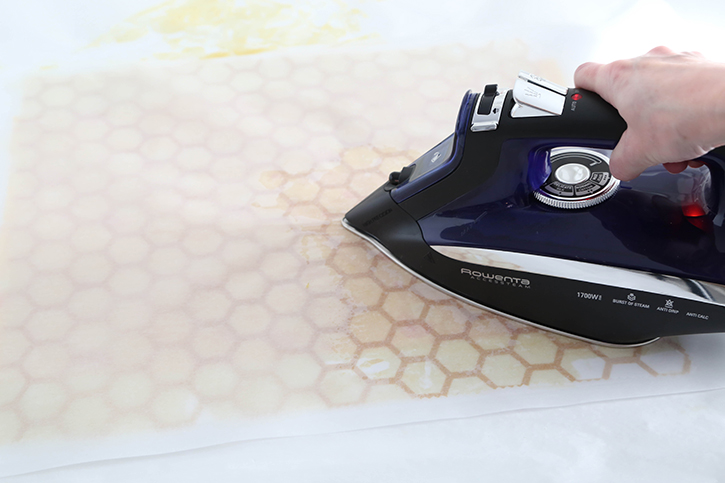
Cover the beeswax wraps with a large sheet of parchment paper and use a low heat iron to press the beeswax dip into the second piece of fabric. The wax from the top piece of fabric will transfer to the bottom piece.
Peel the two pieces of fabric apart. You should see that the second piece of fabric is thoroughly infused with the wax medium. If it isn’t, re-cover and iron again. Allow the beeswax wraps to dry on the parchment paper, or clothes-pinned to a hanger, until they are firm to touch.
After use, beeswax wraps can be washed in cold water with mild dish soap. Allow them to air dry, then fold them up for storage.

It’s amazing how the fabric naturally adheres to itself to create a tight closure. What a great alternative to plastic! It also brightens up the inside of your refrigerator, if you use brightly printed cloth.
Full disclosure: Most commercial purveyors of beeswax wraps like to tout its benefits to keeping food fresher longer than plastic or wax paper wraps. This is not true. Recent studies show that with most foods, all of these wraps contribute a similar shelf life in the refrigerator. The beeswax wraps just happen to be the most sustainable.
Related article: Kid’s Custom Crayon Pillow Case
Make Your Own Reusable Beeswax Wraps
Equipment
- steam iron
- 9×13 baking sheet
- parchment paper
Materials
- 4 pieces prewashed cotton cloth approx. 8×10 inches
- 1 cup beeswax pellets or shavings
- 1/2 cup powdered pine resin
- 2 tbsp jojoba oil
Instructions
- Place the grated wax and powdered resin on the baking sheet. Drizzle over 2 tablespoons of jojoba oil. Place the pan in a preheated 300°Foven for 2 minutes or until melted.
- Stir the melted mixture gently with a spoon, and then dip a piece of cloth into the melted wax. Dip and re-dip until the cloth is completely saturated, using half of the mixture. The wax will be hot, but not so hot that you can't handle it with your bare fingers. It is ready when the cloth seems like it is almost too heavy and saturated with wax.
- On a parchment-covered work surface, lay the saturated cloth on top of a piece of unsaturated cloth the same size or smaller.
- Cover the stacked beeswax wraps with a large sheet of parchment paper and use a low heat iron to press the beeswax dip into the second piece of fabric. The wax from the top piece of fabric will transfer to the bottom piece.
- Peel the two pieces of fabric apart. You should see that the second piece of fabric is thoroughly infused with the wax medium. If it isn't, re-cover and iron again. Allow the beeswax wraps to dry on the parchment paper ,or clothes-pinned to a hanger, until they are firm to touch.