Kids can design their own custom pillowcase using ordinary crayons!
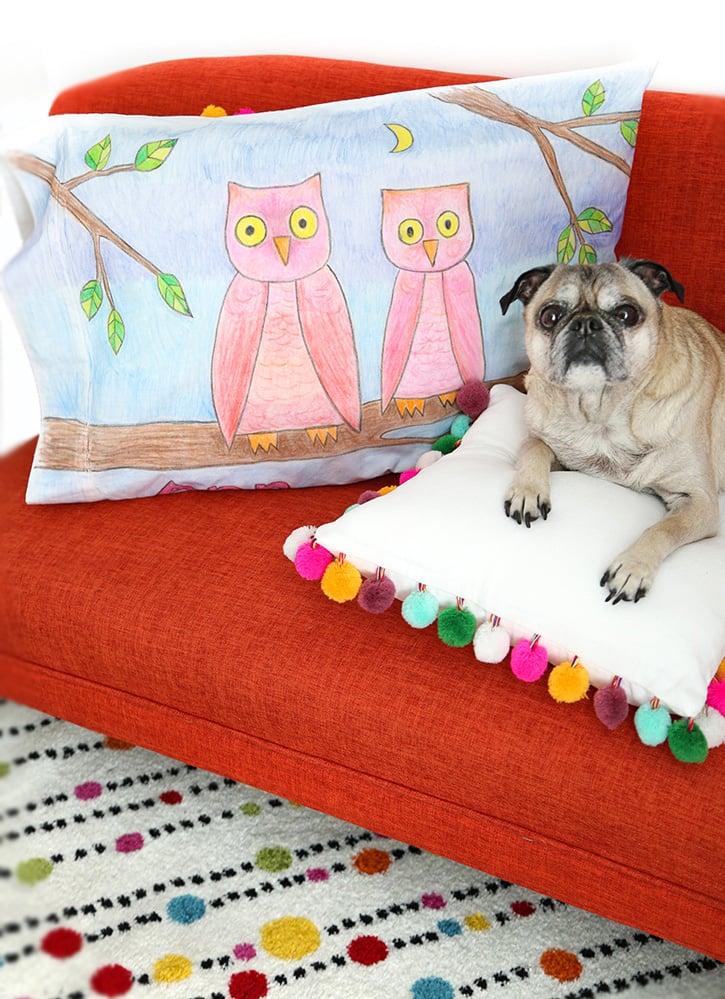
I remember my second grade teacher having us do this as an art project, and all my classmates were so proud of the artwork they had made! It had all the best features of refrigerator art, but on a sturdier surface than construction paper.
This is an inexpensive project. You might even have some pillowcases around, and all kids have crayons! It will keep kids occupied for awhile, and it allows them to create something of their very own as a keepsake. They can also use this to make a really cute handmade gift.
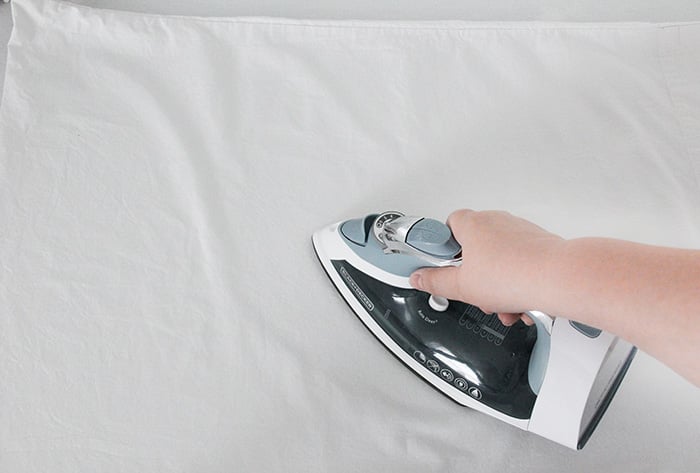
Pre-wash white or light-colored cotton pillowcases for this project. 100% cotton percale works best! Natural cotton fibers and the smooth, tight weave is easier to draw on, which makes the pigment in the crayons absorb better. Make sure the fabric is completely dry prior to decorating, and iron it out flat to make the fabric easier to draw on.
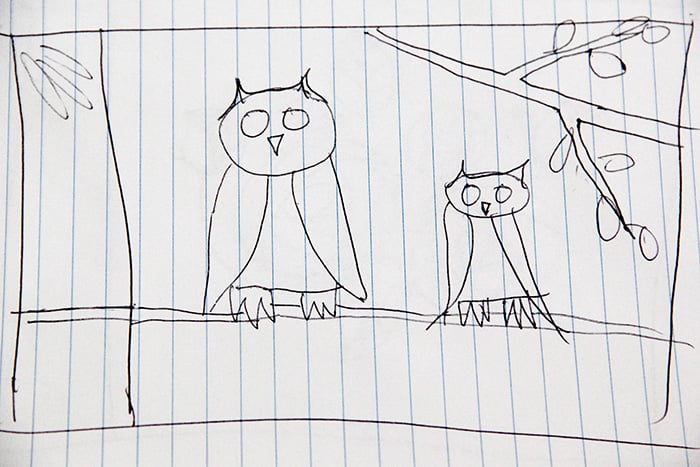
Have older children exercise their creativity by drawing images or designs in a notebook or sketch pad. This will make it easier for kids to decide on their favorite image to put on their pillowcase. Larger designs with less detail will look best, and be easier to color. Little kids can skip this step if they like, and go directly to step 4!
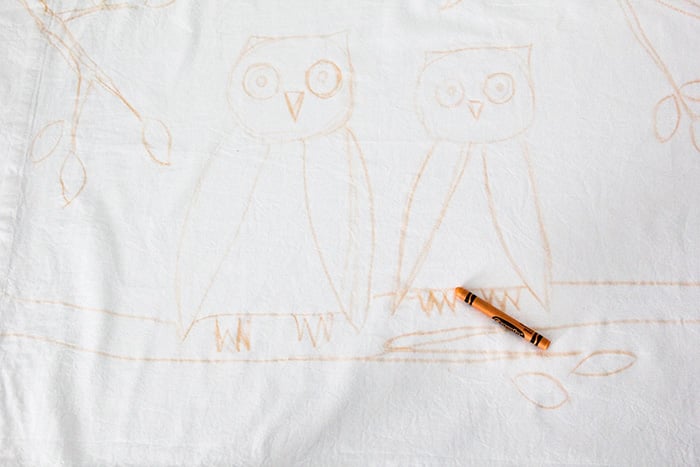
Lay the pillowcase on a smooth, hard surface like a table top or desk top. Have the child lay their drawing beside the pillowcase, and copy the outline of the design in a light crayon color on the pillowcase.
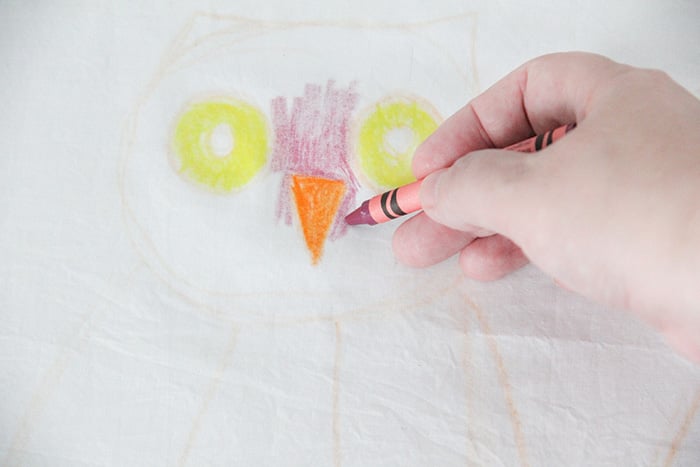
Next, they can color the design in, starting with the main image. It is better to start coloring with lighter colors first, adding darker colors later. Mistakes can be corrected by carefully scraping the wax off and coloring over with a white crayon (it’s like crayon correction tape), then coloring right over that. If kids want their design brighter, extra layers of crayon will add more intensity to the colors. They can add more crayon on top of the design later, and the finishing ironing process can be repeated to get even more depth in the colors.
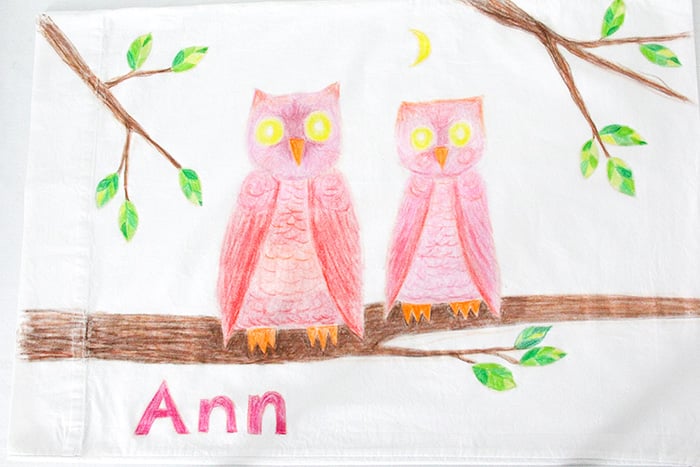
Kids can add their name or a message as part of the design to personalize the pillowcase.
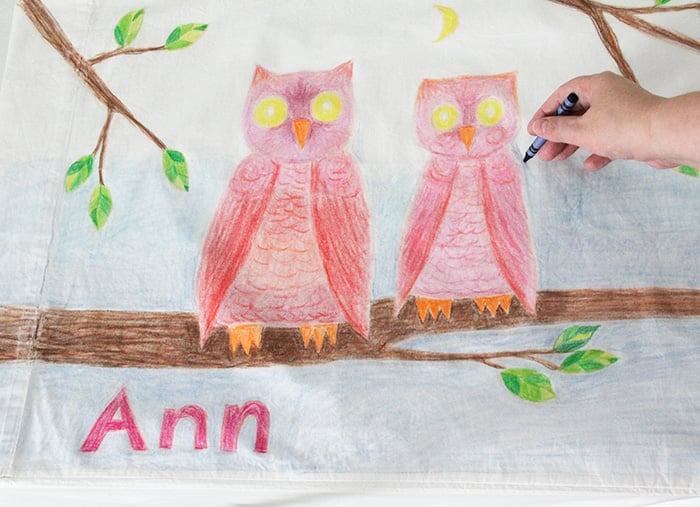
Coloring in a background is a simple way to add more color and dimension to the design!
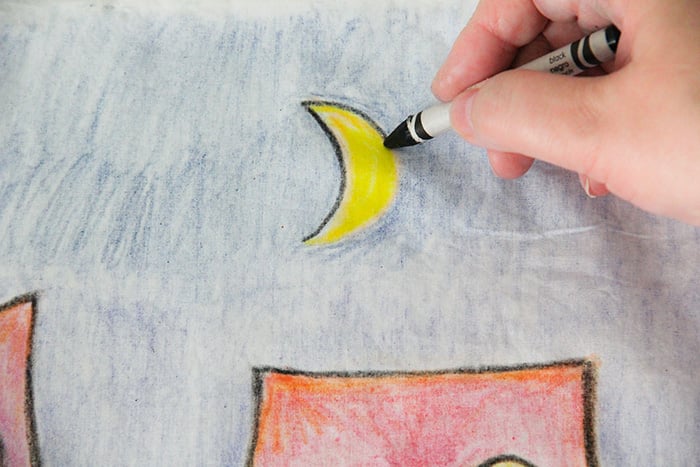
Outlining the main elements of the image with black and adding pupils to eyes will make the design pop! This step is best saved for last in the coloring process because black crayon can mix with lighter colors and muddy them.
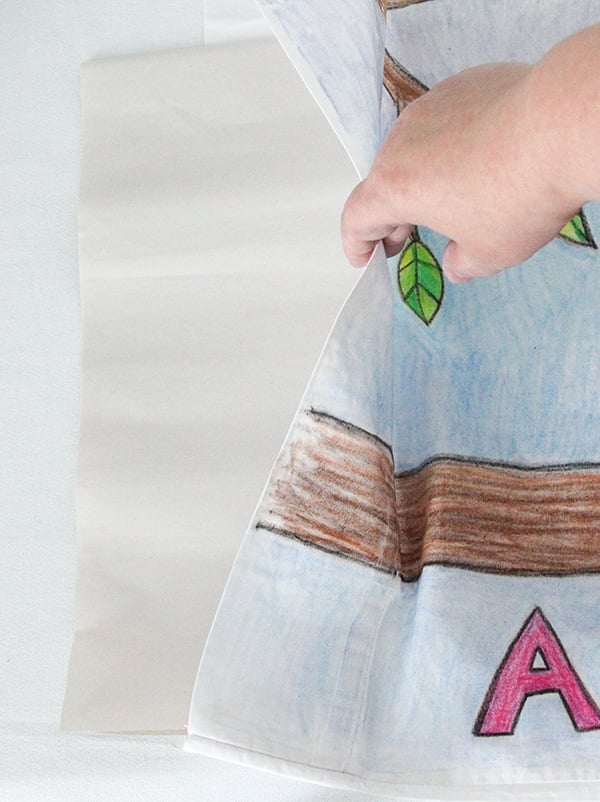
When all the coloring is finished, an adult should lay newsprint flat inside the pillowcase to prevent the image from transferring to the back during the ironing process.
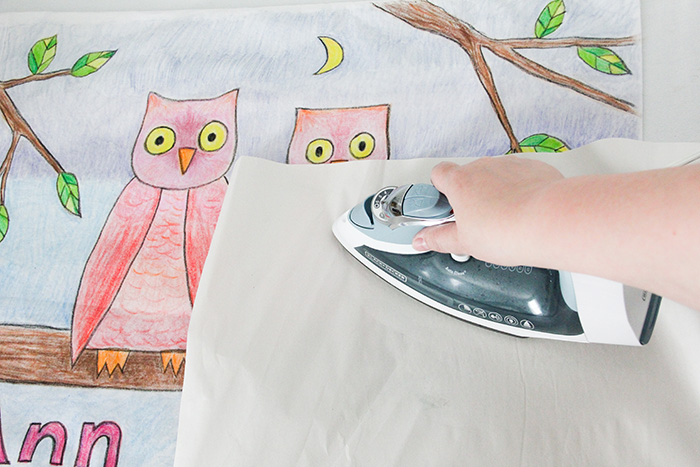
Make sure a grown up does all the next steps!
Put newsprint or sketch pad paper over the colored part of the pillowcase to protect the iron from crayon wax. It can be helpful to tape the paper down to prevent shifting. With the iron on the cotton setting, carefully iron over the entire surface of the protective paper to set the crayon wax into the fibers of the pillowcase. Repeat the process three or four times, so that the colors are well set into the fabric. Next, remove paper and hand wash or machine wash the pillowcases on a gentle cycle in cold water. Do not use bleach. They can be tumble dried on a cool setting, but turn the pillowcases inside out beforehand. It is best to air dry or line dry the pillowcases to protect the artwork.
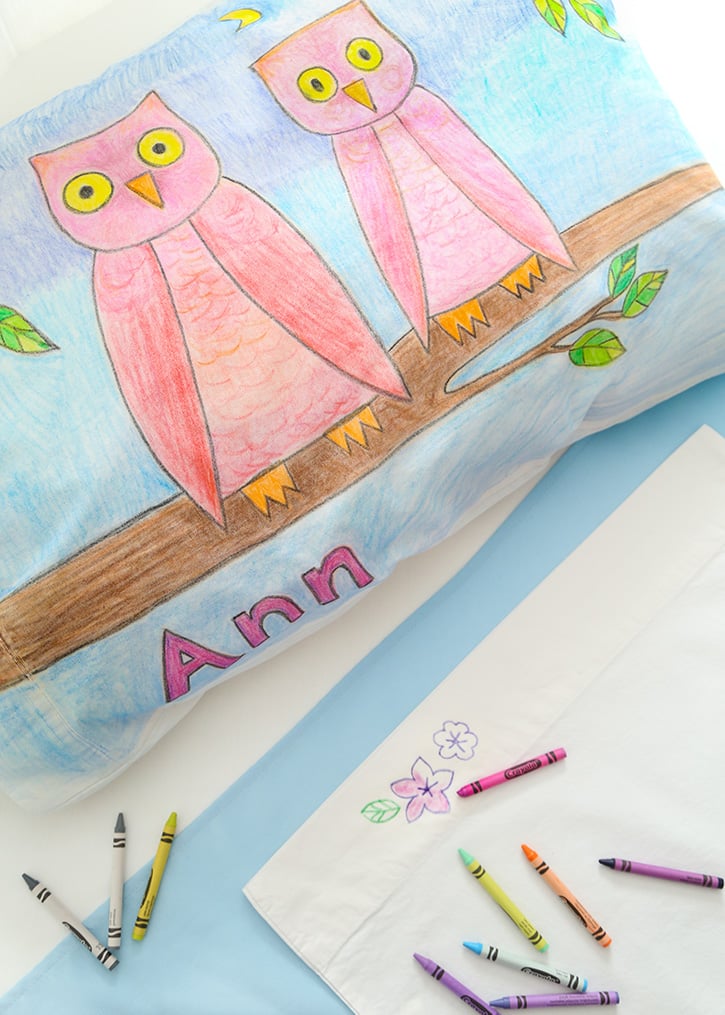
Using crayons is a very straightforward way to create colorful, unique designs on fabric. This method can be used to embellish a variety of items such as linens, clothing, and purses as long as they are made of cotton fabric.
Kid’s Custom Crayon Pillowcase
Equipment
- steam iron
Materials
- 1 or more pillowcases 100% cotton pillowcase, white or light color
- 1 pack assorted color crayons
- 2 or more large sheets newsprint or several sheets of sketchpad paper
- 1 steam iron
- 1 sketch pad or notepad
- 1 pen or pencil
Instructions
- Wash and dry 100% cotton pillowcase(s), and steam iron to remove wrinkles to create a smooth coloring surface.
- Have older children draw images or designs they would like to put on their pillowcase, and choose their favorite one. Little kids can skip this step if they want to, and go directly to step 4!
- Lay the pillowcase on a smooth, hard surface like a table top or desk top. Have the child lay their drawing beside the pillowcase, and copy the outline of the image in a light crayon color on the pillowcase.
- Next, they can color everything in, starting with the main image, then coloring in the background. If kids want brighter colors, extra layers of crayon will add more intensity to the colors. Outlining the main parts of the image with black will make it pop!
- When all the coloring is finished, an adult should lay newsprint flat inside the pillowcase to prevent the image from transferring to the back during the ironing process.
Put newsprint or sketch pad paper over the colored part of the pillowcase to protect iron from crayon wax. Tape the paper down to prevent shifting. With the iron on the cotton setting, carefully iron over the entire surface of the protective paper to set the crayon wax into the fibers of the pillowcase. Repeat the process three or four times, so that the colors are well set into the fabric. - Remove paper and hand wash or machine wash the pillowcases on a gentle cycle in cold water. Do not use bleach. They can be tumble dried on a cool setting, but turn the pillowcases inside out beforehand. It is best to air dry or line dry the pillowcases to protect the artwork.

