
Make a DIY Snuffle Mat for your pet using a sink mat and upcycled fabric. It’s easy and inexpensive!
Snuffle mats can be found at pet stores or online, but the more durable ones can get expensive. The cheaper ones are often made from felt, which sometimes don’t hold up well to active puppies or dogs that like to chew.
These step-by-step instructions will show you how to make a durable snuffle mat for your dog, by upcycling fabric on hand, and using an inexpensive sink mat as a base. So simple, even kids can help!
A snuffle mat is good enrichment for your doggos. Think of it as a puzzle that stimulates their natural instinct to scavenge and forage for food. They also help your dog learn some healthier eating habits if your dog likes to gobble their food up! By scattering dry food into the mat (this is not recommended for wet or soft food), your dog will have to slow down and search for their meal.
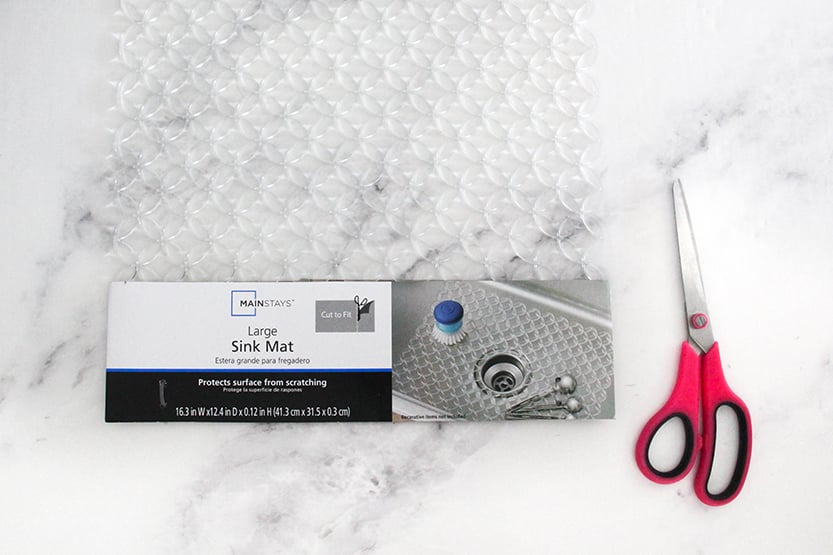
Sink Mat Base
Use an inexpensive rubber sink mat with holes in it as a base. I found this one at Walmart for $4.97. The 16.5″ x 12″ size works well for most size dog breeds. And the lattice design is ideal for tying fabric strips to. To make a bigger snuffle mat for a big dog, get an anti-skid bathtub mat or tie two or more together. Cut off the tags and remove labels before getting started.
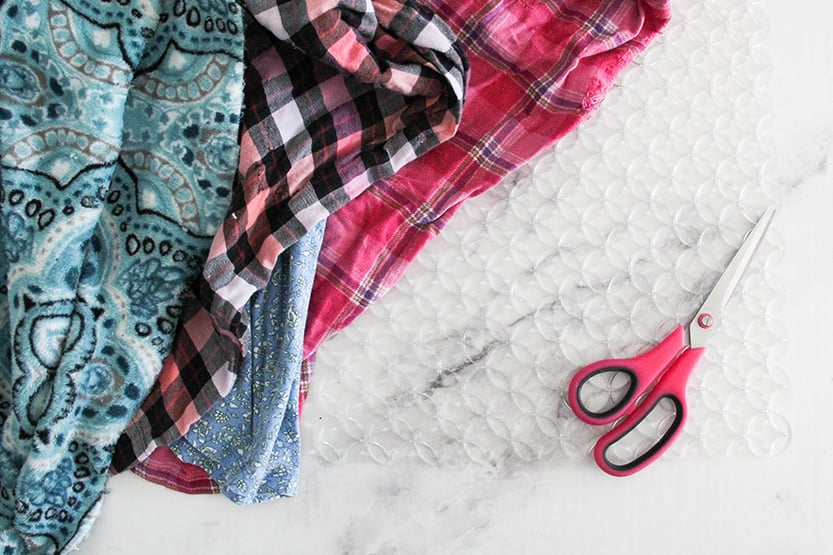
Fabric Choices
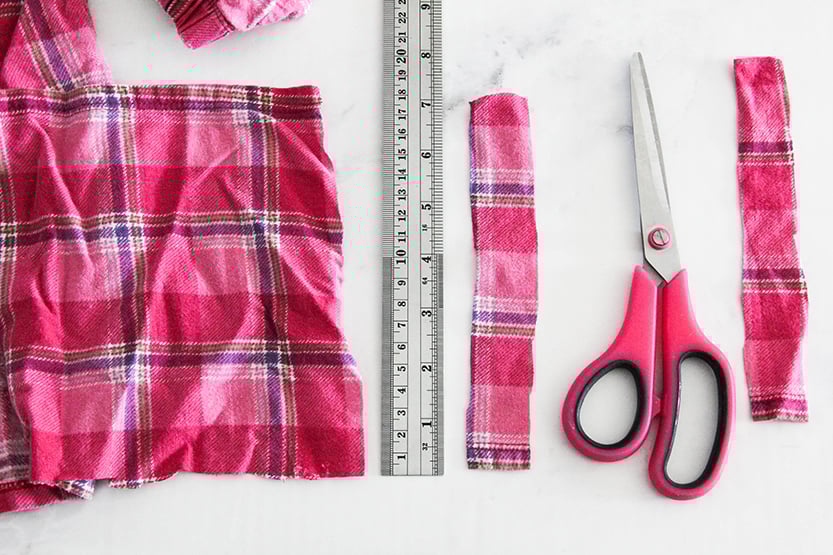
There will be a lot of cutting involved, so a pair of sharp scissors will make this project easier for you. Any fabric you want to use will work as long as long as it is a fabric that does not fray or unravel too easily (avoid loose-knit fabrics). A fleece blanket or towels, or old clothes like flannel shirts or T shirts work well. I used some flannel pajama pants and old t shirts that had some holes in them, so they were not suitable to donate. It’s a good way to upcycle fabric that is on hand.
You can buy some fleece by the yard if you are picky about the overall look. You would need about a yard of fabric for this size, and more for a bigger size DIY Snuffle Mat.
Fabrics like fleece or flannel will hold up to some chewing and machine washing if the mat gets dirty. To keep the DIY Snuffle Mat clean, hand wash or machine wash it, but I recommend air drying it so that the rubber mat doesn’t melt in a hot dryer. The snuffle mat should be easy to repair. If a strip gets loose, re-tie it. The strips are easy to replace also.
Cut Into Strips
Cut the fabric into 1″ x 7″ strips. All the strips do not have to be precisely the same size, as long as the size is close enough. Cut one strip to the right size to start, and use it as a reference for the rest of the strips. Just eyeball the size to make the this step less time consuming.
You will need a lot of strips, so cut a bunch to start. You can cut the rest as you go along, or just cut them all at once before you start tying.
Filling the Mat
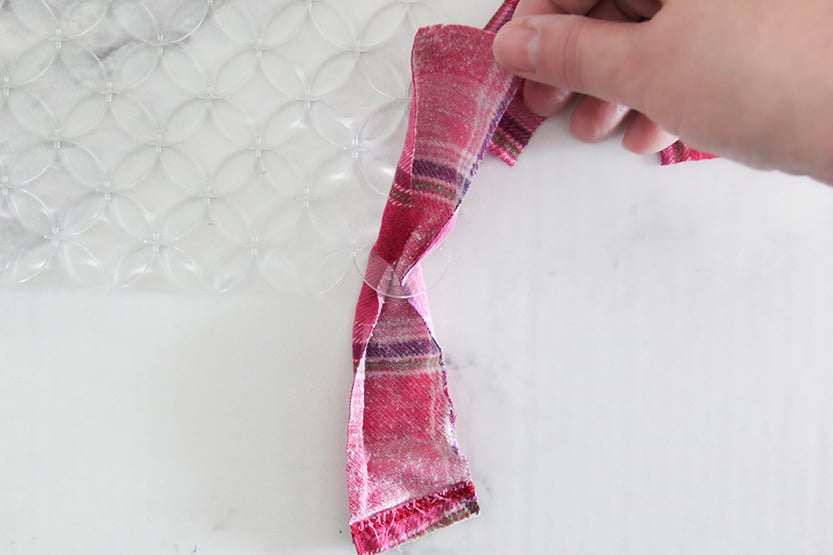
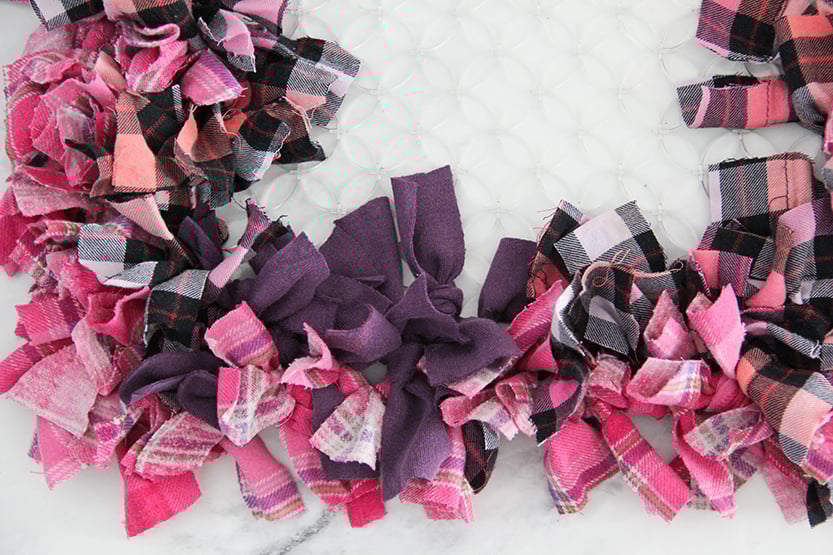
Start tying the strips in the center of the sink mat, or on the outer edges. I started tying on an outer corner. Then, thread the strip through the opening in the mat, so it is evenly centered.

Creating the Snuffle Texture
Tie each strip of fabric around each loop in the mat one simple tight square knot.
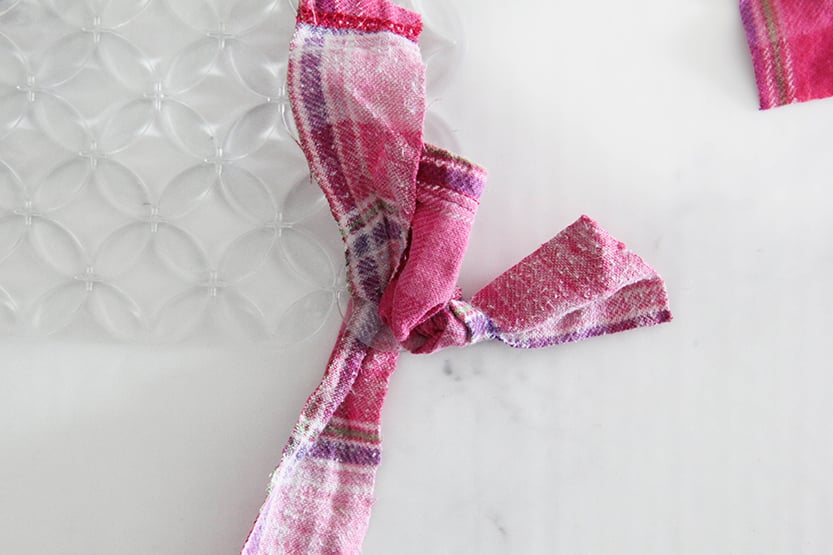
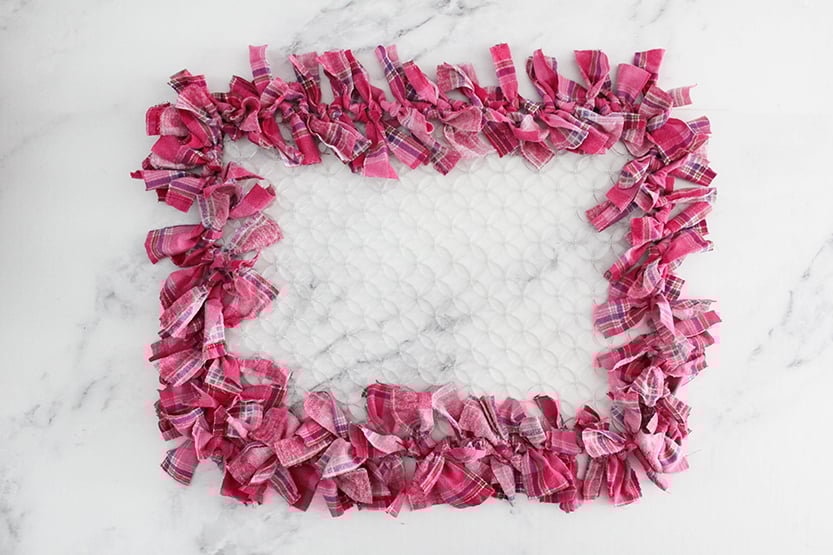
The next steps are pretty much tie and repeat! Thread another fabric strip through the same opening to make a denser texture. I decided to keep the outer border thicker to hold in loose kibbles. Continue with one strip tied per opening if you don’t want your DIY Snuffle Mat to be as thick.
Filling In the DIY Snuffle Mat
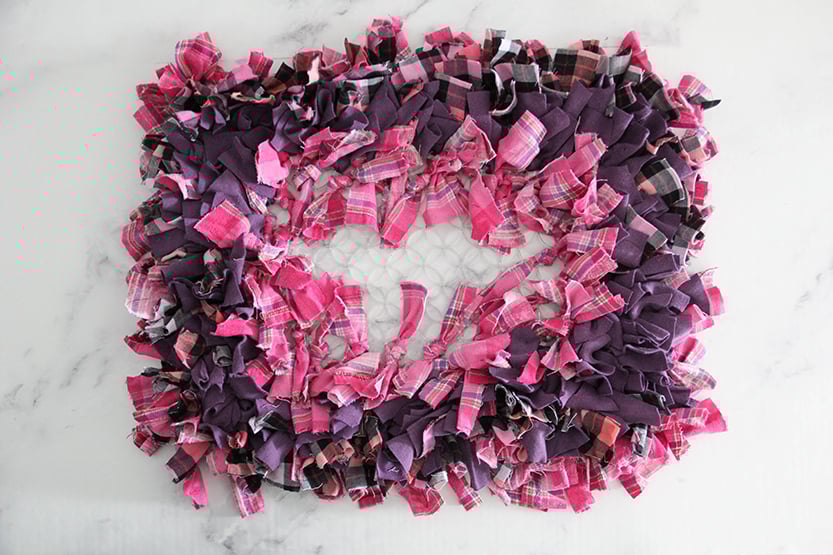
Begin the by filling whole outer edge this way, or filling the snuffle mat in bands from side to side.
If you’re using different colors or types of fabric, just tie a strip of the new fabric into the next opening in the mat for a smooth transition.
Creating a Pattern
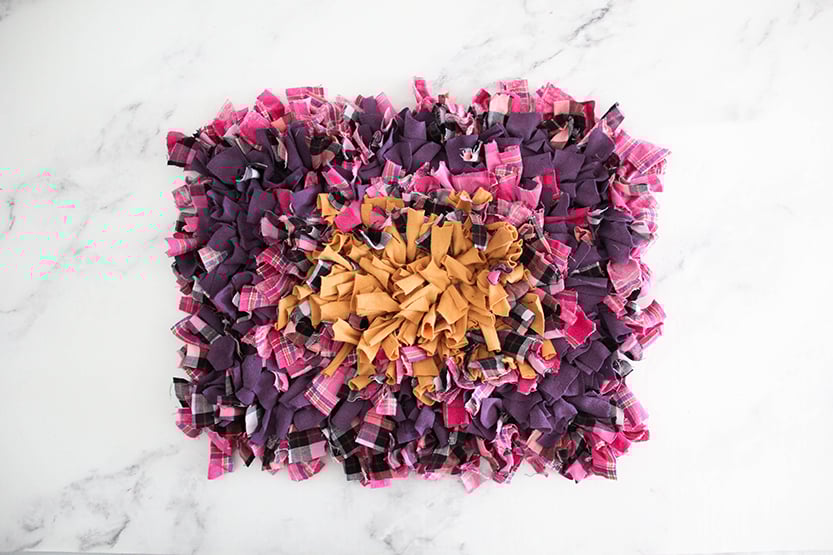
Repeat the different fabric colors and types in bands as you work your way into or across the mat to create patterns in it.
Finishing Up
Tie the fabric strips into place on your DIY Snuffle Mat until it is filled, and you’re all finished! The project might take about two hours if you are uninterrupted. It’s a good project to work on while watching TV, or it might keep some kids occupied for awhile if they are interested in making one.
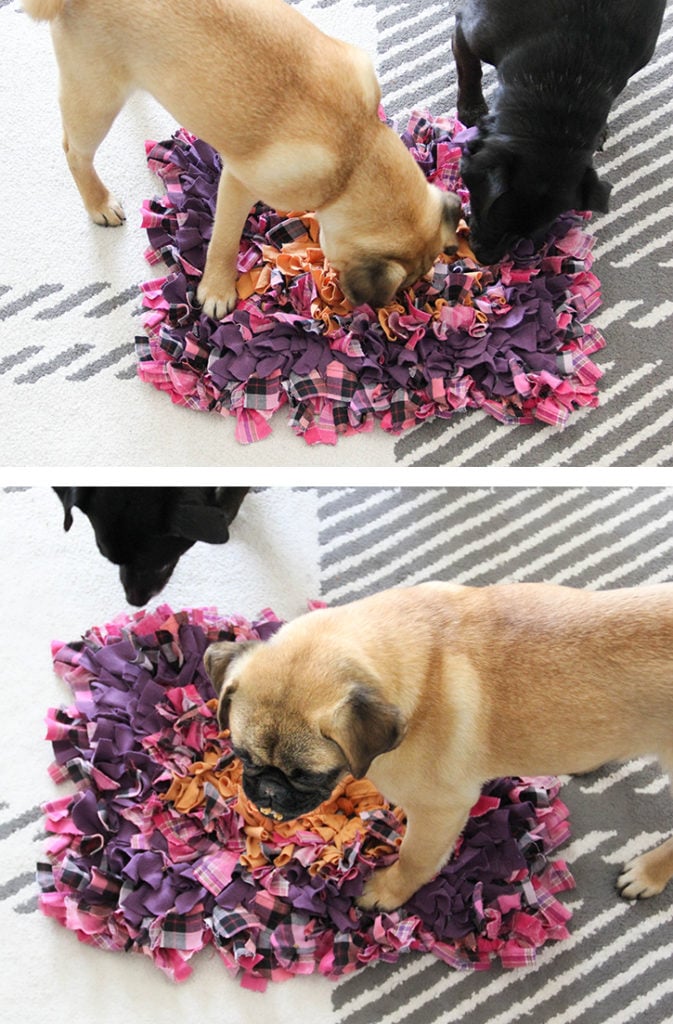
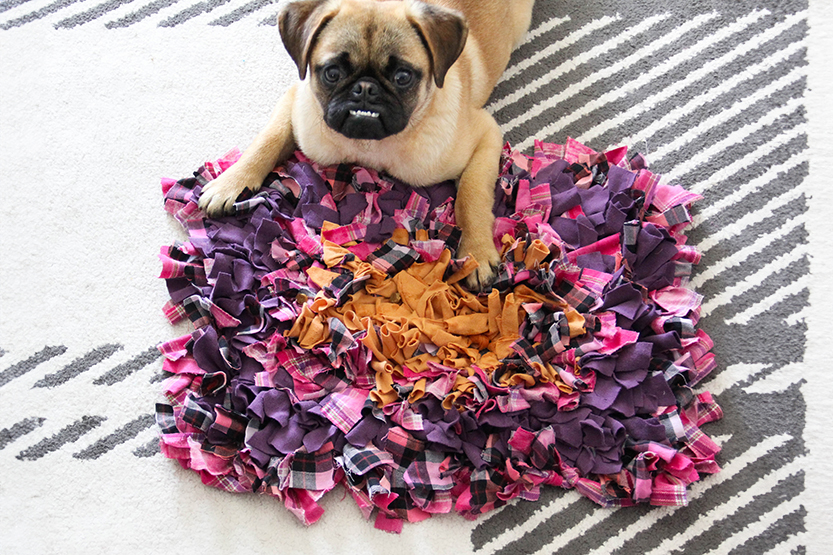
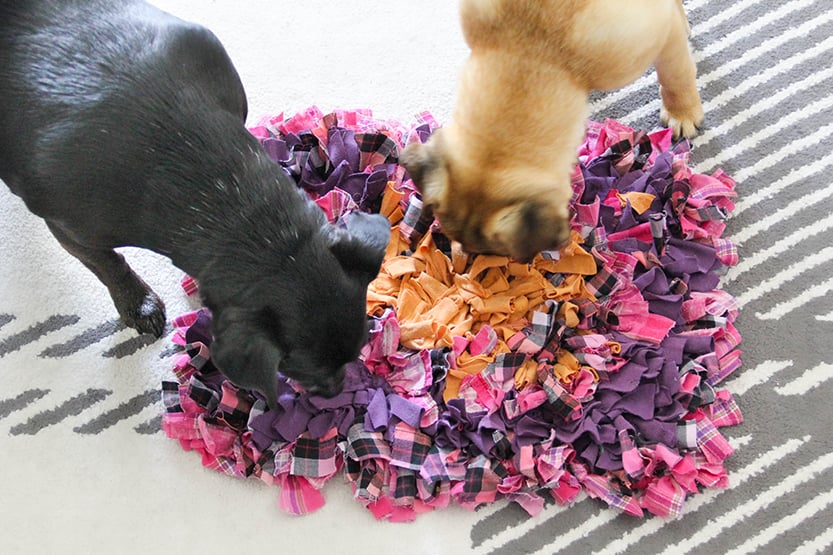
Toss in some treats and watch them go! This DIY Snuffle Mat will make treat time or feeding time interesting for your pets. It will hold their attention and help them use up some excess energy too. As an added bonus, the snuffle mat will end up looking like a rug, and it might become one of your dog’s favorite things!
For another practical pet accessory idea, try making this DIY Dog Anxiety Pup Tent Hideaway.
This was a total hit with the pups! Who would have guessed a sink mat? Such a smart upcycle.
I thought it was a cute project! It was inexpensive too. Glad they like it!