
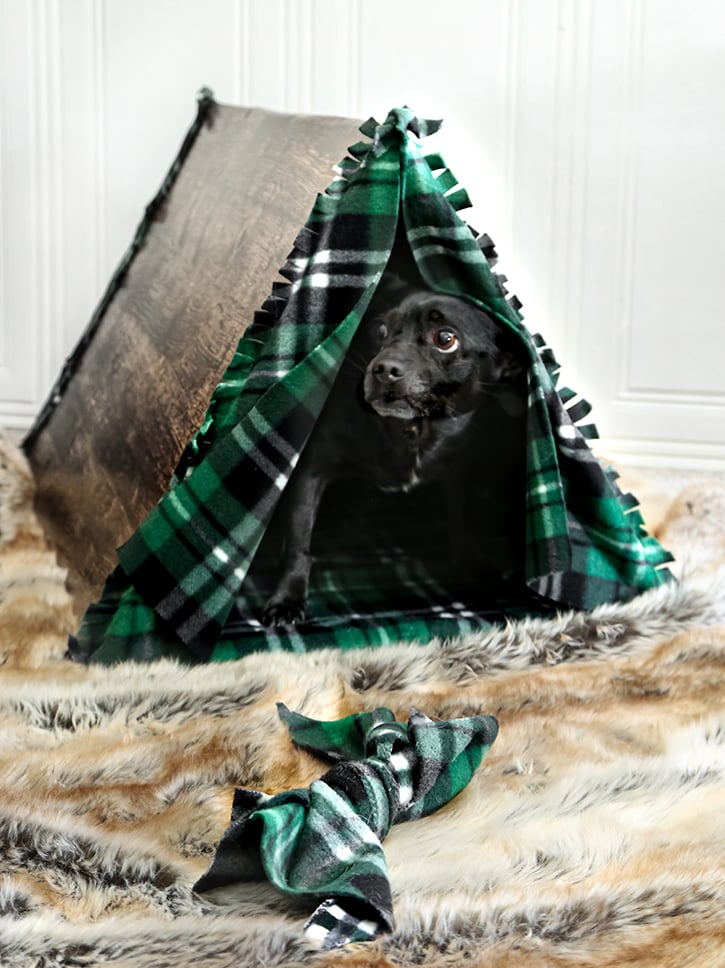
Make your fur baby a pup tent hideaway so they have a place to feel safe from scary sounds. This DIY dog anxiety pup tent hideaway can be scaled to fit your pet, and designed to fit your décor with your selection of contact paper or self-adhesive wallpaper, and fabric.
A Safe Place to Hide.
One afternoon when a thunderstorm rolled in, I helped comfort Heather’s newly adopted pup Chico. I had this project idea after I made a pillow fort for him, so that he would calm down. Some pets get really anxious when they hear the sound of thunder or fireworks outside. They usually seek out shelter in those situations, so why not provide a special hideout just for them?
The Right Sized Box.
First you will need a box scaled to the size of your pet. You can use a box that might be on hand to upcycle. If you don’t have one on hand, you can buy one anywhere that sells packing and shipping supplies. To get an idea what size you will need, measure the length of your dog from nose to tail. The main body of the box should be large enough for your pet to sit in. The flaps of the box can be incorporated in the length of the tent, to allow room for your pet’s tail. I found a 20×20 shipping box to use, which is the perfect size for Chico.
Use a No-Sew Fabric.
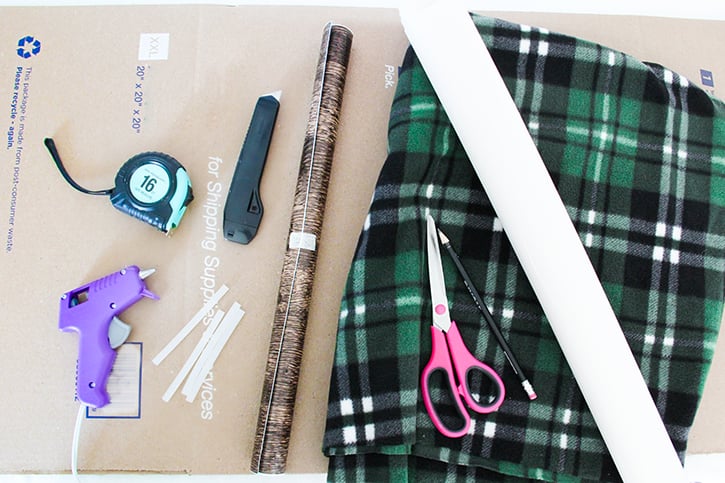
Fleece fabric is ideal to use for this project. It’s soft yet sturdy, and it makes this a no-sew project since the edges don’t fray when cut. You can upcycle a fleece throw, or buy at least a yard of fleece for front and back flaps. The remaining fabric can be used for a blanket inside the tent. I found this cozy plaid at Hobby Lobby. An extensive selection of fleece fabrics are available online, or at most fabric and craft stores.
Customize Your Pup’s Tent.
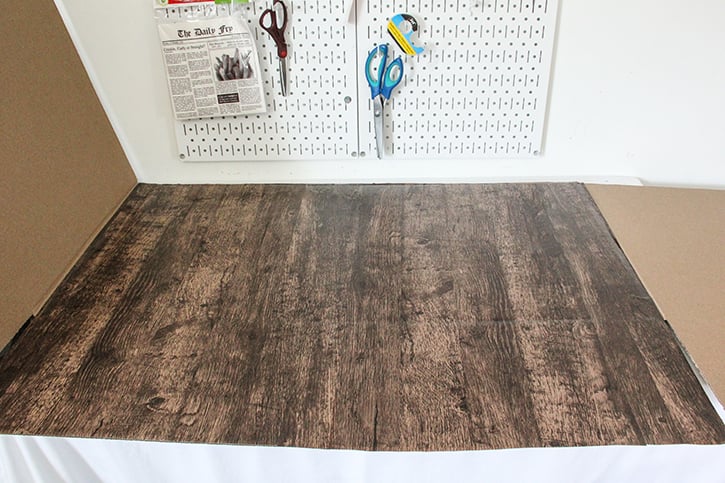
You will need enough contact paper or self-adhesive wallpaper to cover three sides of the box, inside and out. I used most of two 17.7 by 9.8 foot rolls for this 20 x 20 box. This dark woodgrain pattern contact paper that I used can be found online here. It works with well with rustic furniture and looks good with plaid fabric. A large selection of contact paper and self-adhesive wall paper is available online and at most hardware stores.
A boxcutter, tape measure, pencil, scissors, glue gun and plenty of glue sticks will also be needed to complete this project. A large piece of paper to make a template for the door flaps will come in handy as well.
Getting Started.
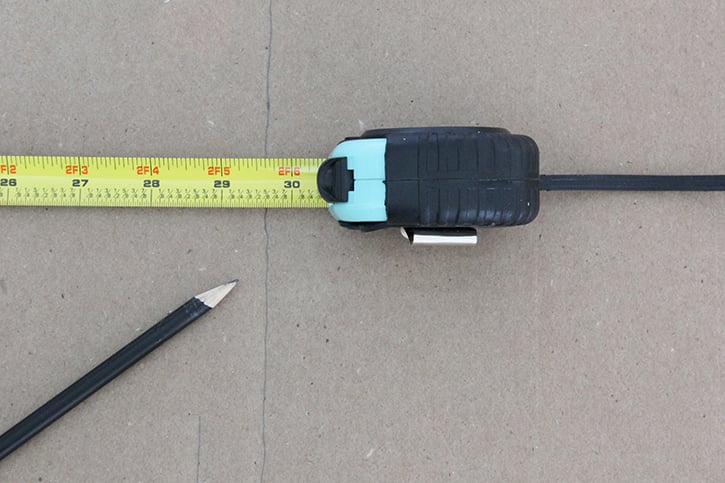
Lay the collapsed box flat and measure the length you will need from end of a flap. The flaps of the box can be incorporated in the length of the tent, to allow room for your pet’s tail. Draw a line to mark how much of the box to trim off. Use a yardstick to make a straighter cut if you like.
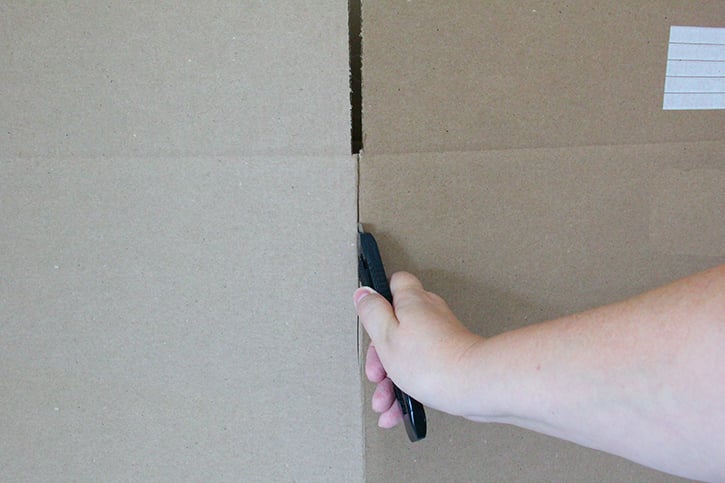
Stand the box up on one end, and follow the edge of one corner with the blade of a box cutter to cut the box open.
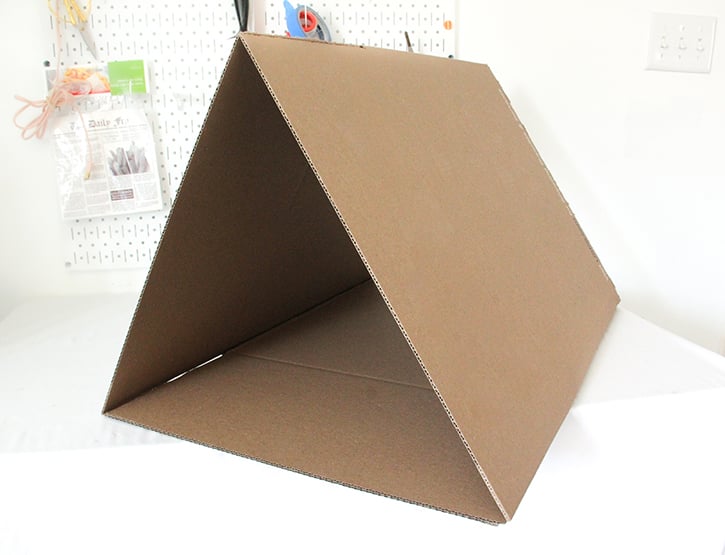
Fold the two outermost sides under to create the triangular shape of the pup tent. An opened square box easily folds into a three sided tent shape.
Rustic covering
Unfold the box so the inside faces up, laying flat. Cover the two inner panels with contact paper or wallpaper, overlapping the strips about a quarter inch so that there are no gaps. Be sure to burnish out air bubbles as you apply each strip. Flip the box over, and apply strips of your self-adhesive coating to the two innermost panels of the box to cover the outside of the tent. Leave the end panels uncovered to create the bottom part of the tent.
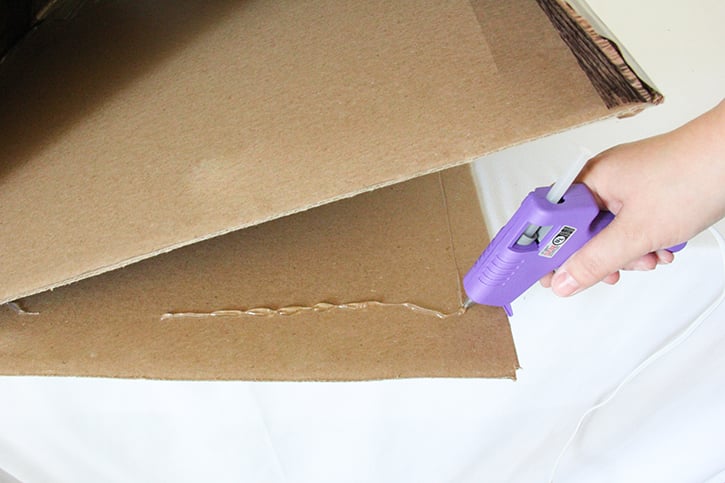
Fold the box into its triangular tent shape. Next, apply hot glue to the top of the bottom most panel. Then quickly set down the bottom of the tent over the glued panel while the glue is still hot for a strong bond. Cover the inside bottom panel with any remaining self-adhesive coating if you like.
Make some curtains.
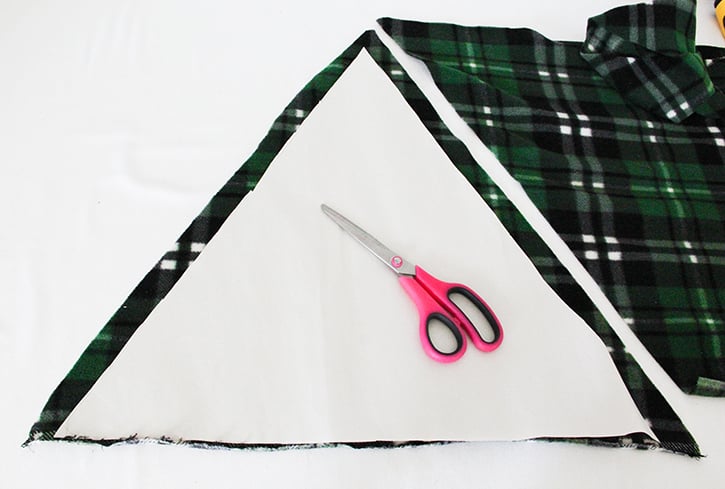
Use a piece of newsprint or other large paper as a template to cut out material for curtains. Set one end of the tent up on the paper, then trace the three sides of the outside shape of the tent with a pencil. Cut the triangular shape out of the paper. Lay the fabric flat and lay this paper pattern on the fabric with bottom edges lined up. Cut the top two sides of triangle at least 1″ from the edge of the pattern, to make it slightly larger. Repeat to make curtain tent flaps for the other end of the tent.
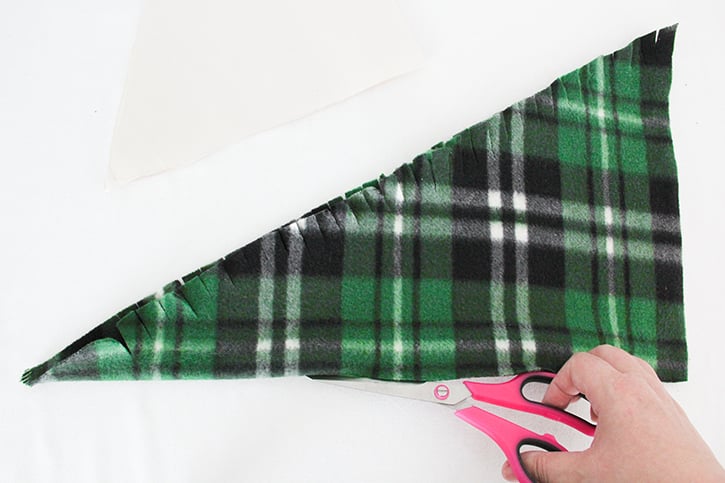
Fold the triangle of fabric in half and cut a fringed edge 1″ deep on the two outer sides. Next, cut the fabric down the center to divide the curtain. Repeat this on the second triangle of fabric for the tent flaps on other end.
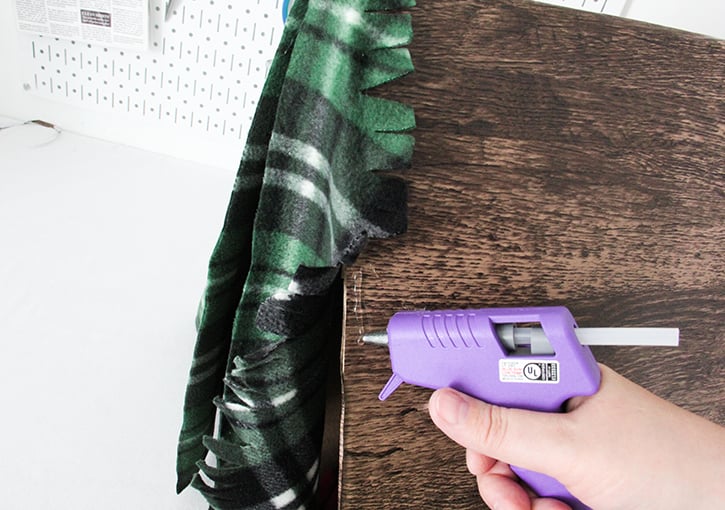
Glue one side of the curtain to the corresponding side of the front of the tent. Starting at the top, apply a strip of hot glue a couple of inches long, about a quarter inch from the edge. Stick the top end of the fabric onto the hot glue, right on inner edge of the fringe. Clasp the fabric to the tent a moment so it bonds to the cooling glue. Add more glue and attach the fabric this way, until you get to the bottom of the tent. Repeat this process on the other side of the tent, and on both ends.
Make it comfy.
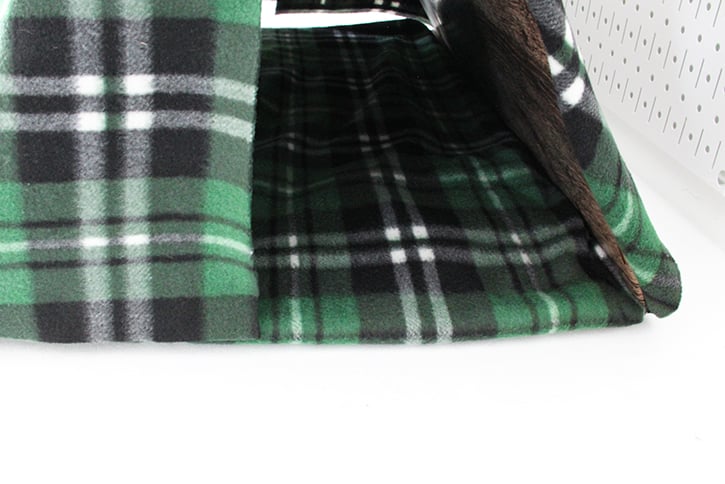
If you like, you can fold the remaining fabric over to line the bottom of the tent with a cozy matching blanket. Or, you could add a crate mat to make the tent extra comfy for your pet.
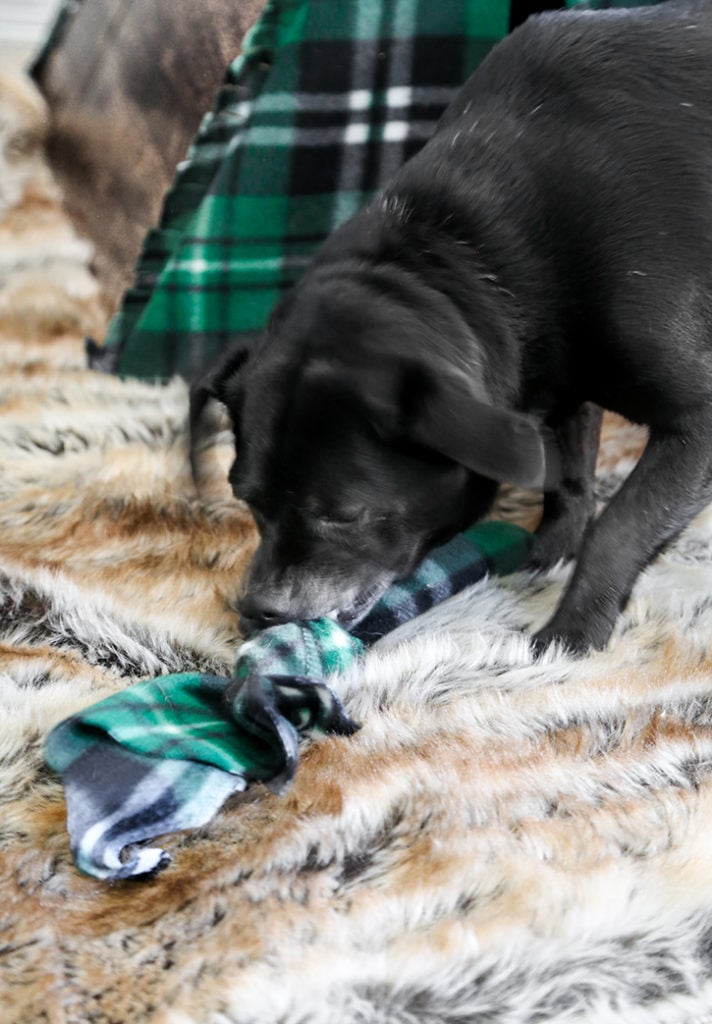
You can use the fabric scraps from cutting out tent flaps to make a matching dog toy. Layer them together and tie them all up in a big knot!
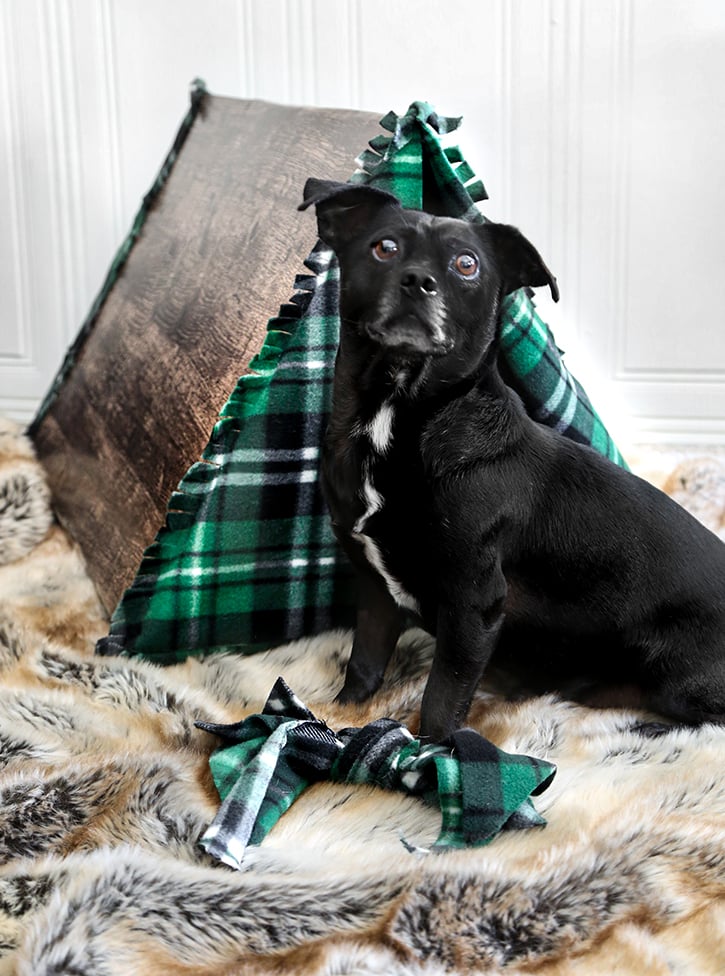
Your dog will appreciate having their own DIY Dog Anxiety Pup Tent hideaway to get away from scary sounds. It gives them a safe place to hide besides under a bed or in a closet, especially during storm season! And as a bonus, it can be designed to fit any decor.
Love our DIY Dog Anxiety Pup Tent Hideaway? Then check out more of our pet-friendly projects. Take a look at this adorable monogrammed dog hoodie project – so cute!