
Learn the basics of making a No-Dig Lasagna Garden. This layered method of gardening allows you to create a fertile soil on any patch of land without digging or tilling.
Hi all! Heather here. I’m sharing a project today that is near and dear to my heart. My lasagna garden!
The first time I heard ‘Lasagna Garden’ I thought that meant growing oregano, basil, and other Italian herbs that might taste good in a homemade lasagna. Ha! That’s not what it is. Instead, it’s a gardening technique that involves layering. Kind of like assembling a lasagna, but on a small patch of land. When I first moved into my new house, there was a small grassy area right next to my workshop. Someone had poured a concrete pad there and over time, it had broken up and eroded. Pieces of concrete remained, and the soil that was there was hard and dry. I wasn’t sure it was even possible to grow anything there. But my mom, the seasoned gardener, insisted it was the perfect place for a lasagna garden. And she was right. 6 years later I’m still growing vegetables and herbs there!
A no-dig lasagna garden offers a simple, more affordable way to start a productive garden without breaking your back or the bank! This method allows you to create rich, fertile soil on any patch of land – even if it’s covered in grass or weeds. It’s perfect for beginners. And now, with rising grocery prices, having a little garden seems like a good idea!
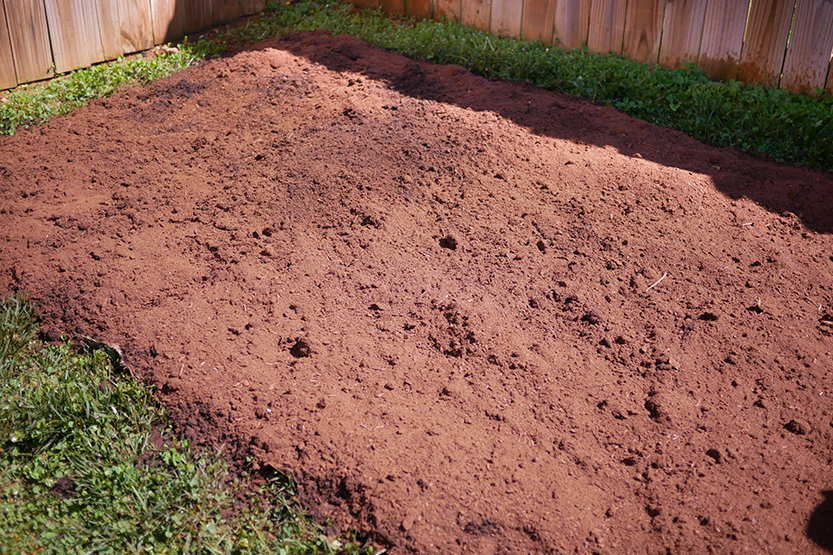
Choose Your Garden Space
Pick a location that gets at least 6-8 hours of sunlight per day. Your garden can be any size—mine is about 8×11 feet, but you can adjust based on your needs.
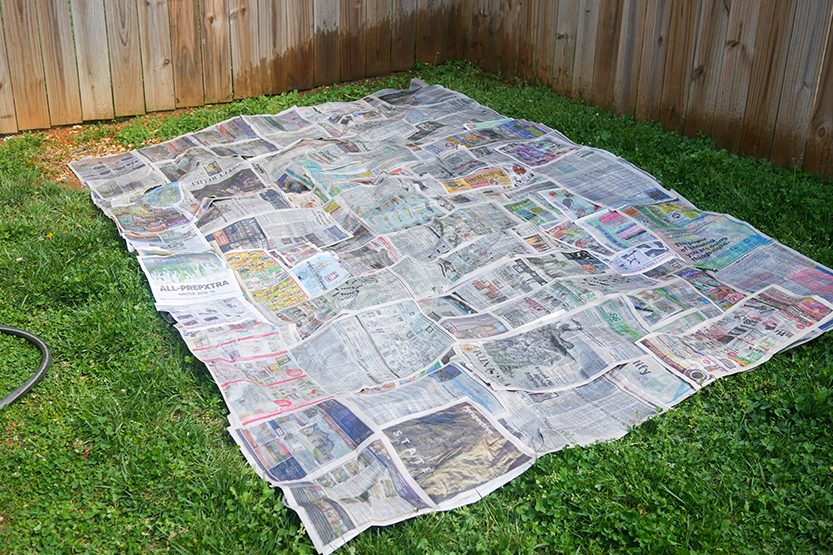
Lay Down Newspaper
Cover the entire area with 4-6 layers of newspaper. Or, you can use one layer of cardboard if you have boxes hanging around. This will smother grass and weeds while encouraging earthworms to work the soil. Wet the layer thoroughly to help it break down.
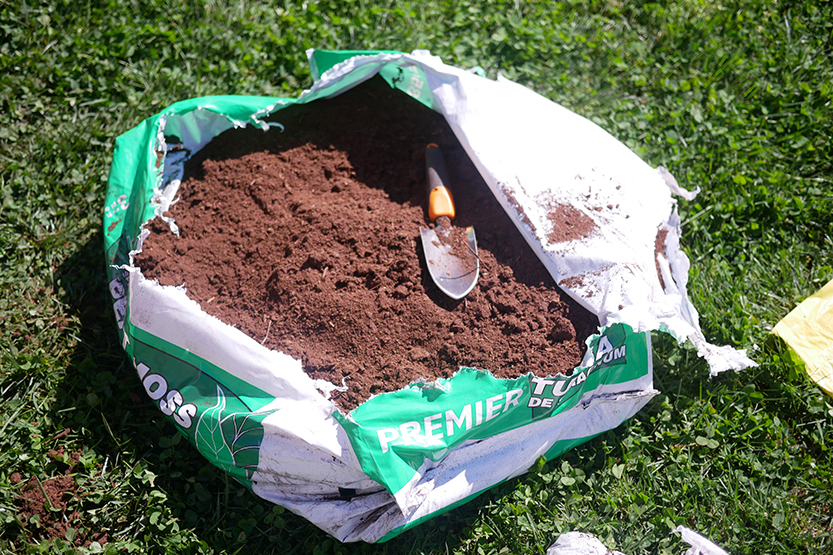
Peat Moss Layer
On top of the newspaper, layer on some peat moss. This is available at any home improvement store or garden center. In a lasagna garden, peat moss helps to improve soil structure, water retention, and fertility, while also serving as a brown layer that helps decomposition.
Compost Layer
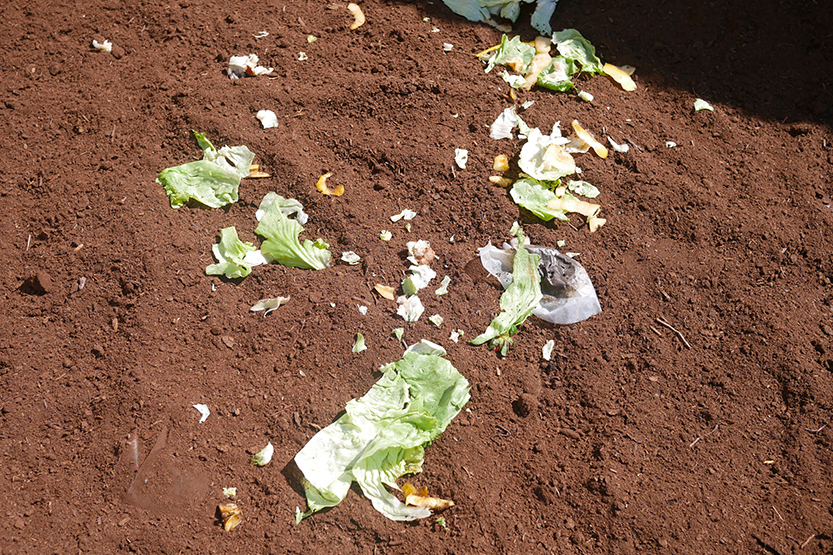
This could be vegetable scraps, grass clippings, coffee grounds and manure. If you don’t have any composting of this sort, then that’s okay. You can skip it for now. But you may want to start saving those morning coffee grounds for your bed.
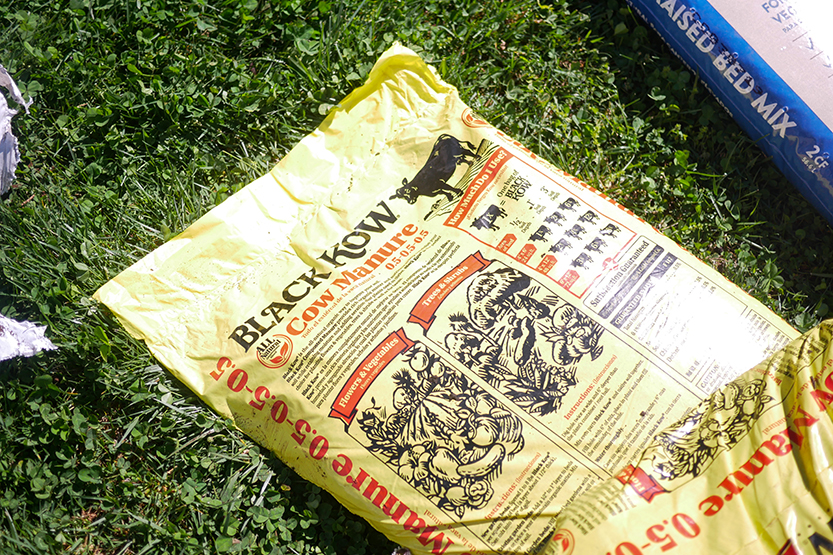

Manure
Add a layer of manure from plant-eating animals (herbivores). This provides valuable nutrients and organic matter, helping to create a rich, fertile soil. This is just another layer that helps create a healthy growing medium for plants.
Another Peat Moss Layer
Repeat the peat moss layer. Peat moss is sold in large bags/bales (3.8 cu. ft.), so you should have plenty for a second layer if your garden is about the size of mine. Which is about 8×11 feet.
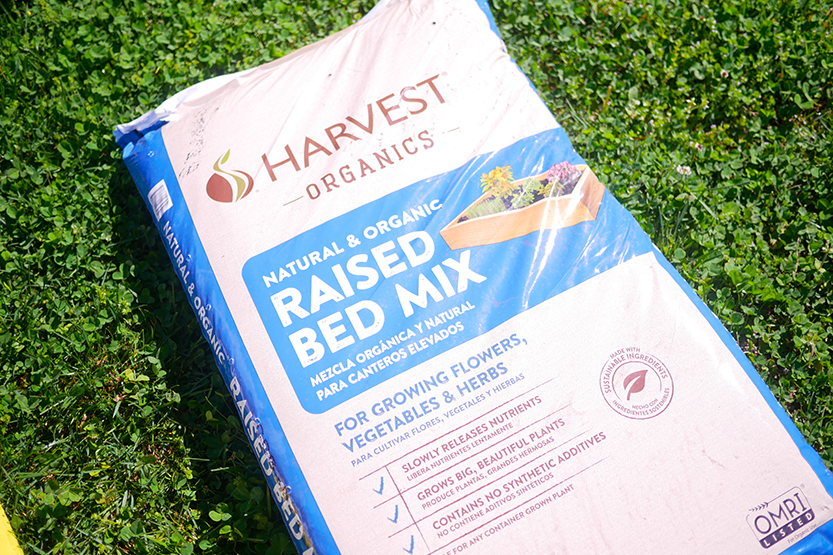
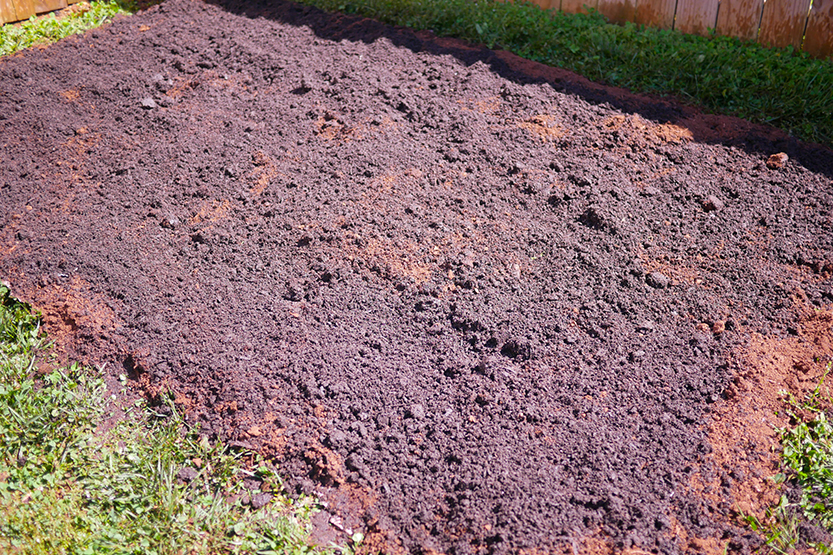
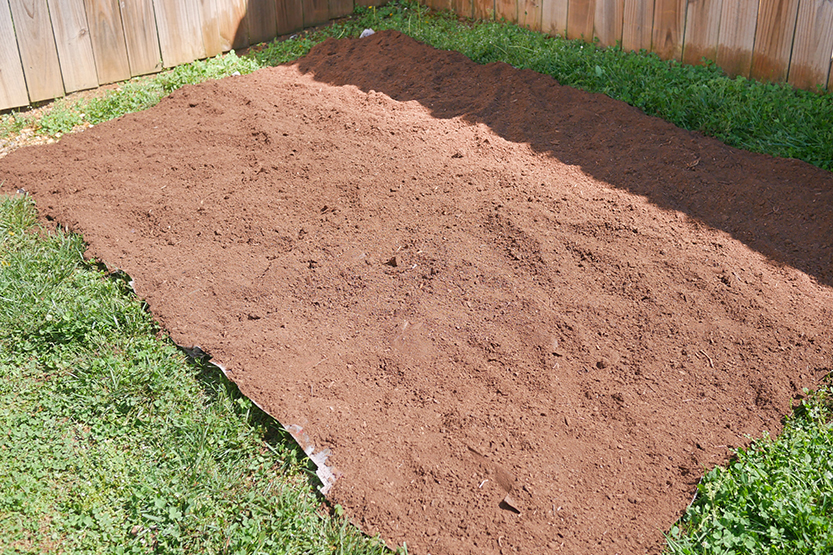
Raised Bed Soil
Next, add a well-draining soil mix, such as a raised bed mix. This is added to the top layer of the lasagna garden to create a good seed-to-soil contact for planting. This mix also helps to retain moisture and provide nutrients for the plants.
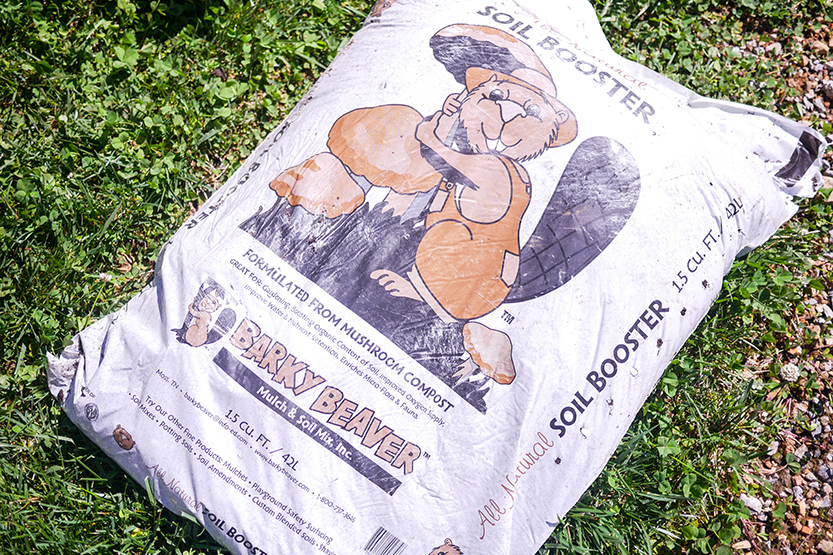
Mushroom Compost
Throughout the layers, add some mushroom compost, if you can find it. It serves as a slow release fertilizer, which enriches the soil and helps feed your plants.
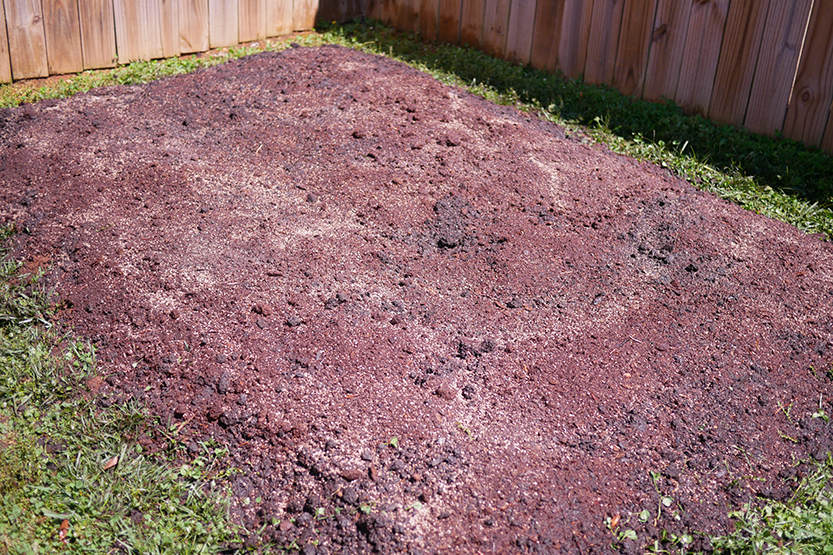
Now. Saturate everything well with water from the garden hose. This helps the lasagna garden ‘cook’. Which just means it helps marry together all the different soils and composts.

Optional Pea Gravel Border
After the garden was installed and well-saturated with water, I decided to make it look neater by creating a pea gravel border. I simply added more cardboard around the edge of the garden and saturated it with the water hose.
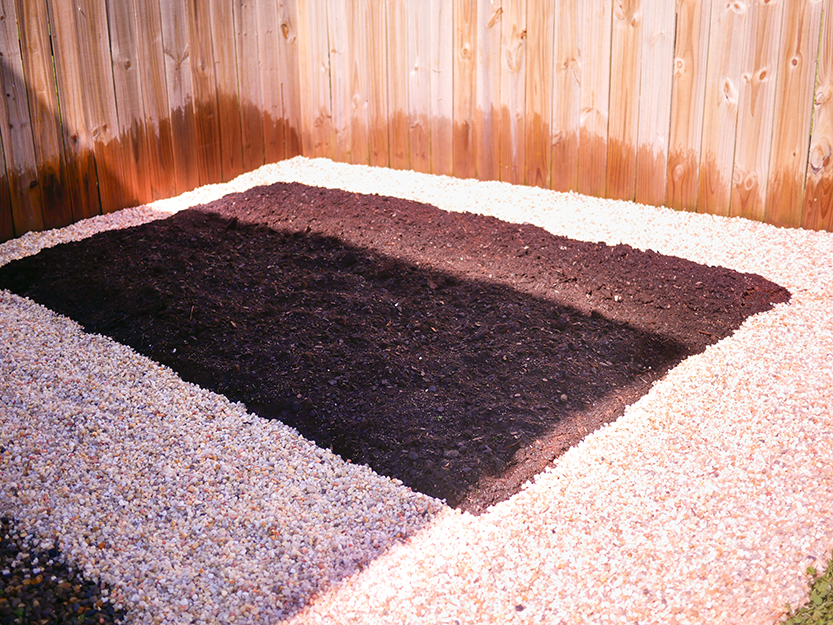
Spread bags of pea gravel on top of the cardboard. Then – you guessed it – water the heck out of it. You can see by the shadow of the setting sun that we’re nearing the end of our project and the end of the day. All that’s left is to plant the garden. You can plant things in it right away! But as time goes by, and the newspaper and cardboard compost, the soil will only get better.

Sew Seeds, or Add Plants!
This was my first planting. I used young starter plants from Lowe’s and Home Depot’s garden centers. Boy, did the plants every take off growing!
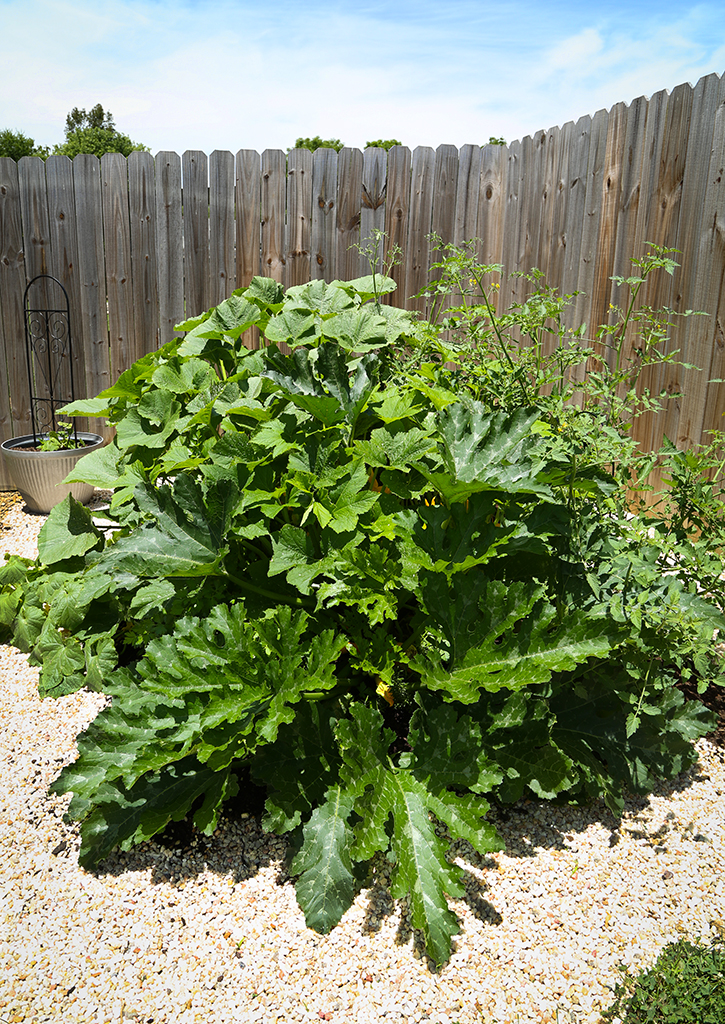
Here it is a month later!
There are lots of pros to having a lasagna garden, but only one con. And that’s upfront cost. Your lasagna garden will be an investment. Luckily the newspaper and cardboard will be upcycled (free!) but the bags of dirt, manure, and compost will be your initial investment. For a small bed (about 5×9 feet) with 8-12″ soil depth, you’re looking at around $150, but that’s variable depending on your location.
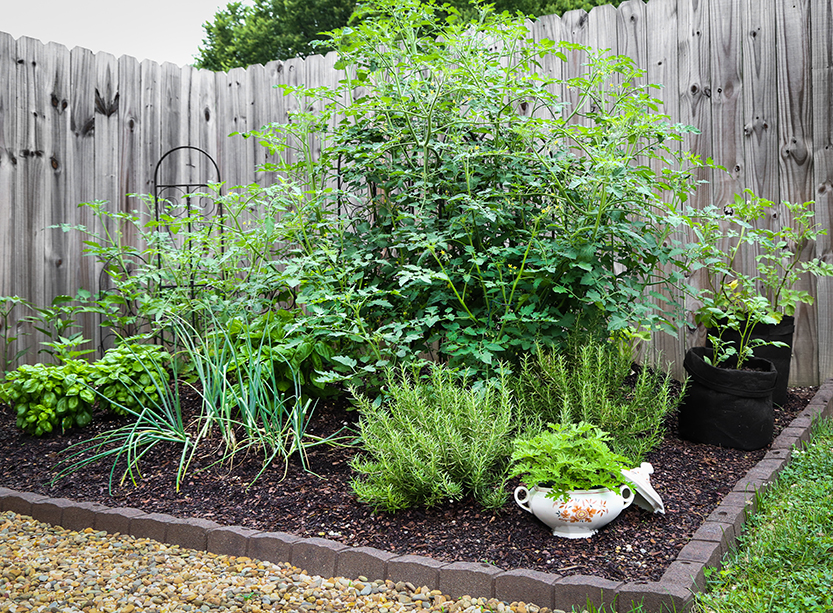
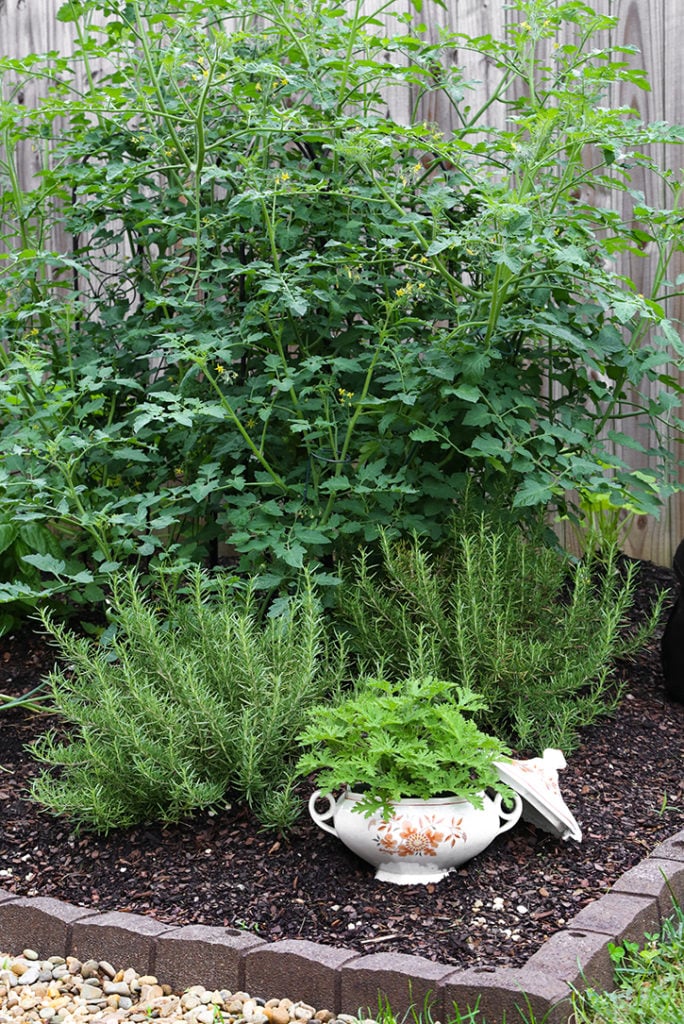
And here is the bed a couple of years later. I decided to expand it slightly and add a border. This bed has really been a growing powerhouse! When I tell you anyone can do this, I really mean it. I’m no homesteader, and I barely knew anything about growing plants when I started. I’ve learned a few things over the years but again – I remain an enthusiast and not an expert. If you’re looking to dig deeper (ha!) into lasagna gardening, there are many great online resources to guide you. This is just my experience that I wanted to share.
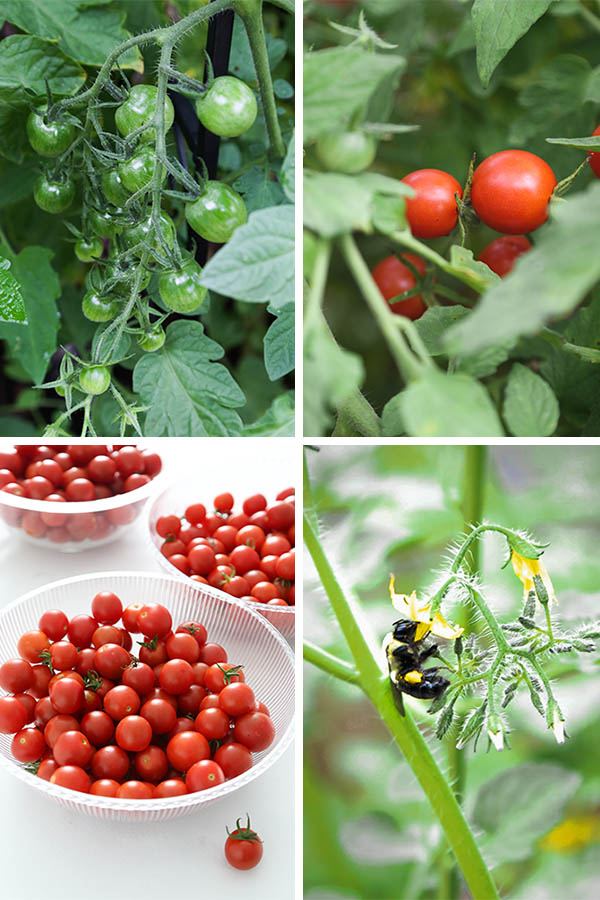
My lasagna garden just keeps getting better with time. My favorite things to plant are easy to grow veggies such as cherry tomatoes, herbs, zucchini, jalapenos, and green peppers. It’s so satisfying and fun to watch the plants take off during growing season.
Related post: Upcycle a Basket into a Planter
Lasagna Garden “Recipe”
Equipment
- watering hose
- rake
Materials
- Newspaper or Cardboard Enough to cover 46 sq ft
- 1 large bag Peat Moss 3 cu ft
- 2-3 bags Black Kow (cow manure) 1 cu ft
- 3 bags Mushroom Compost 1 cu ft
- 15-20 bags Raised Bed Mix 1.5 cu ft
- seeds or young starter plants
Instructions
Pick Your Patch
- Find a spot that gets 6–8 hours of sunlight daily. Size: about 46 square feet (roughly 5' x 9', 4' x 11.5', etc.).
Newspaper or Cardboard Base
- Lay down 4–6 layers of newspaper or 1 layer of cardboard across the entire area. Wet thoroughly with a hose. This smothers grass and weeds.
Peat Moss Layer (1st peat moss layer)
- Spread ½ bag of peat moss (about 1.5 cu ft) evenly over the surface.
Cow Manure Layer
- Sprinkle 2 bags of cow manure (2 cu ft) across the top. This part is stinky — but it’s gold for your garden. Use a rake to spread it out.
Compost Layer (1st compost layer)
- Use 2 bags of mushroom compost. If you have kitchen scraps, grass clippings, or coffee grounds, you can add those too. Spread using a rake.
Peat Moss Layer (2nd peat moss layer)
- Spread the remaining ½ bag of peat moss (1.5 cu ft). Peat helps with moisture retention and keeps the layers “light.”
Top Layer – Raised Bed Mix
- Dump and spread 10 bags of raised bed mix (15 cu ft total) over the top.This creates a fluffy planting layer for your seedlings or seeds to thrive in.
Compost Layer (2nd compost layer)
- Use the remaining bag of mushroom compost on top of the raised bed mix. Rake together lightly.
Water Like Crazy
- Soak the entire bed. This helps everything settle and start breaking down—just like a lasagna baking in the oven.
- You can plant immediately, or wait a few weeks for the layers to "cook" together. Over time, the soil improves and you’ll notice better growth every season.
Notes
Planting and Watering Tips
- You can plant immediately! No need to wait weeks. The top layer of raised bed mix and compost is already rich and fluffy—perfect for seeds and seedlings.
- Start with easy growers like lettuce, basil, radishes, marigolds, or zucchini.
- For root vegetables (like carrots or beets), make sure the top 6–8 inches are loose and well mixed—these crops need room to stretch.
- Space your plants according to the seed packet or plant tag. Don’t overcrowd—lasagna beds retain moisture well, so air circulation is important to prevent mold or mildew.
- Water deeply right after planting to help everything settle and to encourage deep root growth.
- For the first week, water daily, especially in warm weather. After that, check soil moisture by sticking your finger in the soil—if the top 1–2 inches feel dry, it’s time to water.
- Mornings are best for watering—this reduces evaporation and gives plants time to dry before nightfall.
- Mulch helps! Once plants are up, you could add a layer of straw, dried leaves, or even shredded newspaper to help retain moisture and reduce weeds.