
Making a DIY Confetti Pompom Letter is a fun, inexpensive way to create a trendy decorative accent for a room. This project is kid-friendly and can be completed with a little grown-up supervision.
A Fun Decoration!
If you have an assortment of a lot of pompoms around from various craft projects, this is an ideal way to put them to use. The soft look of an initial or monogram covered in pompoms makes a cute decoration for a nursery. Kids can choose colors to make their own DIY Confetti Pompom Letter decoration for their room. It would also make a cheerful, on-trend decoration for a dorm room. Or adults can make them to add some excitement to a desk area or home office.
Getting Started.
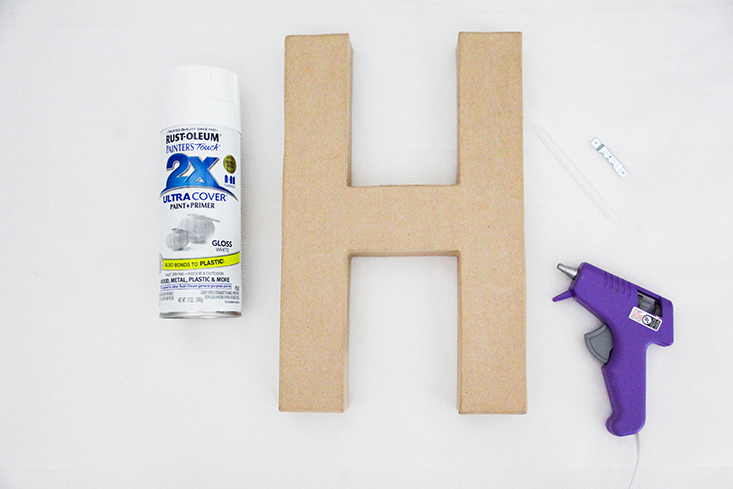
Get started with a paper mache letter of your choice. Many styles and sizes are available online like this 12″ letter H. There are many materials offered like wood or MDF, but the paper mache option is three dimensional and very lightweight. Paint the letter a base paint color of your choice. I used the universal neutral-white. This spray paint was already on hand, but you could use craft paint applied with a brush or roller.
You will also need a low temperature glue gun and a glue stick to attach a small 1 1/2″ sawtooth hanger to the back of the letter.
Pick your poms.
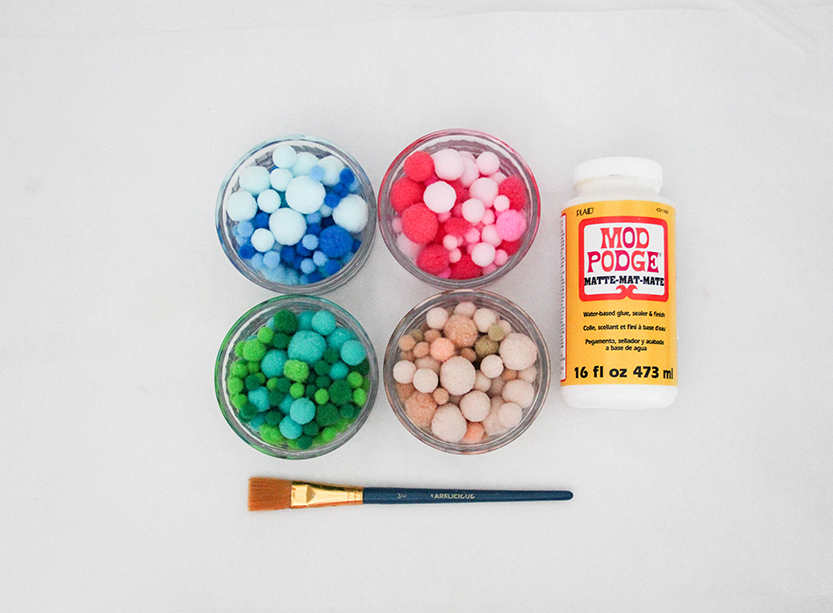
Chose the colors and material that fit your décor. I used these felt pompoms, but there is a huge selection of materials and textures available online. You can combine different hues and shades of color families together for a mosaic effect. Different sizes of pompoms can also create more visual interest. If your design calls for bands of color, it’s handy to divide each color way into containers.
I selected colors out of a big bag of pompoms, and it took around a cup of each color way to cover a 12″ letter like this one. If you’re buying small packages of pompoms, it might take 5-6 bags altogether to get good coverage.
Also needed is a brush and Mod Podge or school glue to attach the pompoms to the letter.
Prep your blank canvas.
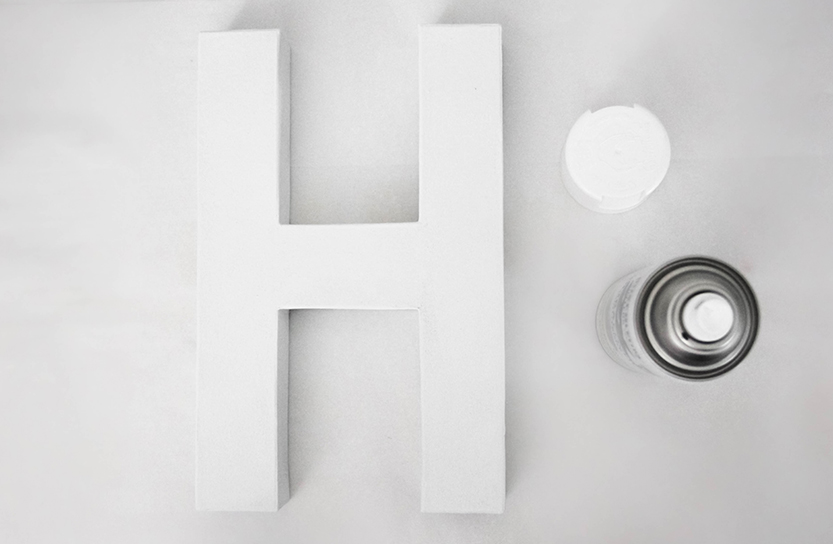
Paint the front and sides of the letter. This will look more finished and polished than leaving the craft paper color showing on any uncovered areas. If you like, you could paint the letter the same shade as your wall so that the sides blend in. Let the paint dry thoroughly before continuing to the next steps.
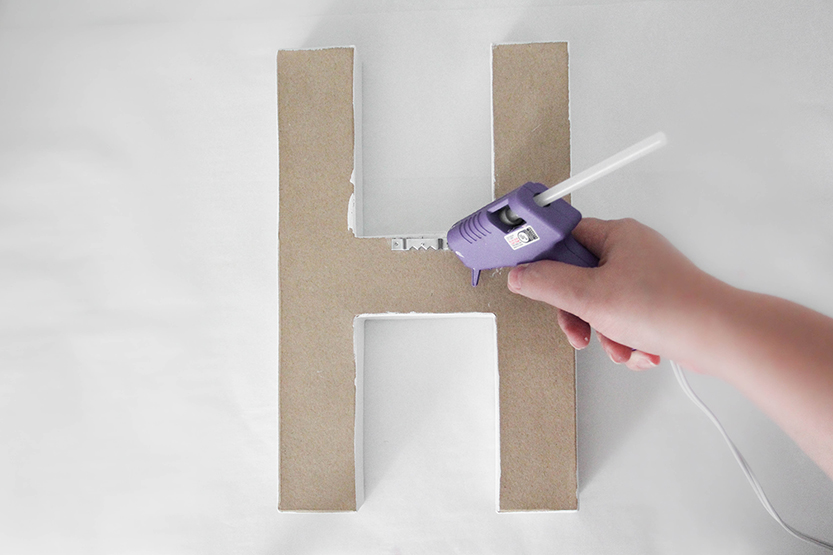
Add a hanger.
After the paint has dried, lay the letter facedown. Place the sawtooth hanger on the back center of the letter, or at the point you would like to hang the letter from. Attach the sawtooth with hot glue instead of using the nails that came with it. There is no need to attach the hanger with nails to the lightweight paper mache. The sawtooth hanger makes the letter easy to put up on the wall, but it could also sit on a shelf or tabletop.
Arrange and adhere.
If you are wanting to create bands of color, play with what order the colors go in by lining them up beside the letter. It’s easy to rotate the containers of pompoms to see which colors look best next to each other.
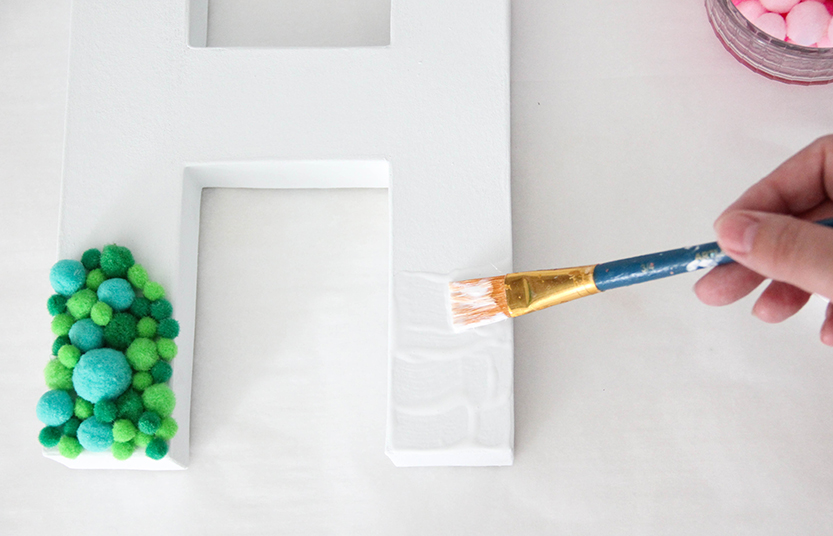
Next, paint a heavy layer of glue onto the letter, one area at a time. You can start on one end, or in the middle. Paint it on thick, because you want to place the poms on the letter before the glue dries.
The Pompom Process.
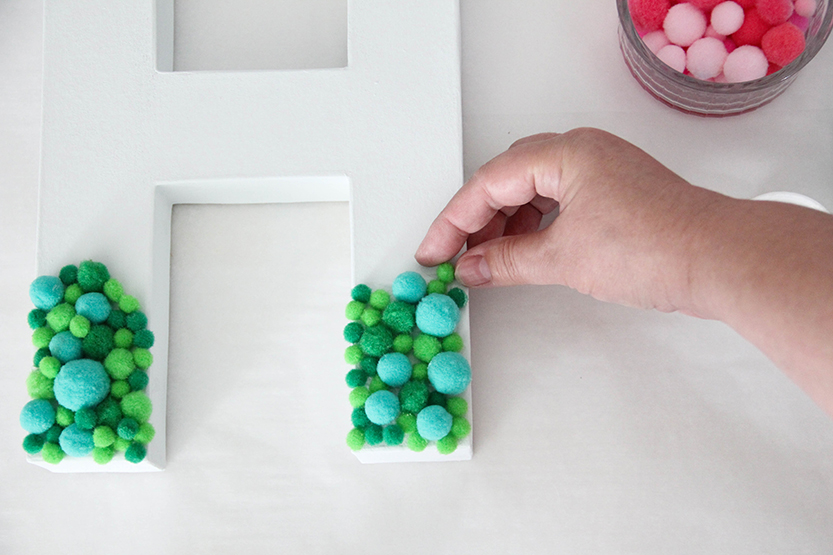
You can pinch up several poms at once and place them onto the glued area. Spread them out by pressing the mass of them down gently with the palm of your hand. Fill in any gaps with smaller pompoms. Add a dot of glue to the back of some poms and stack them on top of the bottom layer for more dimension.
Start the next color band by painting another thick glue area next to the finished color. Repeat the process of sticking on pom poms, filling in gaps between colors. If you want a smooth and not sharp transition between colors, let some of the different colors overlap each other along the the edges of each band. Keep this process going until the entire face of the letter is filled.
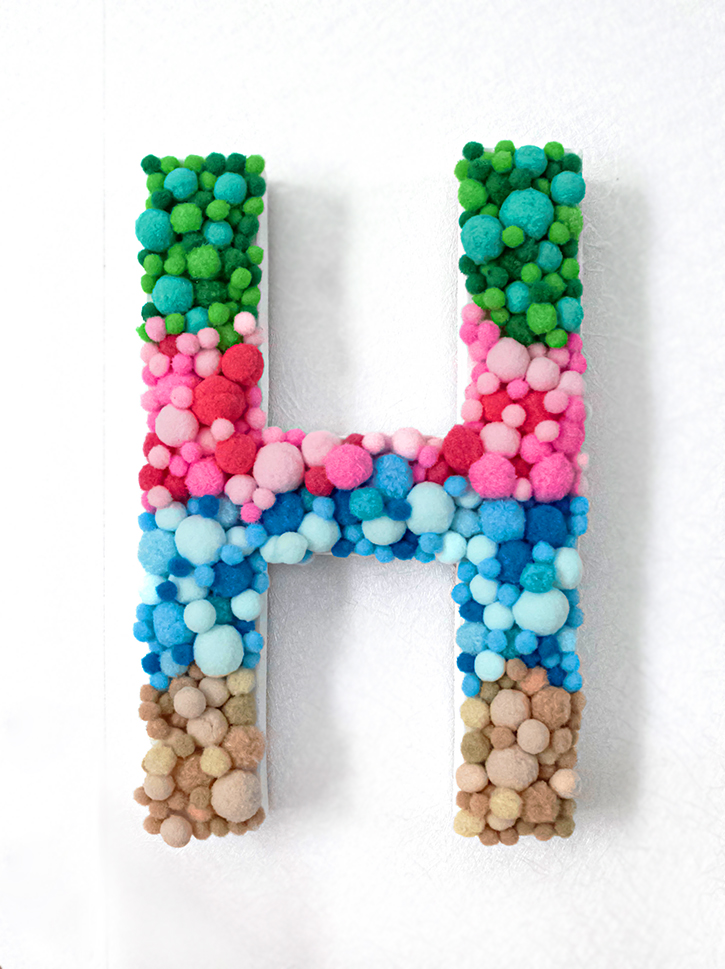
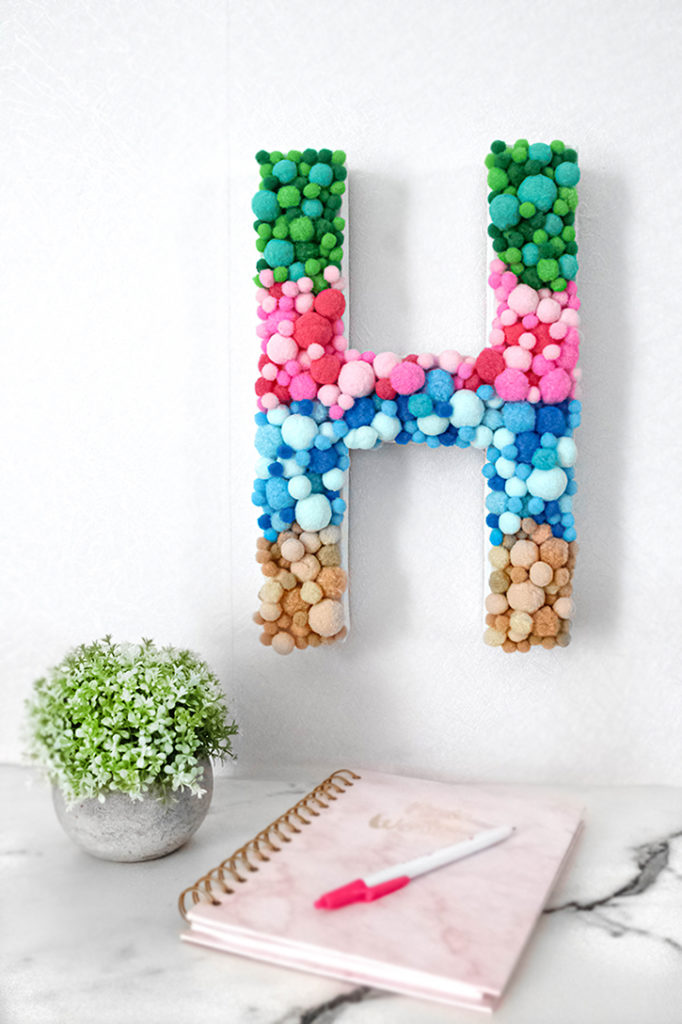
The Finished Letter.
I let the pompoms follow the edges of letter, creating an organic edge for more visual interest. This works well with the soft texture. You can cover the sides with pompoms if you want to, but leaving the sides uncovered gave the letter a three dimensional floating effect. You could add letters for a monogram or to spell a word for even more visual impact!
For another child-friendly project idea, check out this Pom Pom Love Bug Craft for Kids !