
Greet spring with this DIY carrot door hanging just in time for Easter! A cheerful, whimsical door decoration for warmer weather that gives a nod to flowers in bloom, vegetable gardens, and the Easter Bunny, yet makes a bold statement.

Some of my favorite high end online home décor shops feature cute carrot door hangings this season. It’s a fun approach to a spring door hanging, but the prices aren’t all budget-friendly. If you’re crafty, you can make your own for much less than you’d pay. This project was inexpensive and easily made using a cone, silk flowers and faux greenery. And it only took little more than a couple of hours to make.
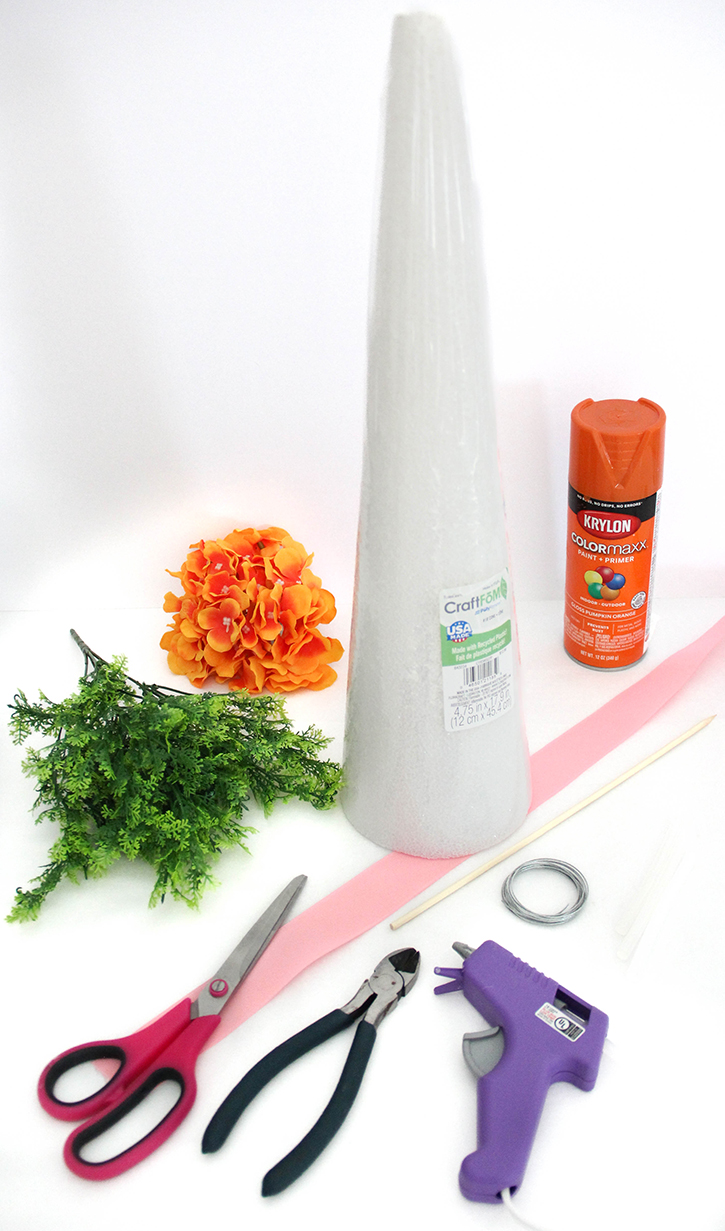
Step 1: Materials
Creating the look
You will need a form for the carrot part. I chose a foam cone, which is great for most floral projects. These are readily available in craft stores or online in a variety of sizes. This 18″ x 5″ foam cone is the perfect size and shape for the body of the carrot, especially if you want to make this a bold statement piece. Full size, it finishes at about 30″. A smaller cone could be used to create a smaller hanging.
I had this Krylon Colormaxx Pumpkin Orange spray-paint on hand from another project. I chose an orange background color for the carrot, but a shade of green would probably also work well. Painting the cone a base color will keep that bright white Styrofoam from peeking through gaps in the foliage.
A few bushes or stems of blooms like these orange silk hydrangeas will be needed to color the carrot part of the hanging. Any smallish to medium flowers such as daisies, mums or marigolds in an orange hue will work well for this project.
Top it off with three or four bushes of greenery that look like carrot tops, like these asparagus fern bushes. Make sure they have long, sturdy stems that will anchor well into the Styrofoam.
Add some ribbon of your choice for an extra decorative touch. I used about 60″ of this 1 1/2″ wide pink grosgrain ribbon to wrap around the greenery at the top and tie into a simple bow.
Tools
Tools that you will need include scissors, a low temperature glue gun and glue sticks, a large skewer with a sharp end for piercing the styrofoam, wirecutters, and around a 10″ length of some lightweight wire to use as a hanger.
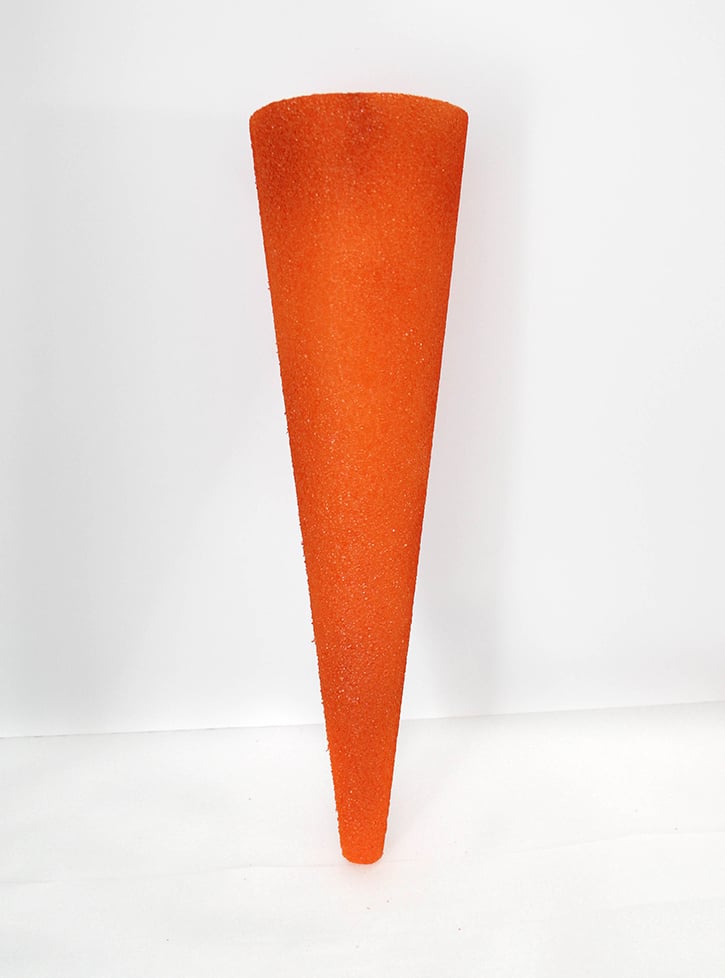
Step 2: Spray paint the cone.
Following the product instructions on the can of spraypaint, paint mostly the front and sides of the cone. Just the parts that will show when it’s hanging. You can cover it completely if you want, but that won’t be necessary. Let the painted cone dry for at least an hour before handling it.
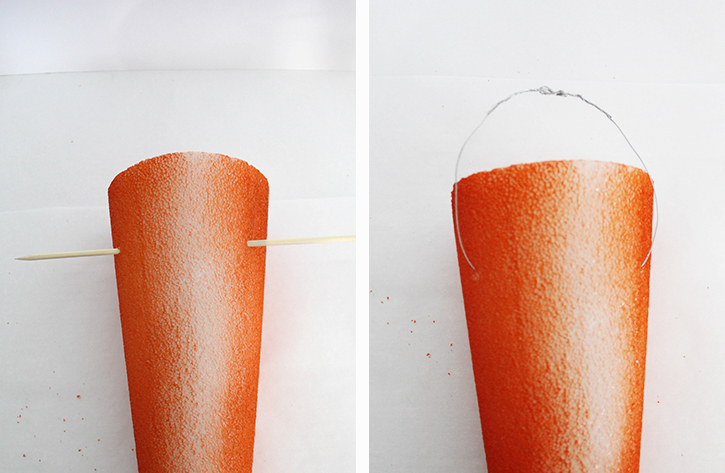
Step 3: Create a hanger.
For the hanger on your carrot door hanging, carefully drive the sharp end of the large skewer through the back of carrot near the top. About a quarter of the way into the cone. You will have to firmly hold onto the cone, and push the skewer until the end emerges out the other side. You can push the skewer against a the tabletop or tap it with a hammer if the foam seems kind of tough. Pull the skewer out with care so the foam doesn’t brake off. Thread the length of wire through this tunnel you just made in the body of the carrot, and twist it together to form a loop. The size of the loop can be adjusted when the hanging is finished if you need to.
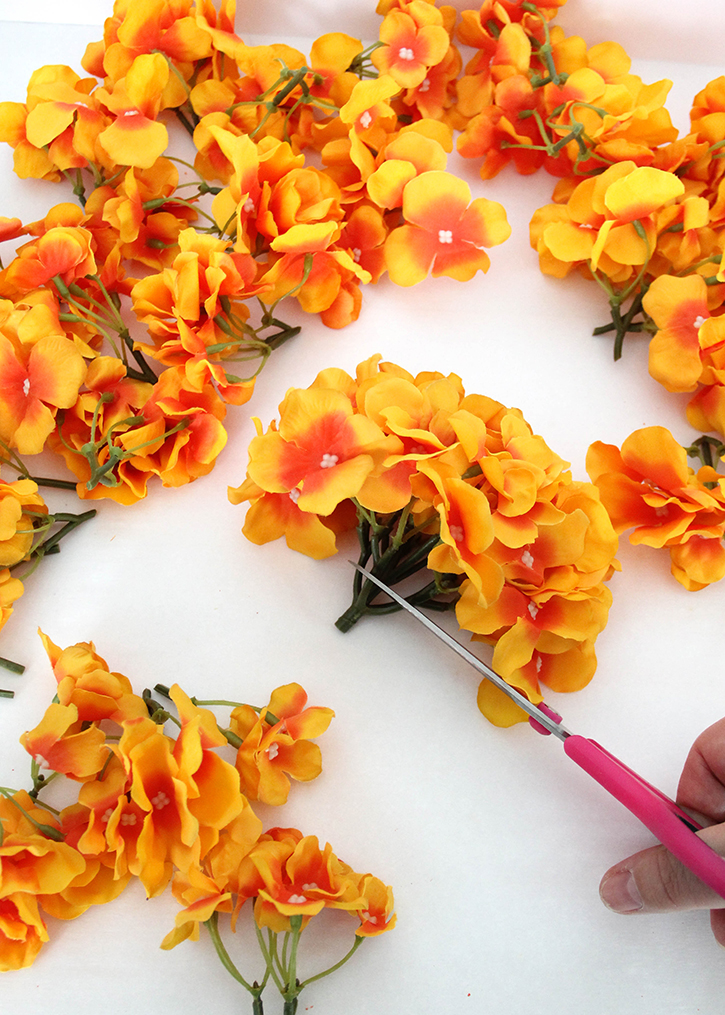
Step 4: Snip some flowers.
This project used nine globes of hydrangea blooms, that I reduced to smaller clusters, and a few individual flowers. Cut any flower bunches down into smaller elements using the scissors or wire cutters. The pieces you end up with do not need to have stems much more than an 1.5″ long. Just make sure the stems will still easily stick into the foam.
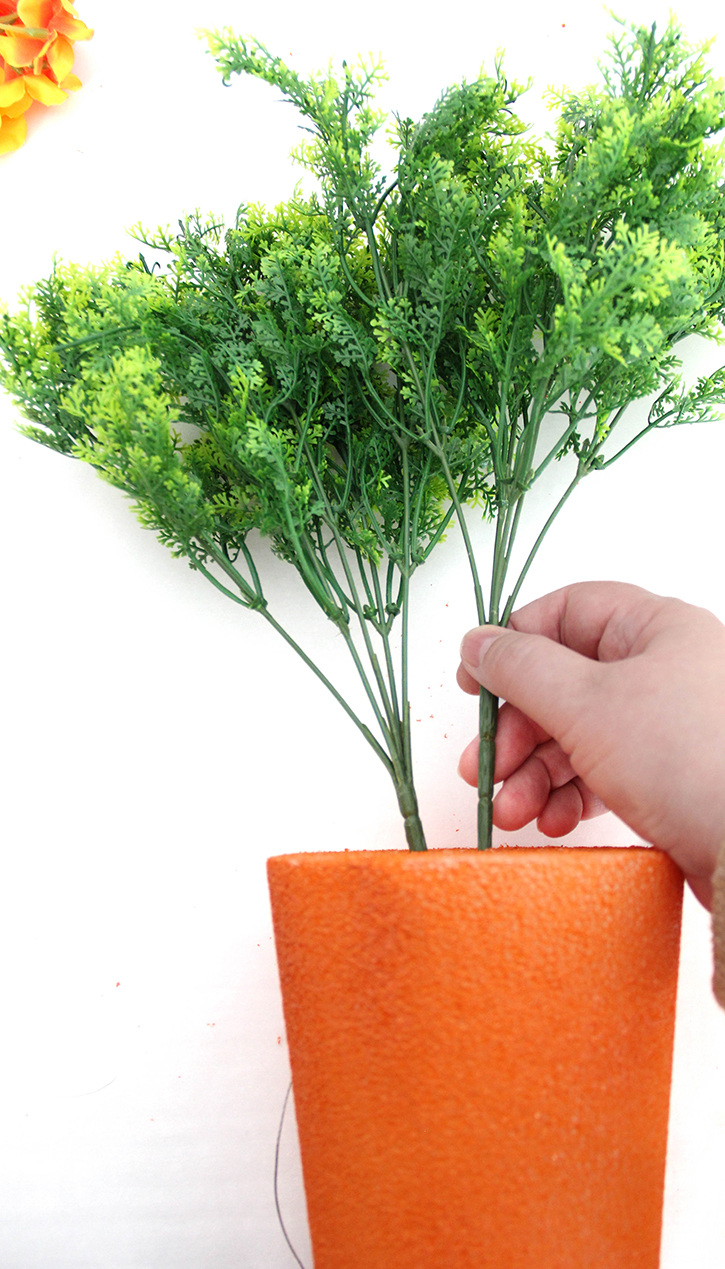
Step 5: The carrot top.
First gently push the green bushes into the top center of the carrot in a cluster of at least three. Use four bushes for a fuller look. Space them closely, but not right together. Press the stems far enough down into the stryrofoam to have a good anchor and not fall out. You can reinforce them with some hot glue around the base of each stem.
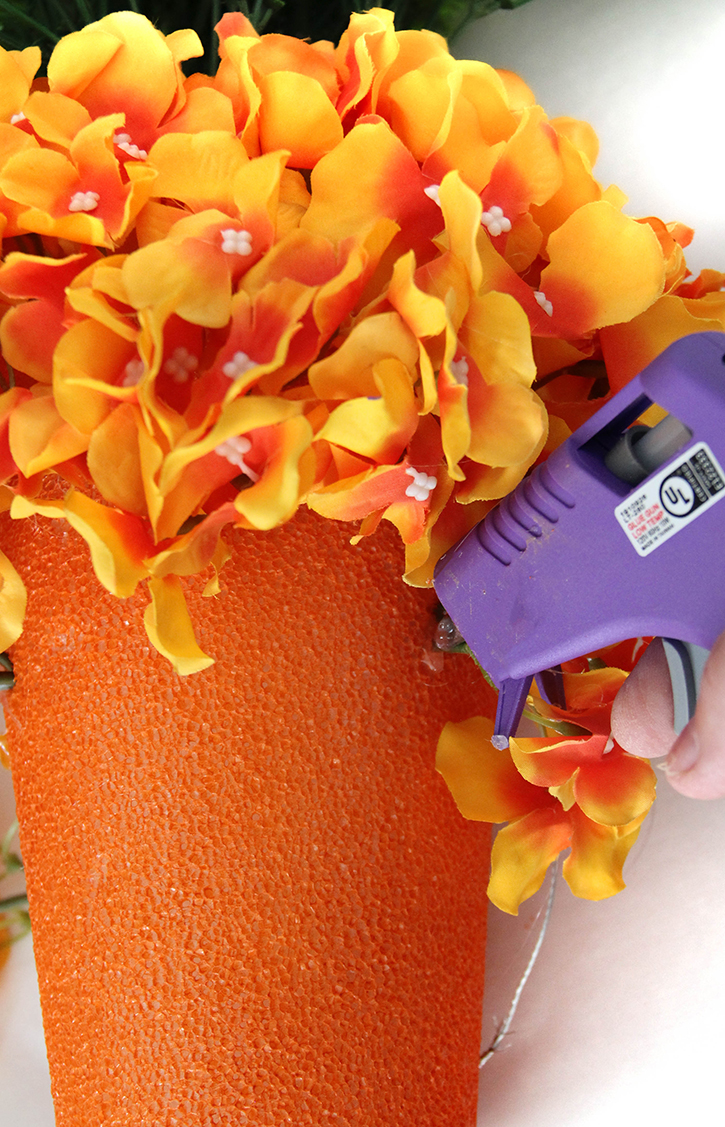
Step 6: Glue them on.
Start building the root of the carrot by placing a few of the blooms at the top, around the base of the greens. Press the stem of a cluster of flowers into the foam and anchor it with some hot glue. If the stem is soft, use the point of the skewer to make a hole to place the stem into.
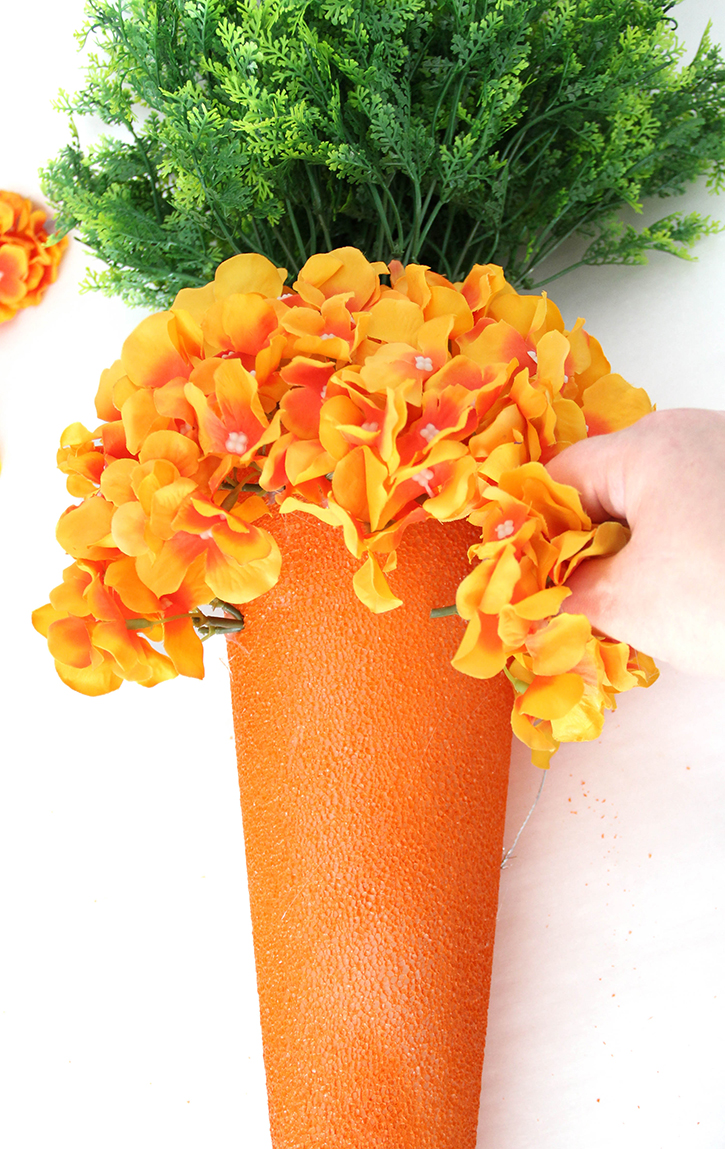
Cover the front and sides of the cone with blooms. The back doesn’t need to be covered, you can leave the flowers off the back so it will hang evenly. Work your way down the cone to the end, gluing flowers into place. Any gaps can be filled in with smaller clusters of flowers and single blooms.
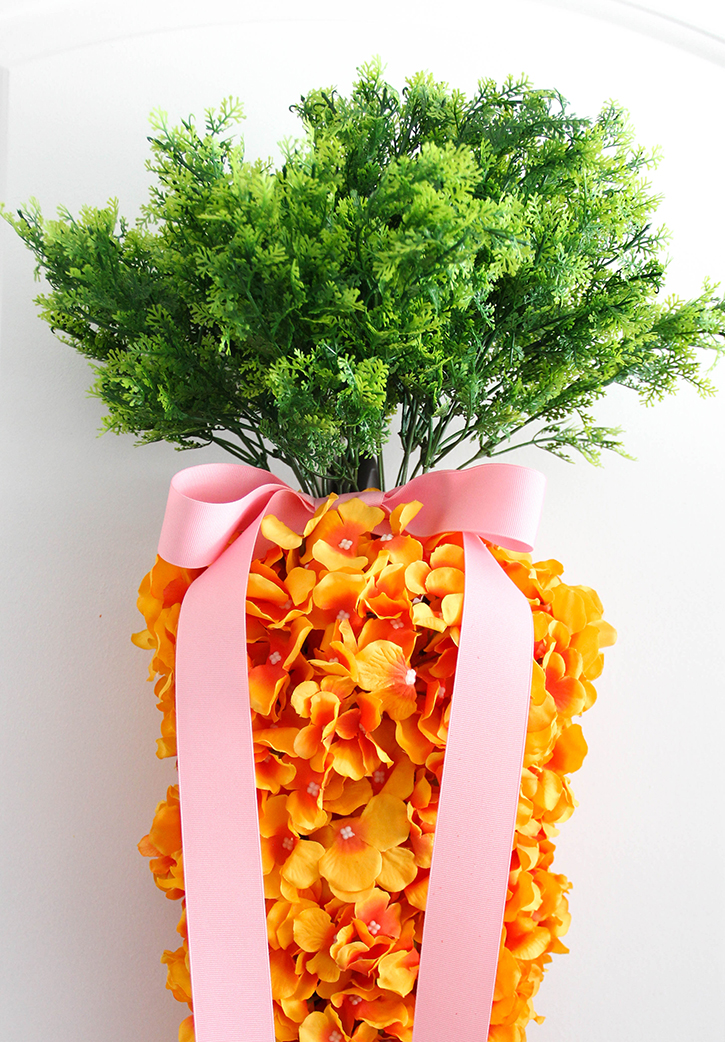
Step 7: Add a bow.
For a bright finishing touch, tie the length of ribbon around the stems of the carrot greens. A simple bow with ends hanging down will do! But do trim off the ends for a neater appearance. You could give your carrot a dressier look by adding a fuller, layered bow on a pick. Now it’s ready to hang on your front door! This is very lightweight and could be hung using a Command self-adhesive hook.

Making your own DIY carrot door hanging for Easter is a fun afternoon craft project. It’s an eye-catching and happy decoration that will dress up the front entryway of your home for the season. It’s sure to be a perennial favorite that can be brought out for spring decorating year after year.
Related project: Luxecycled Glitter Bunnies