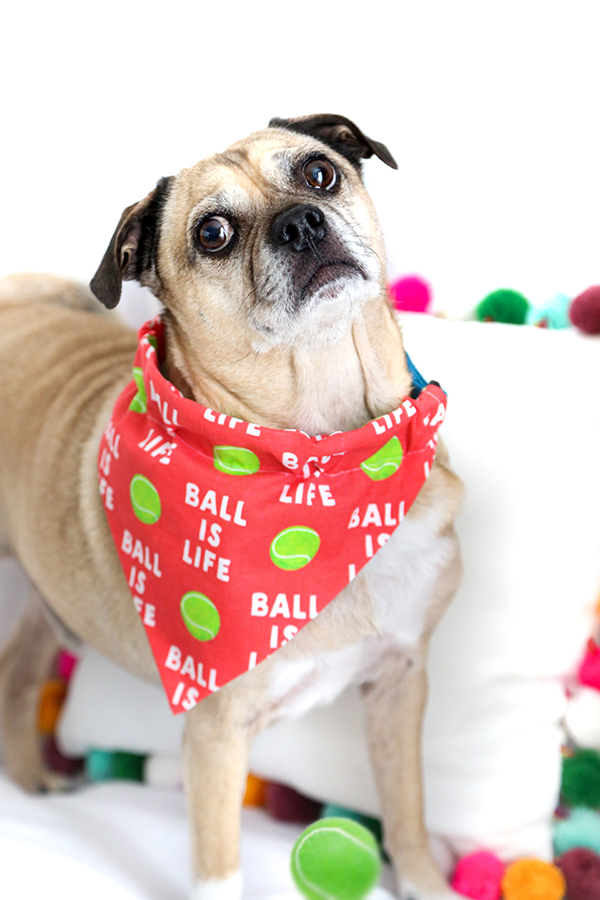
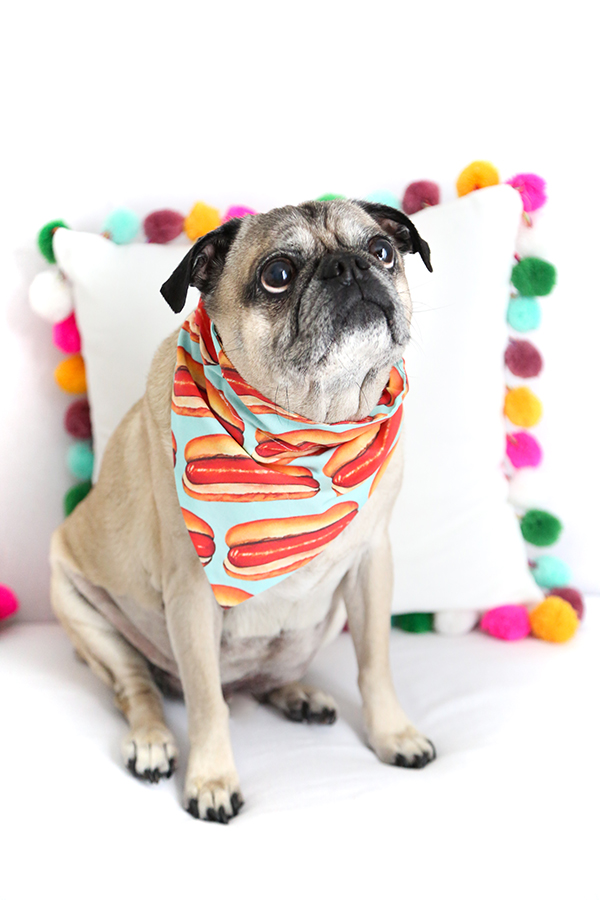
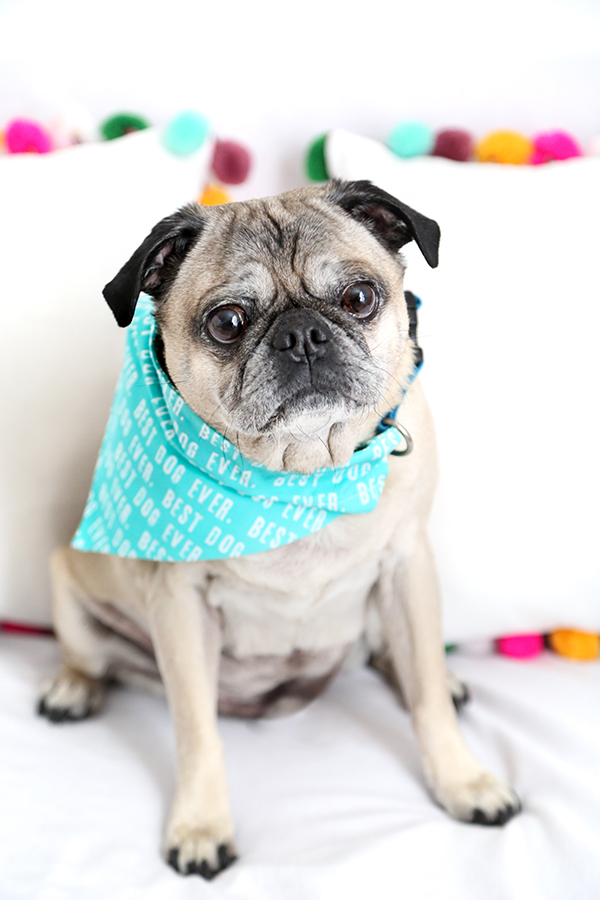
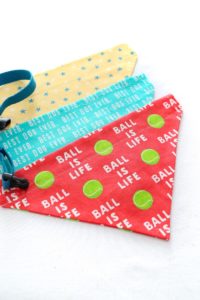
Pupdate your dog’s wardrobe with easy sew bandanas! They are quick to make, so stitch a few for your BFF (Best Furry Friend).
Hello! Heather here! I’m so excited to share these cute bandanas that my mom whipped up for my three puggies. Before I hand this post over to her, I wanted to give you the sources for my fabric. You could use practically any fabric you like, including up-cycled material from old shirts or fabric remnants, but I fell in love with some fun fabrics while shopping online.
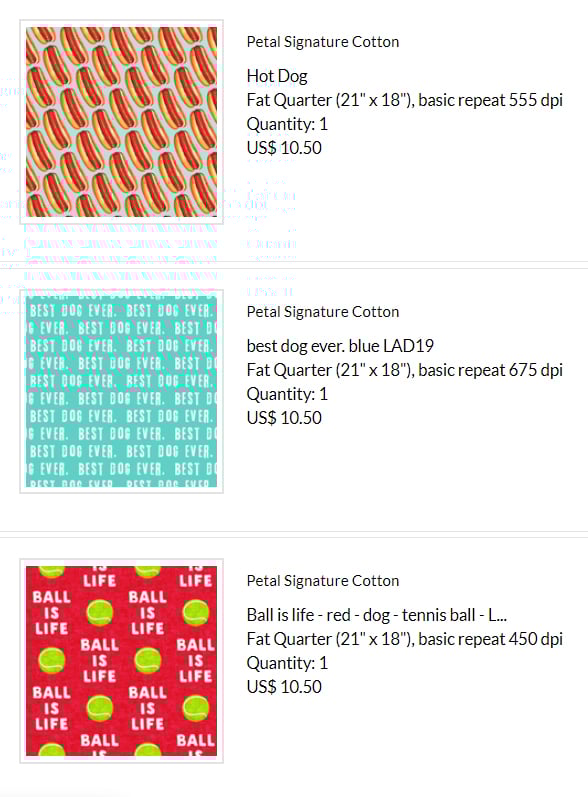
Spoonflower has printed cotton fabrics that I just adore (they wash well!) and these motifs made me smile. So I splurged on a few fat quarters and handed them over to Mom. You can find the prints used here: 1, 2, 3 – and there’s so many more to browse!
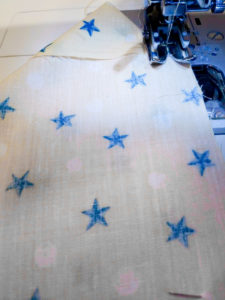
In this post Churro sports a yellow bandana with blue stars which was made from fabric my mom already had on hand. You could probably find something similar at your local craft store in the kid’s prints.
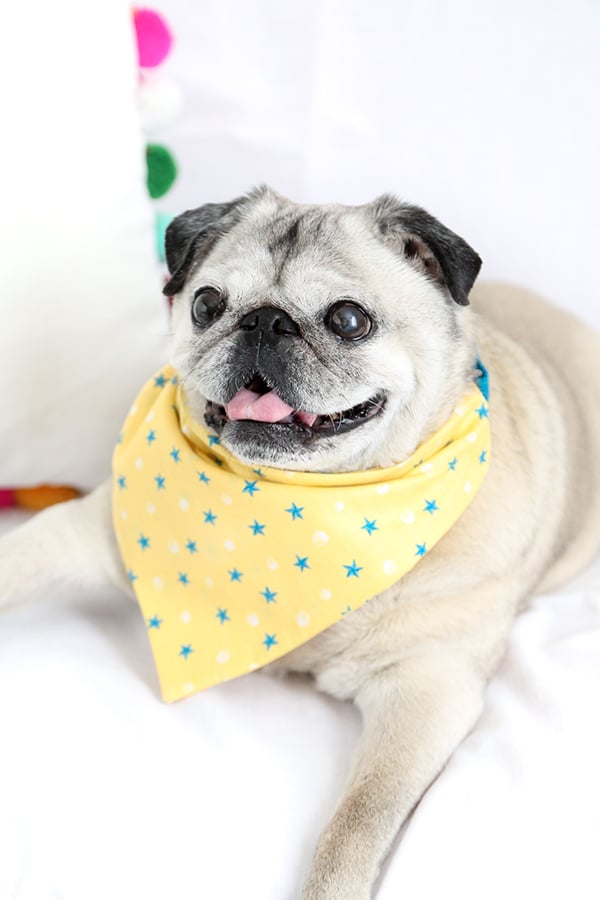
(And most tolerant – I think he’s tired of modeling.)
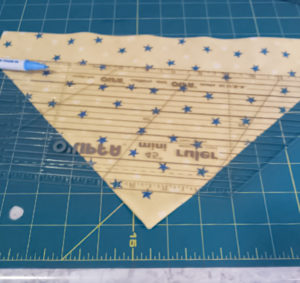
Hi all! I’m Katie, and I’m going to show you how to make these cute doggy bandanas. There are several ways to make them, but we are using a simple square folded into a triangle to make ours. Since our dogs are medium size pugs we are using a 12 x 12 inch square. For smaller or larger dogs use a smaller or larger square and follow the same instructions as for our medium size. Since our furry friends come in all sizes, I suggest making a paper pattern and folding it into a triangle and holding it up to your pet to see how it will fit before cutting fabric. My instructions are in the handy printable below. Happy Sewing!

Easy Sew Dog Collar Bandana
Equipment
- Sewing machine
- Pair of scissors
- Iron
- Straight pins
Materials
- 1 fat quarter cotton fabric
- sewing thread to match fabric
- dog collar
Instructions
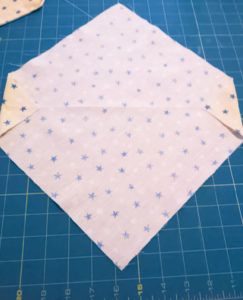
- Cut a 12 x 12 inch pattern from paper. Lay the pattern onto fabric that is facing right side up (the printed side). Pin pattern to fabric. Using scissors, cut the fabric following the outline of the pattern. Remove pins.
- Flip fabric with the wrong side up (the un-printed side).
- On opposite corners turn under 2" measuring to the pointed end of corner facing toward the center. Press with a hot iron.
- Next, fold the right sides together matching the opposite corners. Pin in place.
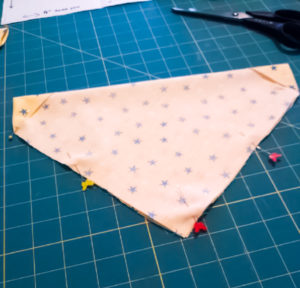
- Begin sewing a 1/4" seam, starting just below a folded edge, and then back stitch to secure. Continue sewing down the side to 1/4" from the bottom point. Leaving the needle down into the fabric, pivot fabric and sew the other side maintaining the 1/4" seam line; back stitch to secure. Turn the bandana to the right side of the fabric by pulling it through an open end. Press with a hot iron.
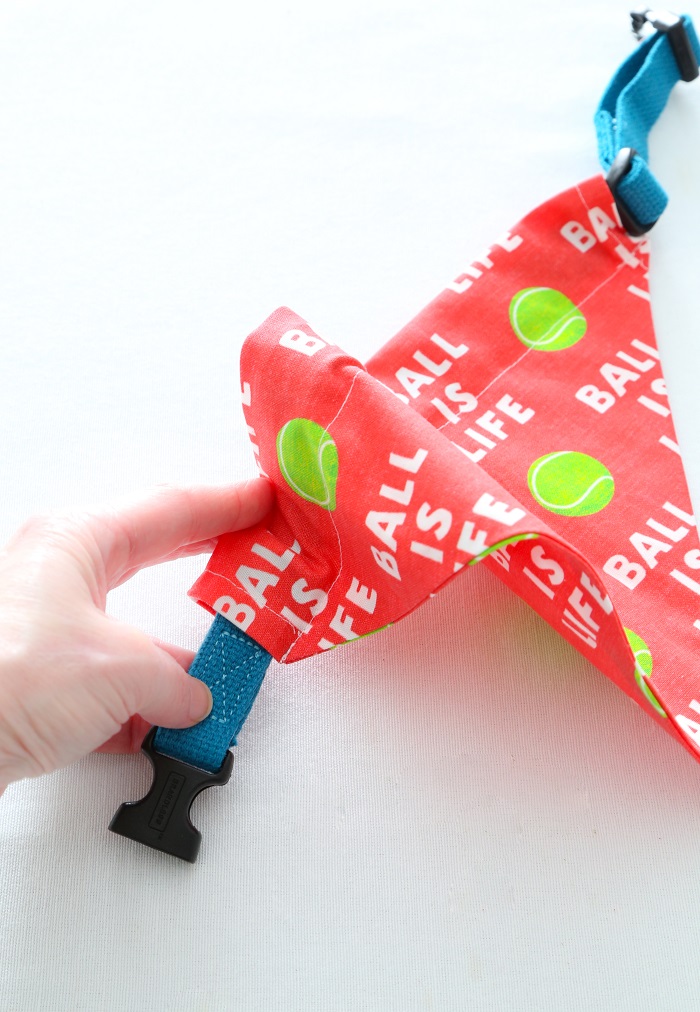
- Using a water soluble ink marker or chalk marker, draw a line across the top section of the bandana starting at the bottom of the opening and aligning across to the bottom of the opening. This will give you a guide to sew a straight line and it will make a pocket for a dog collar to slip through. Use a damp cloth to remove the mark.
- Insert the collar through the opening and adorn your pup!
Notes