
Our Easy Abstract Art for Beginners guide shows you techniques to kick-start your art!
This approachable guide will get you started creating your own decorative abstract artwork. If you’ve never painted before, this project could lead to a new way to express yourself. For beginners, use it as a reference for easily creating inexpensive artwork for your space.
It will also help you source budget-friendly materials to create your own DIY Abstract Art for Beginners.
Get Inspired!
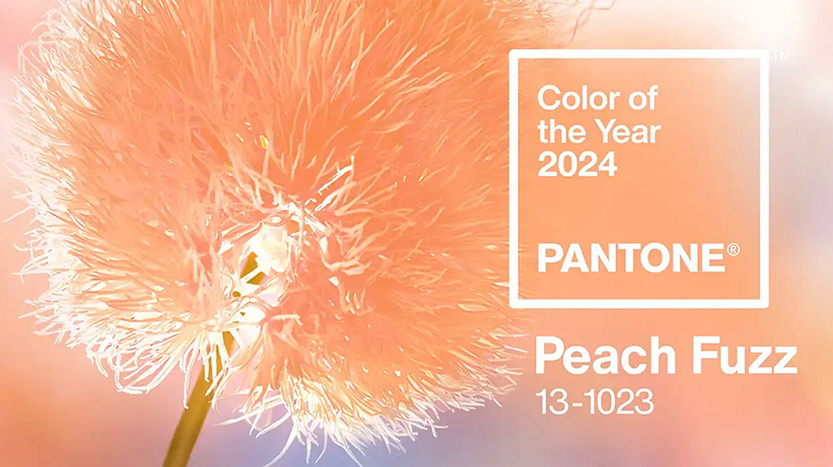
If you have a neutral interior but are looking for a palette to liven things up, try using the Pantone Color of the Year as a design inspiration!
Every year the experts at the Pantone Color Institute use a meticulous process to analyze global color trends and influences from many different industries and spheres of life. In 2024, the Pantone Color of the Year is Peach Fuzz. It’s a warm, soothing tone that will show up frequently in fashion and interior design. For more information about the Color of the Year, go to the official Pantone website.
I paired this warm hue with a soft, cool blue tone. In the design industry, shades of blue are expected to trend for the year as interior paint colors. Blues are complimentary colors to orange tones. Using color theory, complimentary colors are opposite each other on the color wheel. The contrast of using complimentary colors together creates a visual pop that makes designs more energetic. You could also use shades of teal or green to compliment orange tones.
You could also use analogous or close tones for a calmer, more monochromatic composition. For more on color theory, search online or use this helpful article.
Materials and Tools Overview
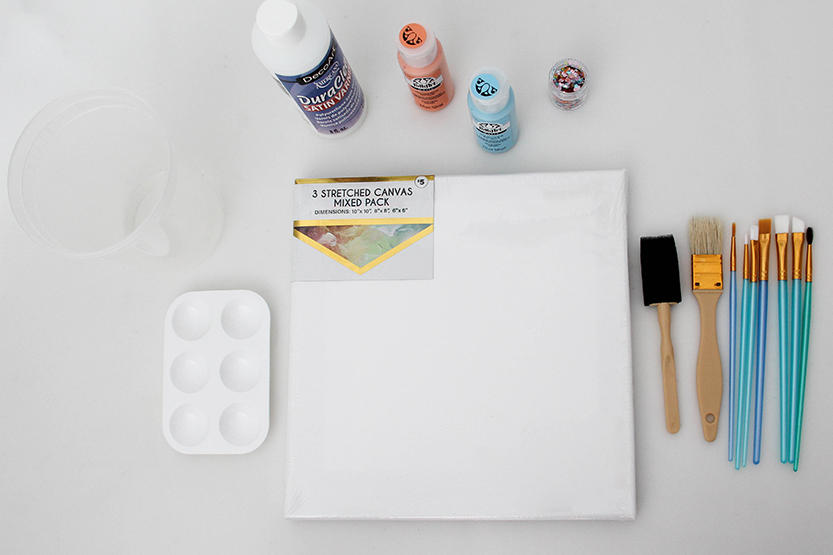
For this project you will need one or more stretched canvases, of course. You will also need two or more acrylic paint colors to start, and some liquid polyurethane varnish. A sponge brush, a smaller bristle brush, and a variety of smaller art paint brushes will also come in handy. Also palette of some kind, and a clean water container that at least holds 12 ounces. The craft glitter is optional, but can be used to give your compositions more pop.
You will also need a ruler or other measuring device, and hardware such as sawtooth hangers to hang the finished paintings with.
Acrylic Paint – Don’t Break the Bank!
FolkArt brand paint or other craft acrylic paint works for art projects as well. You don’t have to be intimidated by delving into fine art paints if you aren’t familiar with them already. Fine art acrylics can also be expensive. If you’ve ever wondered where the ‘starving artist’ expression comes from, take a look at the price of art supplies! The great thing about craft paints is that they are widely available and less costly. You can purchase them online, but craft stores and discount stores like Dollar Tree, Five Below, and Dollar General Popshelf can be inexpensive sources of basic art and craft supplies.
Craft acrylics also work really well for a project like this because they have a more liquid texture that is easier to handle. They are very easy to apply in any thickness. Fine art acrylics are designed to have a texture close to oil paints, and have a heavier texture.
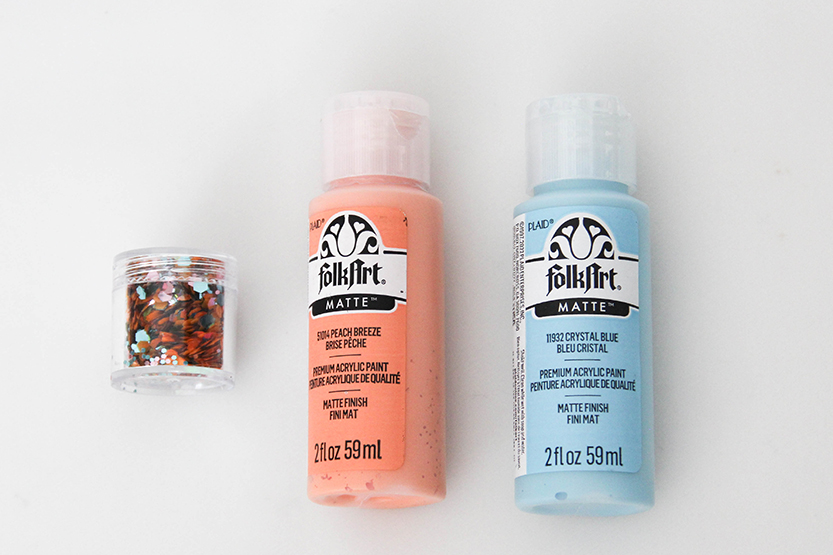
You don’t have to worry about mixing paint colors, either. You can use swatches of your inspiration colors to choose paints, or you can just shop for color combinations you like-already mixed and ready to use. FolkArt Peach Breeze is close in color to Peach Fuzz, and Crystal Blue is a soft shade that compliments, but doesn’t overwhelm peach tones strongly. I could have also used lavender or other light purple tones, since purple is also complimentary to orange hues.
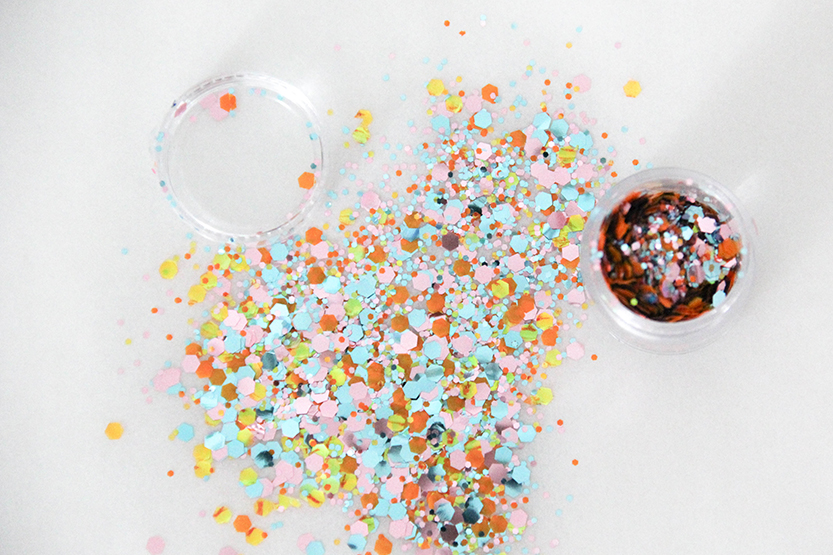
I chose a chunky glitter in a peach and light blue mix to add embellishment to the compositions. It’s something to use as part of the design, rather than to coat the whole surface of the canvases in sparkles.
Why Varnish?
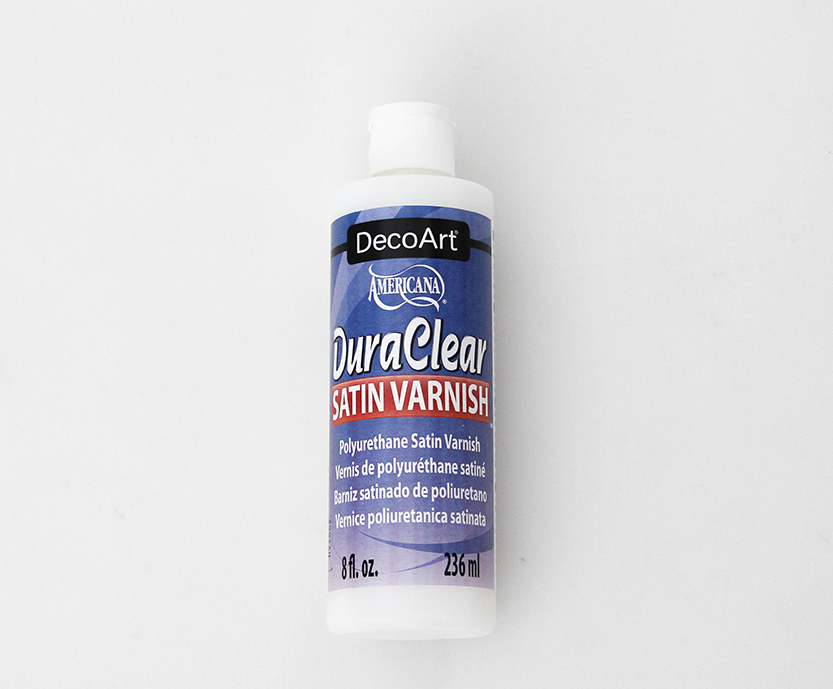
Choosing a liquid polyurethane varnish to brush on to the canvas is easier to use than a spray-on varnish in this case. It’s easy to find and usually for sale near the craft paints. I found this DuraClear satin varnish as a reasonably priced alternative to a spray varnish. You really get a good quantity for your money, and this can be used for many future projects. There no hazardous fumes to deal with, and no extra ventilation is needed as a safety precaution. Plus, it dries faster. Coatings can be used to layer paints, as well as acting as an adhesive for glitter. As a final protective coating, it’s non yellowing and protects the finished painting from stains.
A satin varnish works best for most applications and lighting conditions. It enhances color, where a matte finish might dull underlying colors. A glossy finish can create glare in certain lighting situations, and you probably want to be able to see your art! So satin varnish it is.

A Closer Look at Palettes and Brushes
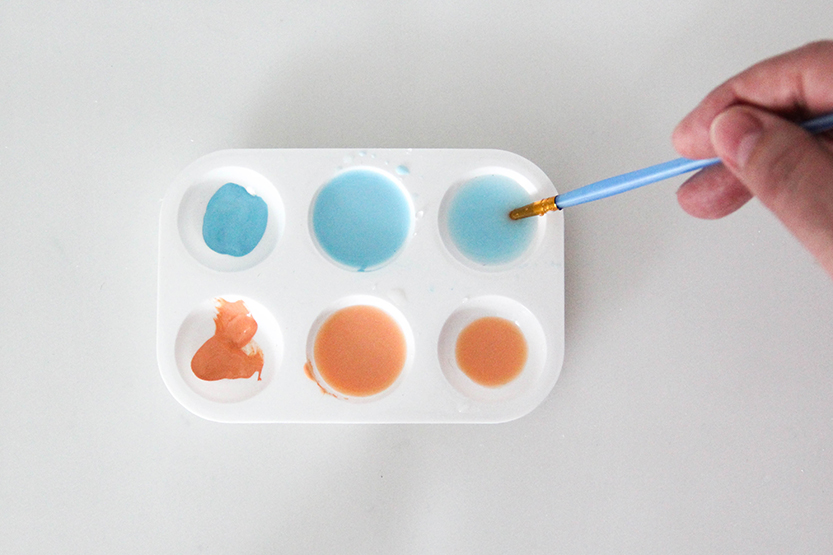
A smaller palette like this with multiple cavities works well to create smaller paintings. You could use a larger container like a muffin tin for making bigger paintings. Multiple cavities are key-you are going to use them to make dilutions of your paints with water, because the technique I’m going to show you uses acrylics like watercolor paints!
If you are a beginner, watercolor techniques and creating abstract art are a good gateway to painting if you don’t have much experience with it. The aim of abstract art is not a realistic recreation of something, it’s more about expression. A watercolor style can lend itself well to abstract compositions because of its loose, accidental nature. Watercolor does not involve having as much control over the paint as you have with applying it the way you do an oil painting. The beauty of it isn’t in the control, it’s in having an idea how the paint will behave, and manipulating it to have the effects you want.
As for brushes: you will need a sponge brush for adding thin layers of water, and later even coatings of varnish. An at least one inch or wider bristle brush can be useful for adding larger areas of color to the painting. Smaller brushes are good for adding textures or details to the composition. You can often find brushes like these in a set with art and craft supplies.
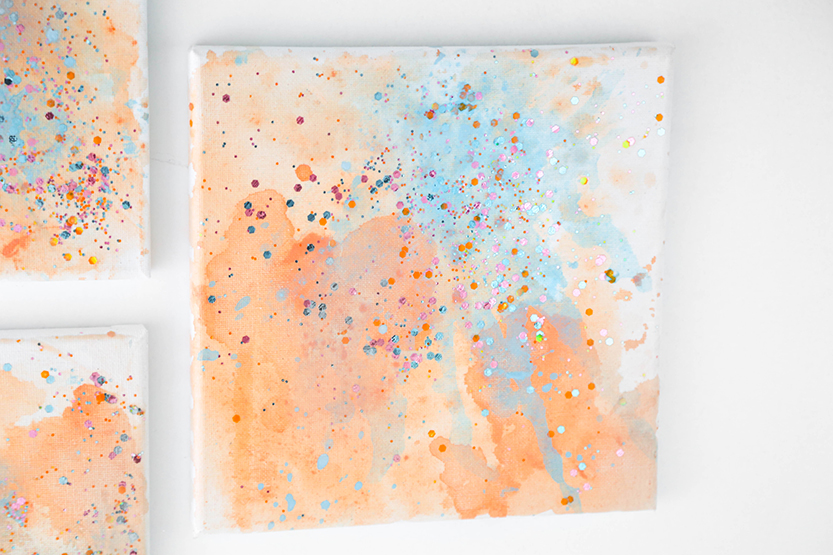
Canvases
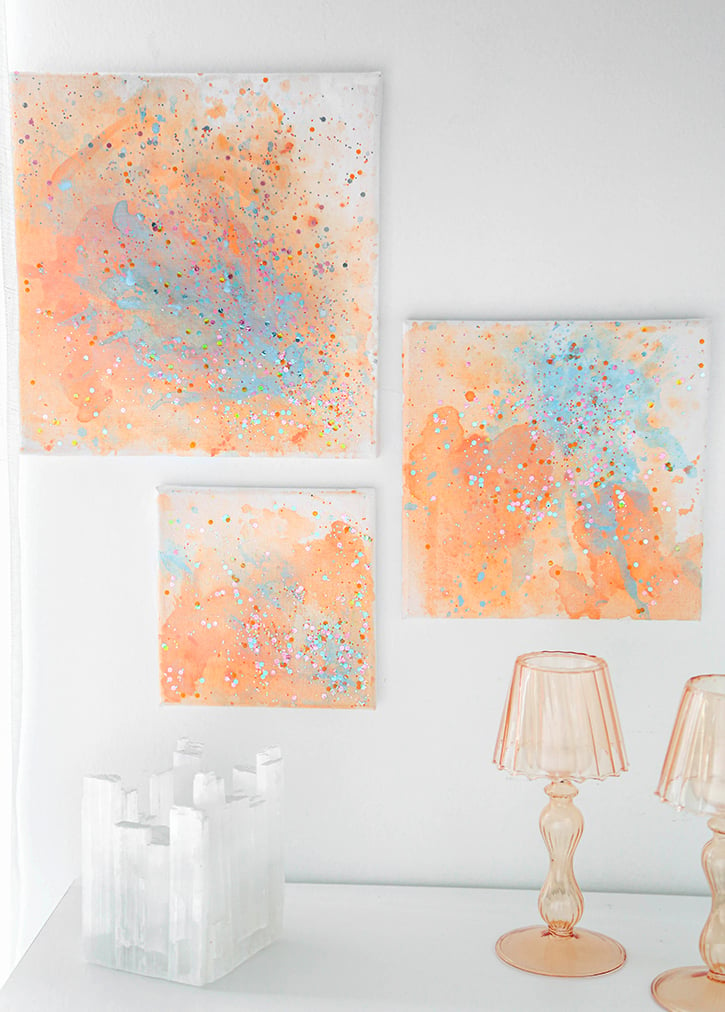
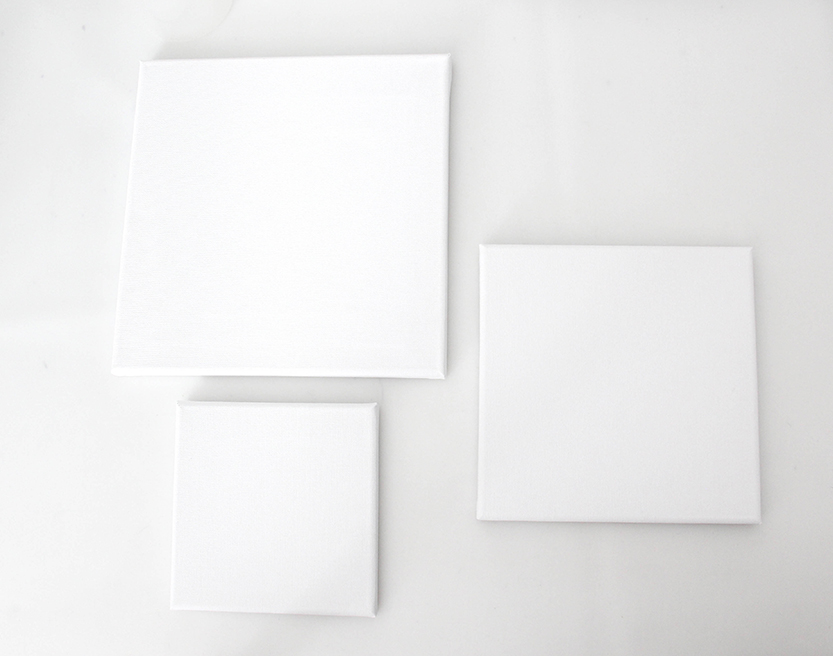
Some pre-stretched canvases can be less expensive these days. I got this set of 10″ x 10″, 8″x8″ and 6″x6″, with the canvas stapled on the back, at Five Below for only $5! This grouping can fill up to a 28” space. Arrange a layout of the canvases before painting if you are making multiple pieces that go together in a grouping. This will help you decide what kind of composition you want to paint for the grouping. I chose to arrange these in an asymmetrical, but balanced triptych here.
You can create one piece to fill a smaller space, or use a group of smaller canvases for a gallery wall effect. Of course, you should use one or more bigger canvases to fill larger spaces.
A pre-stretched canvas that is stapled onto the back, or gallery wrapped is a very cost-effective option because no added frame is required! It’s a clean, more contemporary look that suits abstract art, and you won’t feel the need to add the extra expense of a frame. A gallery wrapped canvas with deeper sides will further enhance the look of larger canvases, because it adds extra dimension to the painting.
First Thing – Add a Hanger
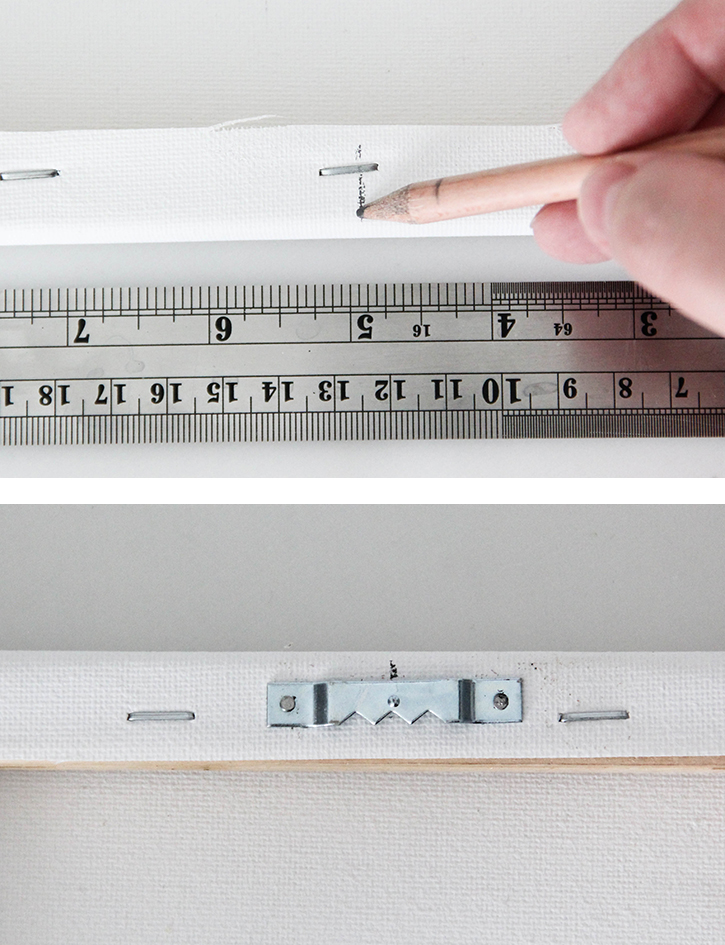
Attach a hanger of some kind, whether it’s a sawtooth hanger or a wire, before painting the canvas. Since you usually have to lay the canvas face down to do this, it’s better to attach the hanger before you paint it. This cuts down on potentially scuffing or damaging the front of the finished painting.
Sawtooth hangers like this generally work best for small canvases. Take a ruler or tape measure and find the center on the top side of the back of the canvas. Mark the center in pencil. Sawtooth hangers might have a little bump in the middle of them, and you can use this as a guide to center the hanger before you attach it. These canvases are very lightweight, and I could have attached some hind of self-adhesive hangers to them. However, a hanger that anchors into the frame of the canvas is always more stable. Any hanger that attaches with adhesive could always come loose due to weight pulling on them, heat or humidity.
Dilute Paint
For this watercolor style technique, you’re going to dilute some of your paint.
Put a little bit of paint in one of the cavities of the palette. Then dip a brush in it, and add it to the adjacent cavity. Add a little bit of water to that with the brush and mix it up. Put some paint in the next cavity, but add a bit more water to it for an even lighter concentration of the paint color. Repeat this process for each paint color that you are using.
Prepare the Canvas
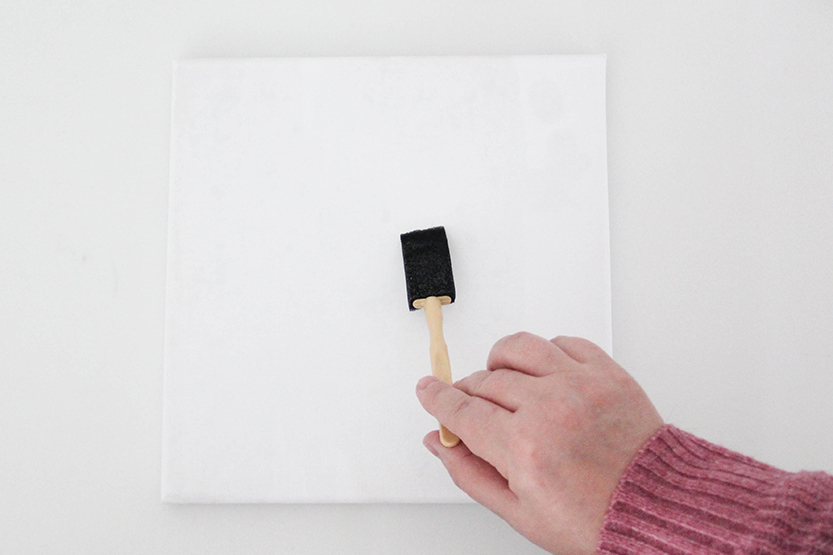
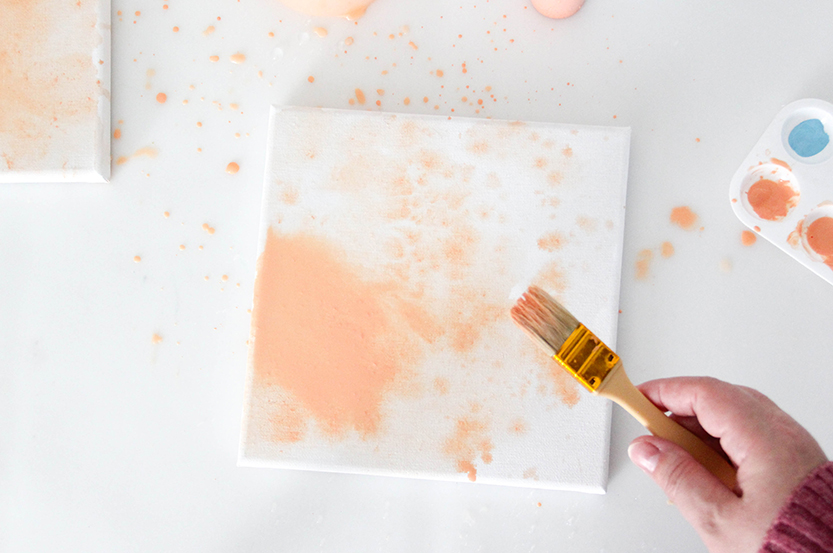
Get started by applying a very thin, even coating of water to the canvas with the sponge brush.
First Layers
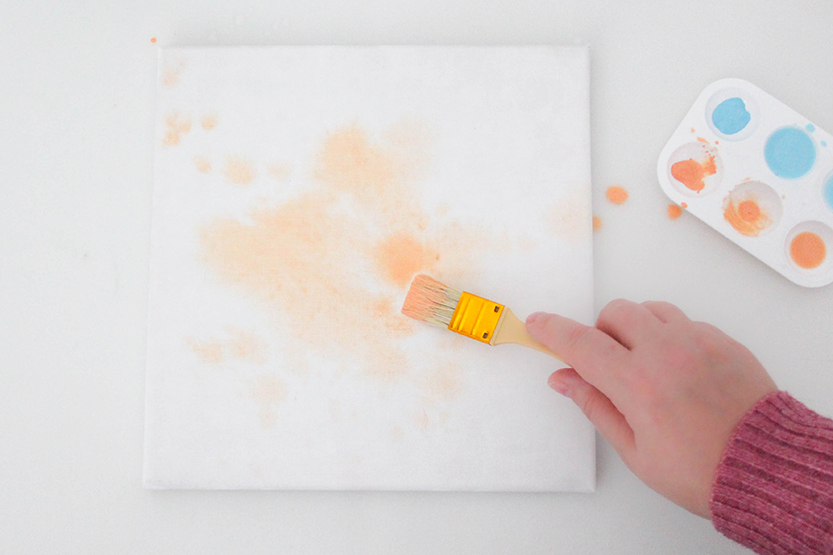
The first layers of the composition should be the lightest. Start by pooling a field of the main color in its most diluted form as a background for your composition. The wider bristle brush works well for adding larger areas of paint. Using the more undiluted paint, work up to darker, heavier layers of paint from lighter ones.
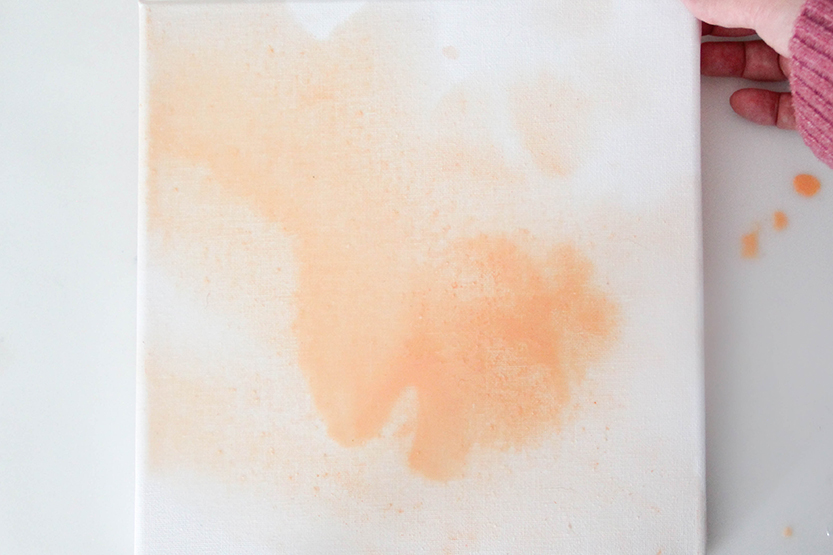
Your composition can be reminiscent of a landscape, a portrait, or any other subject. It can be very loose, and you don’t have to worry about making a precise picture of it. I decided on an abstract floral theme for my paintings. I painted in patches of color and shapes to suggest close-ups of big, billowy lily or hibiscus blooms.
Keeping the focus of each composition asymmetrical or off center will create a more dynamic, visually interesting painting.
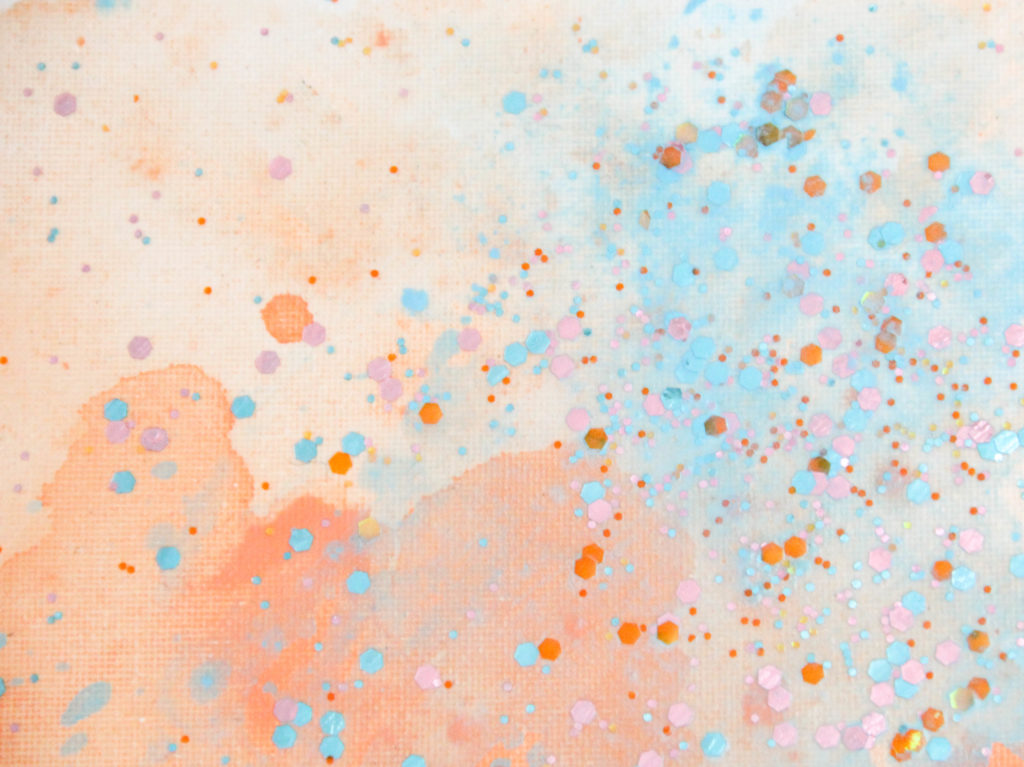
Splashes and Splatters
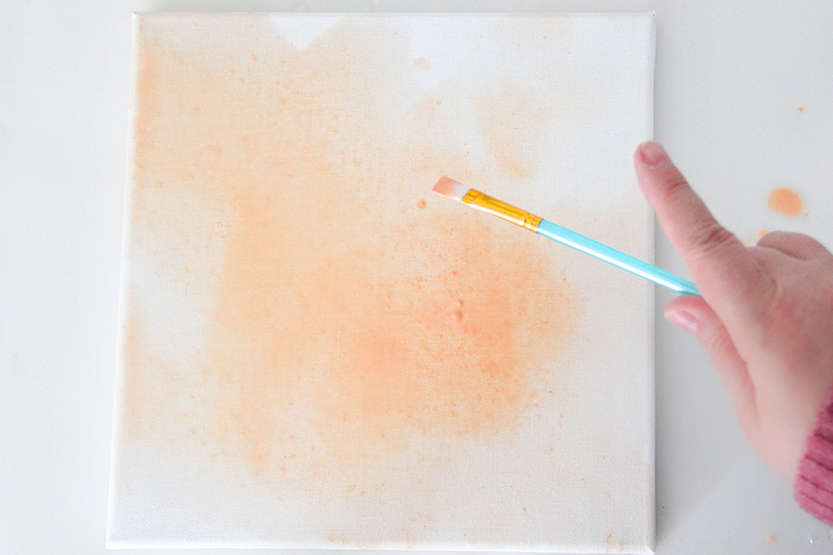
An easy watercolor technique that adds more texture is using a smaller brush to spatter paint across the surface. Just hold the brush loosely over the area you want to spatter and tap away to concentrate the texture.
Employ the same techniques on the other canvases. If you are making a grouping of small canvases, you might want to lay them close together and paint each layer on them at the same time. For a more cohesive look, don’t finish one of them completely and then start on the next painting.

Creating Layers in the Paintings
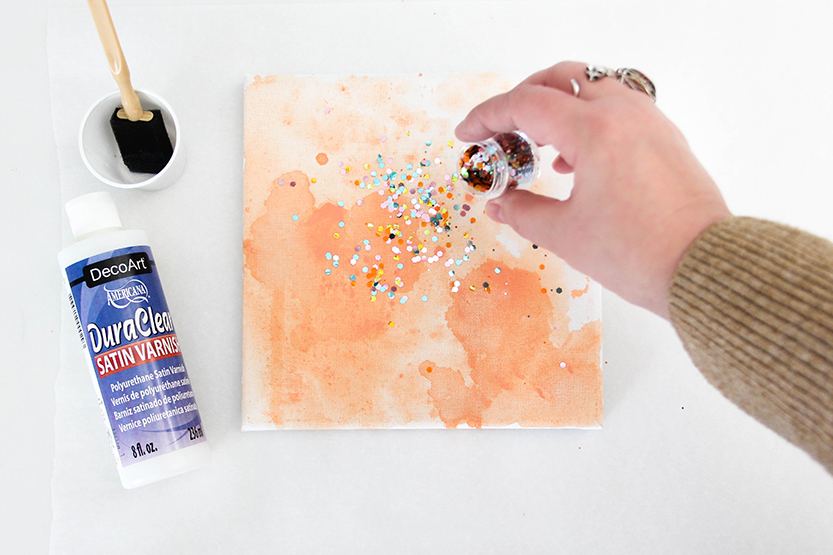
Let the first layer of the painting dry at least an hour. Make sure the sponge brush is dry, and apply a light, even layer of varnish to the canvas.
Mixed Media
If you’re using glitter, choose colors that work well with the tones in your painting. Here we are using the glitter as a design element. For my paintings, I chose this chunky glitter mix that has light orange, turquoise, pink and iridescent pale green that I already had on hand. You could use a fine glitter, or a single color, or make your own color mix. A wide variety of craft glitters are available online, or wherever craft supplies are sold.

Right after applying the varnish, pinch out or sprinkle on some of the glitter in an area of the painting. Keeping the composition asymmetrical, I started in a lower corner and brushed some of it upward to make the composition more dynamic. Let this dry before adding more layers.
More Layers
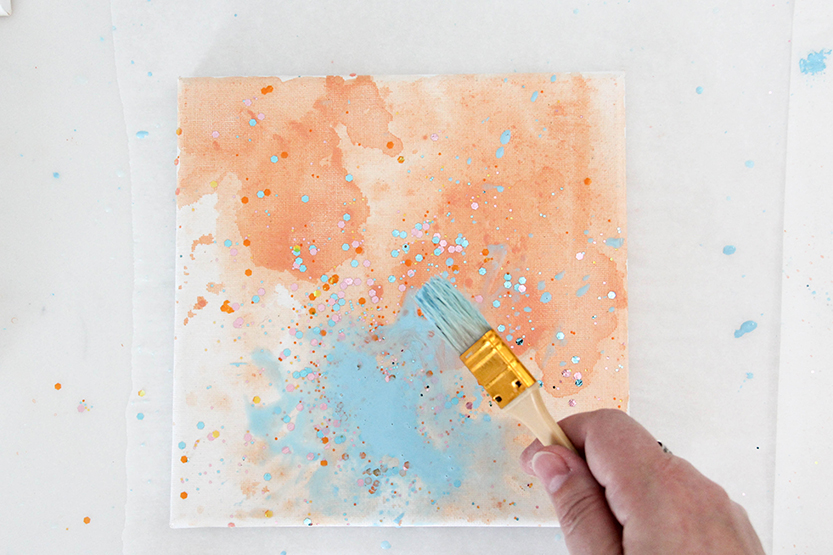
Apply a layer of your secondary color in an area of your painting. I made patches of diluted blue paint, off centered in each painting to suggest the center of a flower.

Use smaller brushes to draw out areas of paint, and to create detail. I painted spokes radiating from the patches of blue, to suggest the pistils and stamens in the center of each flower.
You can apply as many layers of varnish, paint and glitter you want to your paintings. The varnish will keep the colors from mixing once each coating is dried.
If your canvas has deep gallery wrapped sides, you can leave any drips or splashes that got on them showing, or you might want to consider painting the sides a solid color. In any case, when you have finished your painting, apply one last even coating of varnish to seal and protect the canvas from scuffs, stains and fading.
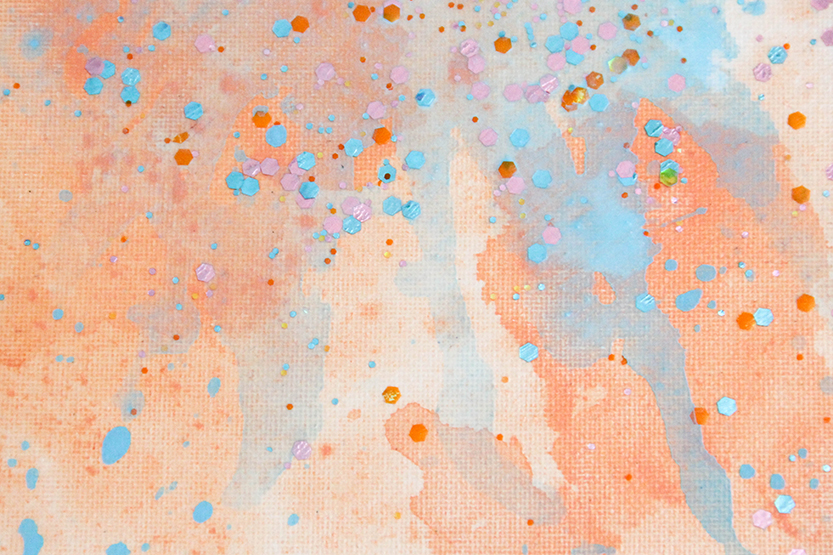
Beautiful Details
Each painting will have its own little areas of interest and texture that will draw you in to them, as well as into a grouping as a whole.
Hang your art and enjoy and the visual interest and the pop of color you have added to the room. You will have created artwork that looks like it was painted by a professional artist. Everyone will remark how good they look and probably ask where you got them, or who painted them. Tell them how you created your own Abstract Art for Beginners!
For another colorful decorative accent idea, try making this DIY Confetti Pom Pom Letter!