
Add a glimpse into a ghostly setting with a DIY Haunted Halloween Window Wall Hanging for spooky season. It brings instant haunted house vibes to any room!
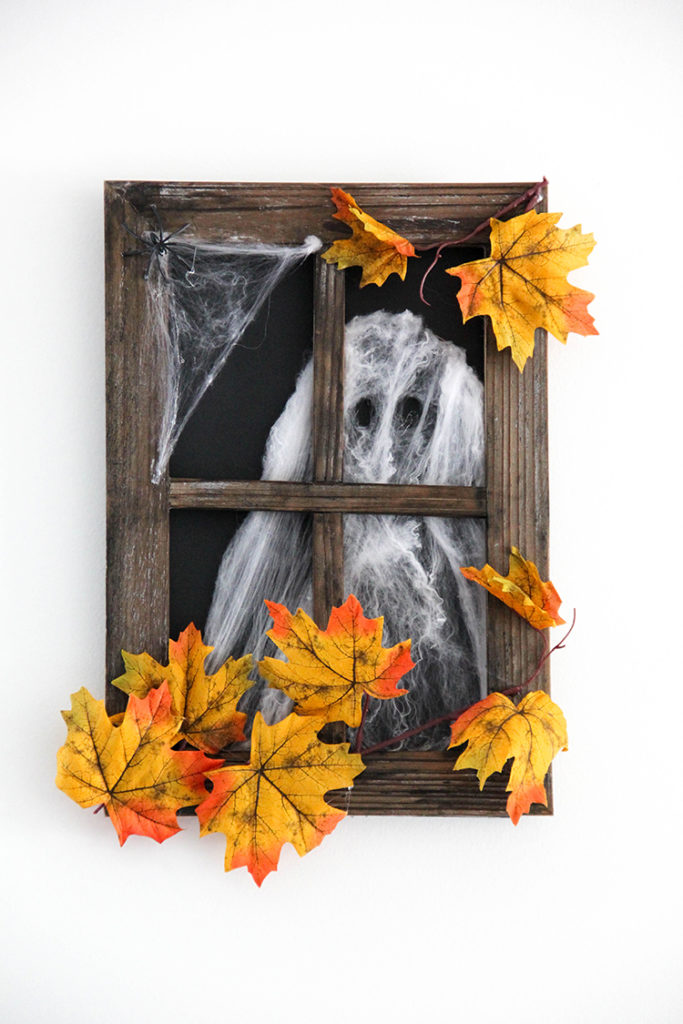
Happy (almost!) Halloween! Do you have your decorations up yet? If not, here’s something fun and easy to craft for your wall. This wall hanging is more cute and spooky than scary. It features an eerie yet endearing little ghost peeking through a vintage frame window. The rustic style gives this project a cozy feel that fits well in a cottagecore or farmhouse décor setting. Hang it in your home, office, or classroom to add a touch of spookiness that will bring smiles rather than screams.
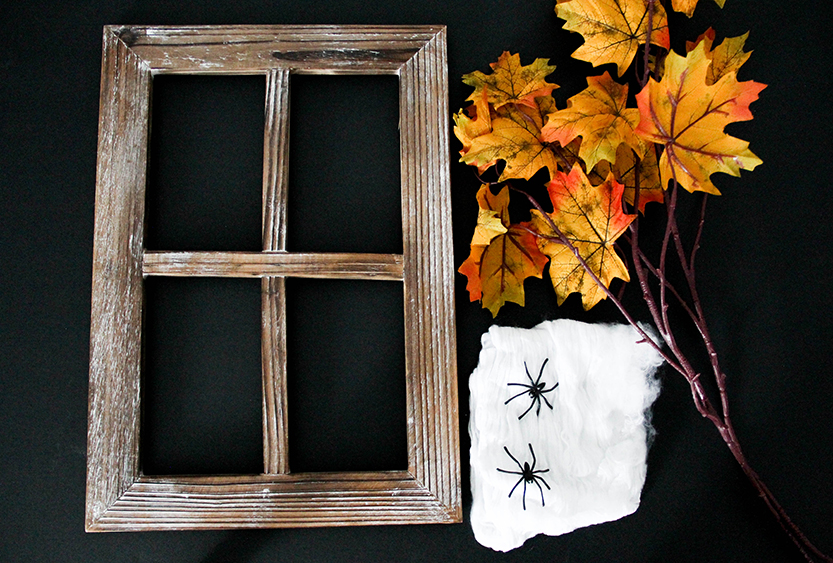
Special design elements needed.
To create this look, you will need a lightweight window frame for crafting. This 11″ x 15.75″ frame I found online is an ideal size. It comes in a set of two, so you will have an extra frame to use for future craft projects. A sheet of black foam core or 15″ x 20″ black core presentation board will form the background and the shape of the ghost. You will also need a pack of fake spiders/stretchy webs you can find for sale almost anywhere this time of year for the special ghostly effects. Cheesecloth or any other light colored mesh fabric can also be used to create eerie cerements. For a nice pop of fall color on the finished piece, add a branch of real or artificial leaves of your choice like this maple leaf spray.
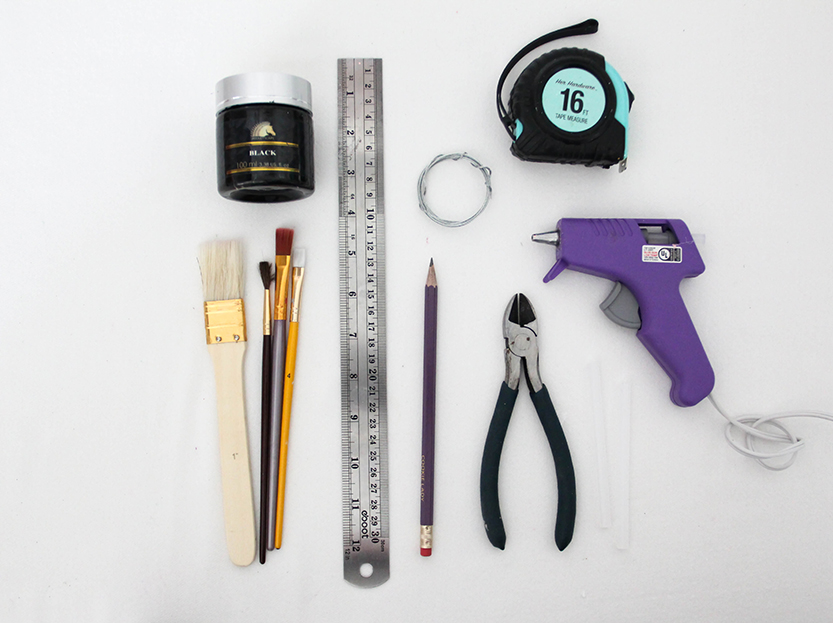
Tools you will need.
You will need acrylic paint or craft paint and brushes if you want to alter the color of the frame. Have a tape measure and a metal ruler, and a pencil for marking handy. A small screwdriver, two small hanging rings and a length of light gauge picture hanging wire will be needed for hanging the finished piece. Wire cutters or floral shears will also be needed for cutting the wire and cutting leaf clusters off the spray. Be sure to have a low temperature glue gun and plenty of glue sticks on hand. You will also need a craft knife or utility knife for cutting the foam core, and a sheet of copy paper.
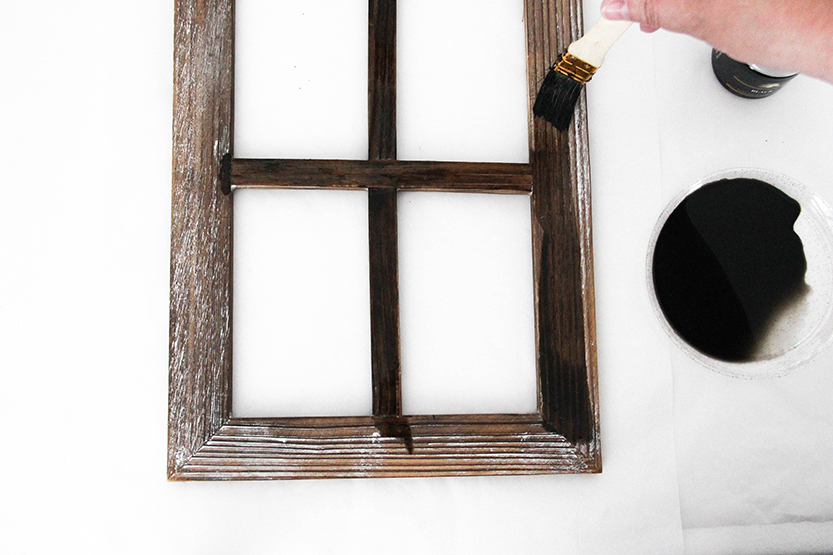
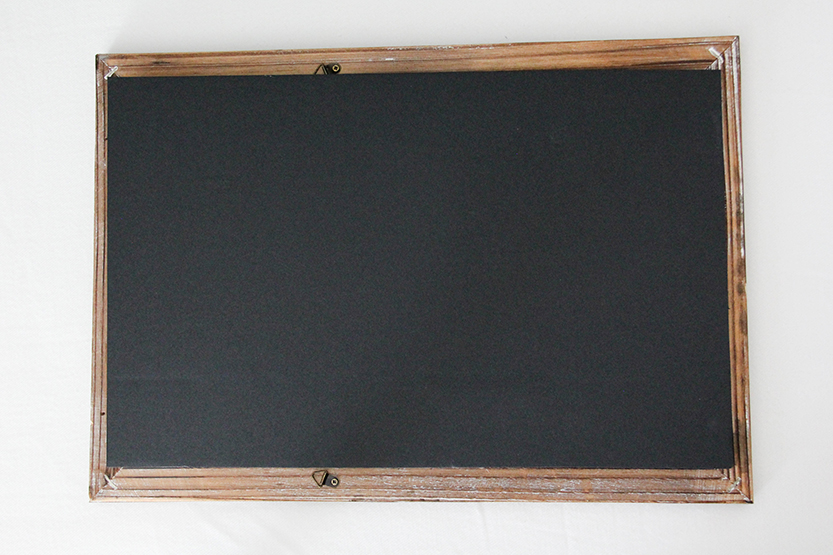
Prep the window frame.
The first thing you will need to do is add some small hanging rings to the back of the frame. These small triangular rings came attached to the top of the frame. I simply unscrewed them and reattached them about a third of the way down the back of the frame, like you would for a regular picture. The hanging wire will be added later. You could leave the frame in the existing color, or use acrylic paint diluted with water to stain the wood a different color. I brushed on a wash of black acrylic paint to make the wood darker, and accentuate the texture. Let any paint or wash dry thoroughly before continuing next steps.
Prep the backing.
Use the tape measure to measure the foam core to fit between the hanging rings on the back of the frame and overlap the openings on front of frame. Cut the piece out with the craft knife or utility knife. Use the metal ruler as a straight edge to keep your cuts straighter and cleaner.
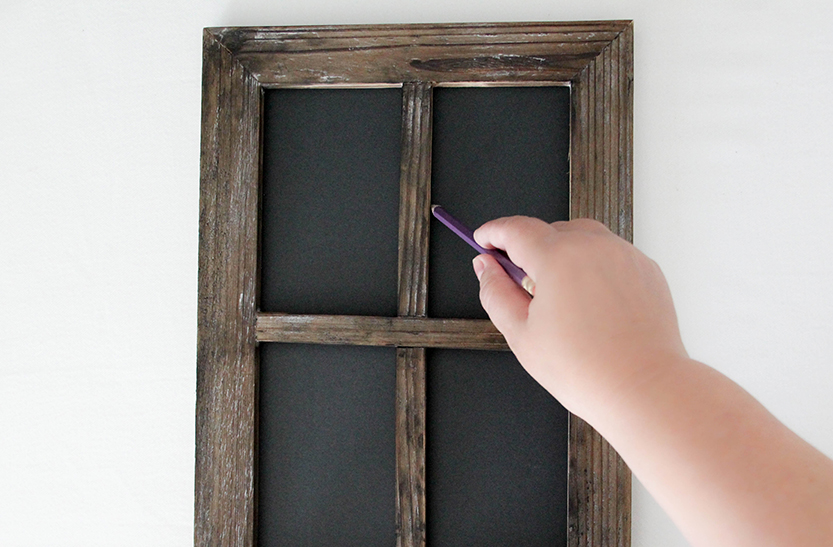
Sketch a guide.
Next, lay the front of frame over the piece of foam core and mark where openings are with the pencil for a reference to attach the ghost shape to later.
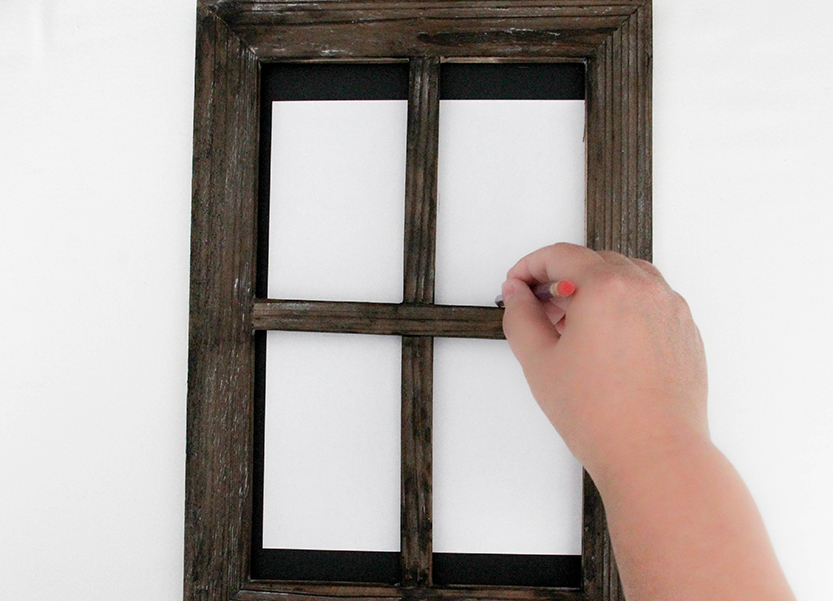
A ghostly template.
To make a template for the ghost shape, lay a sheet of paper under the window frame and make the same reference marks for the location of the panes.
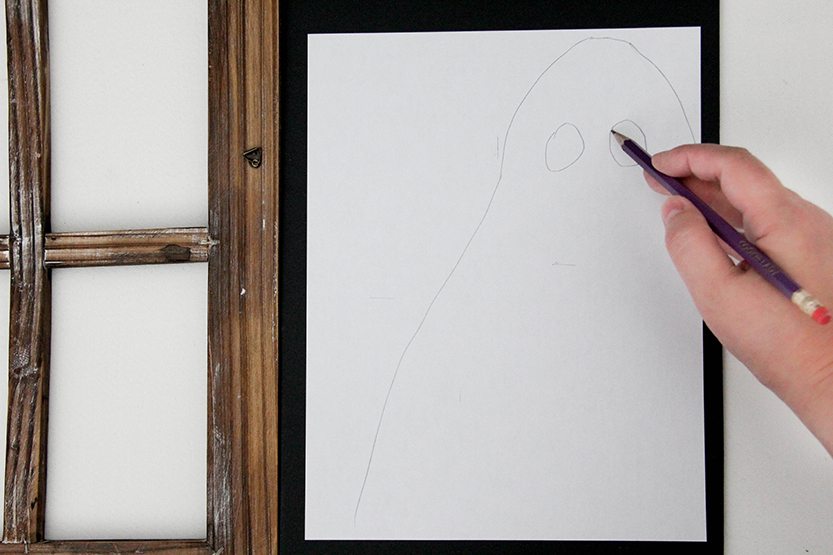
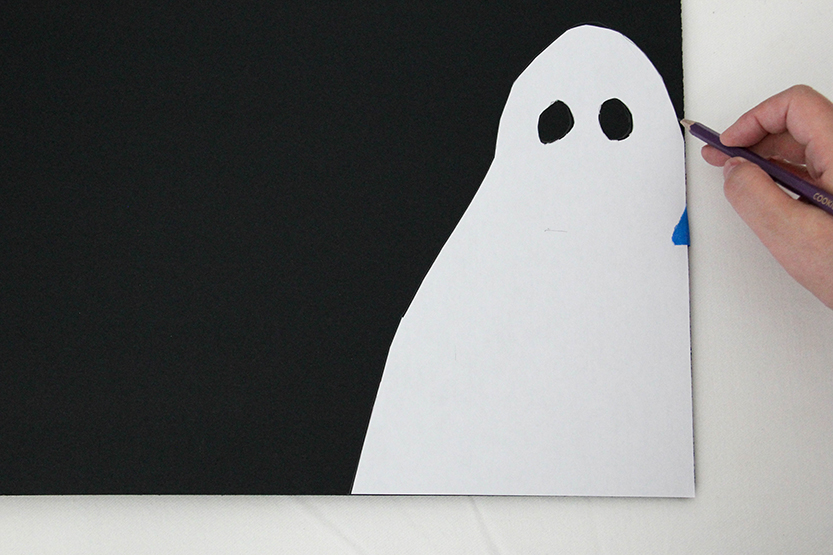
Sketch your specter.
Use this paper to draw the outline of a ghost where it will appear in the window. Cut the ghost shape out and use it as a template for the next step. Be sure to cut out the eye holes too!
Use this template to draw the outline of the ghost onto the leftover piece of black foam core. Anchor the template with a piece of painter’s tape to hold it in place if you like.
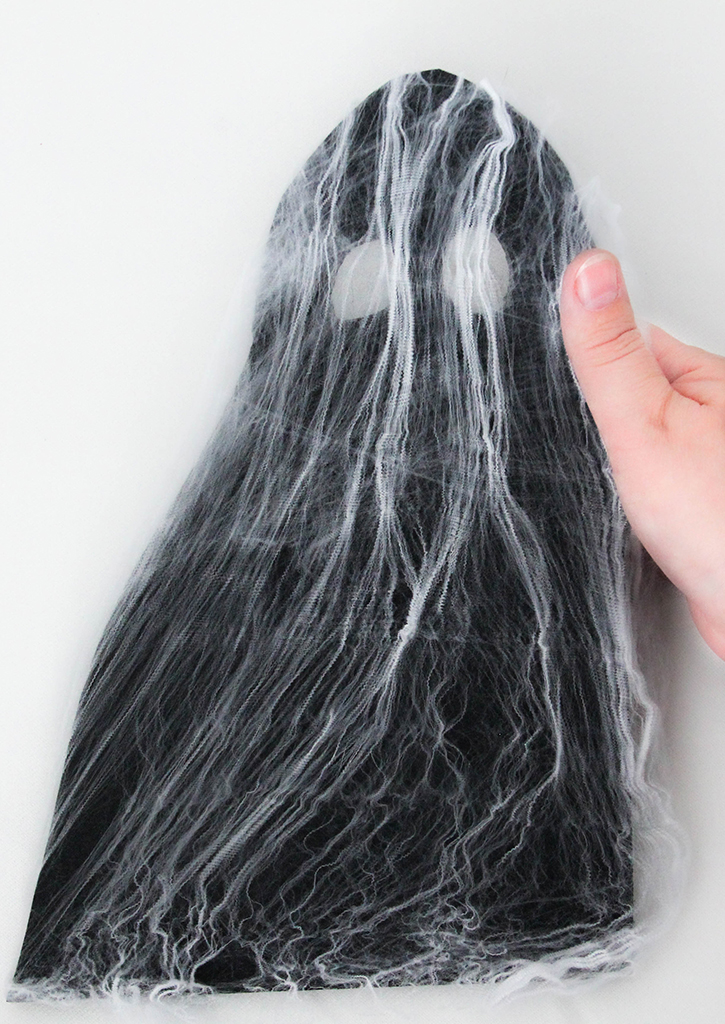
Add some spider webs.
Cut the ghost shape out of the foam core with the utility knife or craft knife, including the eye holes. Create the ethereal looking drapery effect by stretching some of the spider webs or cheesecloth over front of the ghost shape. Tack the material to the back of the cutout with hot glue. Clip out any material that is directly over the eye openings and push through it to make sure the eyes will be defined.
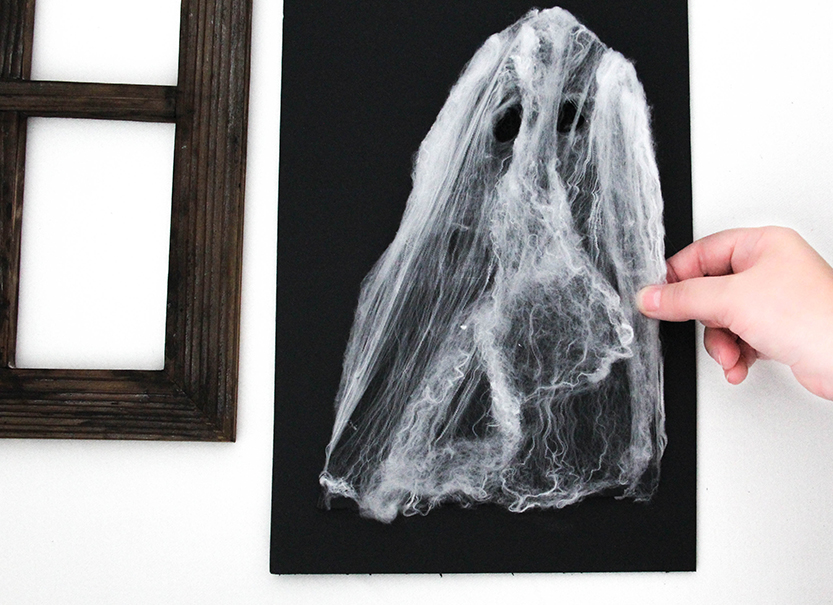
Use the lines you marked earlier on the background foam core as a guide for placing the ghost shape. Affix the ghost to the black backdrop with more hot glue. Cut thin strips of the remaining foam core and hot glue them toward the outer edges of the background to build it up evenly with the ghost.
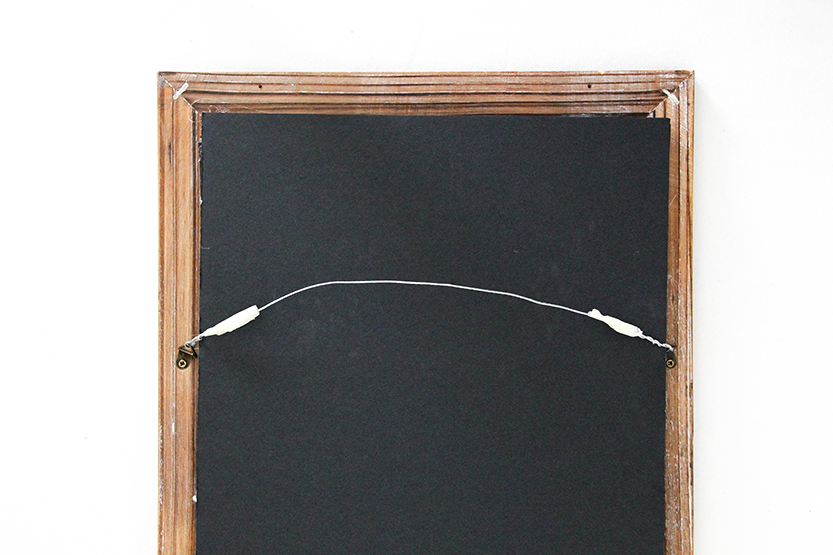
Affix the background to the frame.
Hot glue the background to frame and add the hanging wire to the rings. Hanging wire works best for this project. Sawtooth hangers aren’t deep enough to be stable with the additional depth added to the back with extra material. Tape up the ends of the wire hanging wire so they don’t poke fingers or scrape walls.
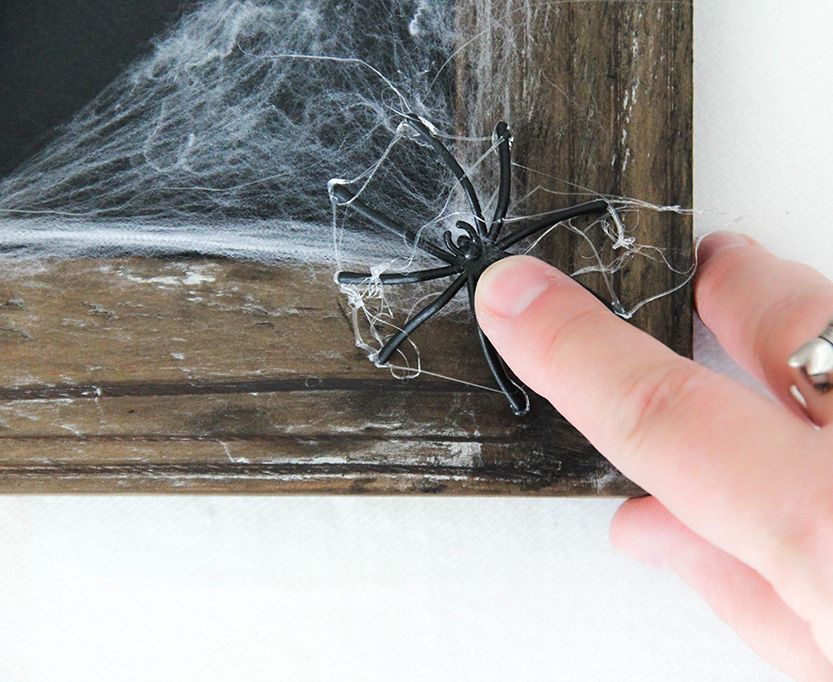
Add more spooky decor.
Dot hot glue onto the legs of one or more of the spiders that come with the spiderweb. Stick them somewhere on the frame for an extra creepy touch.
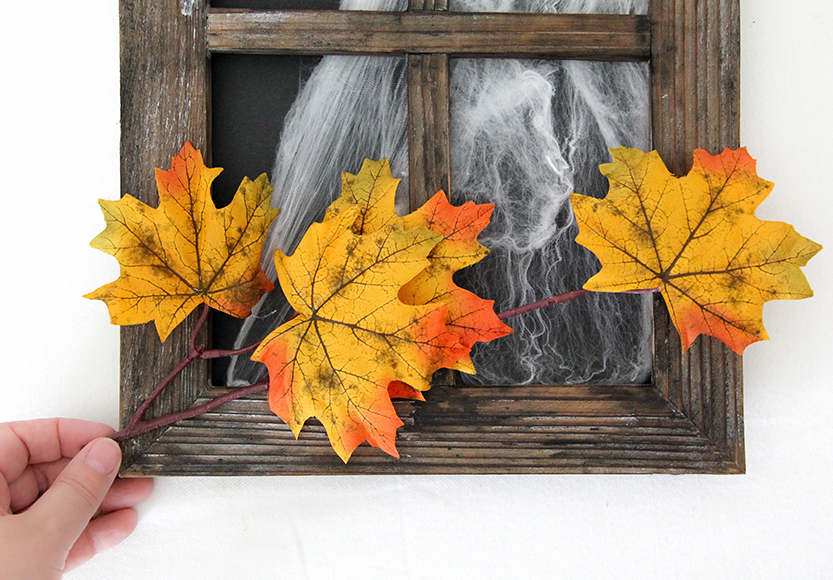
Clip sprigs of autumn leaves off the stem with wire cutters and place around the window frame. Place them in the arrangement you like best before gluing them to the frame. This adds more dimension, and adds to the sense of being outside looking in!
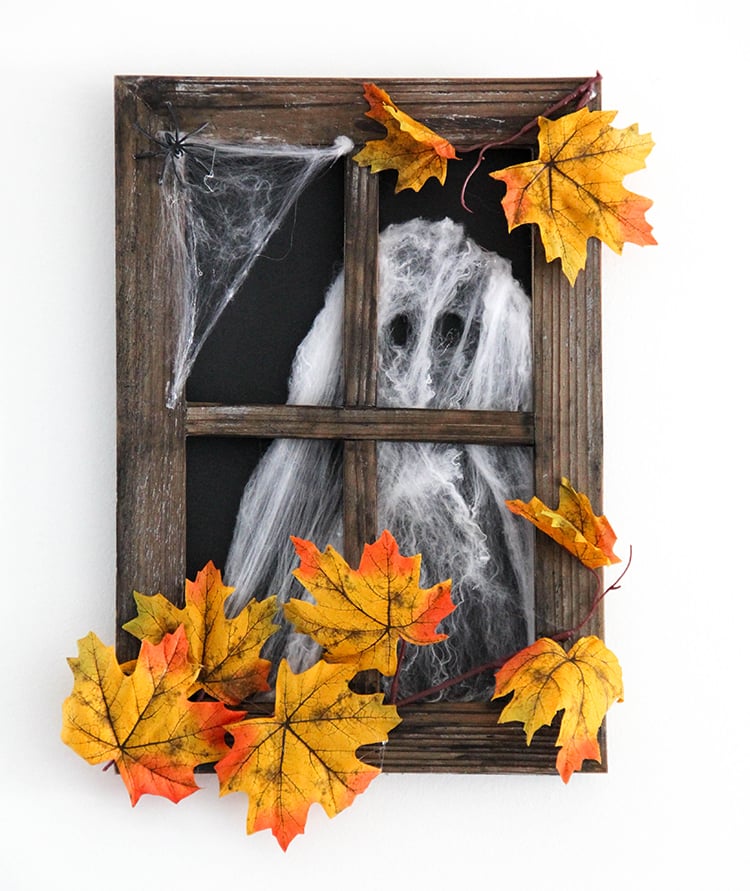
This DIY Haunted Halloween Window Wall Hanging creates the scene of a friendly little ghost watching the festivities and enjoying fall weather. Give this project your own creative twist to add some haunted house vibes to your Halloween decorating.
Looking for more art to haunt your walls? Try making this DIY Skeleton Botanical Art for Halloween! It’s another unique handmade holiday decorating idea for spooky season.