
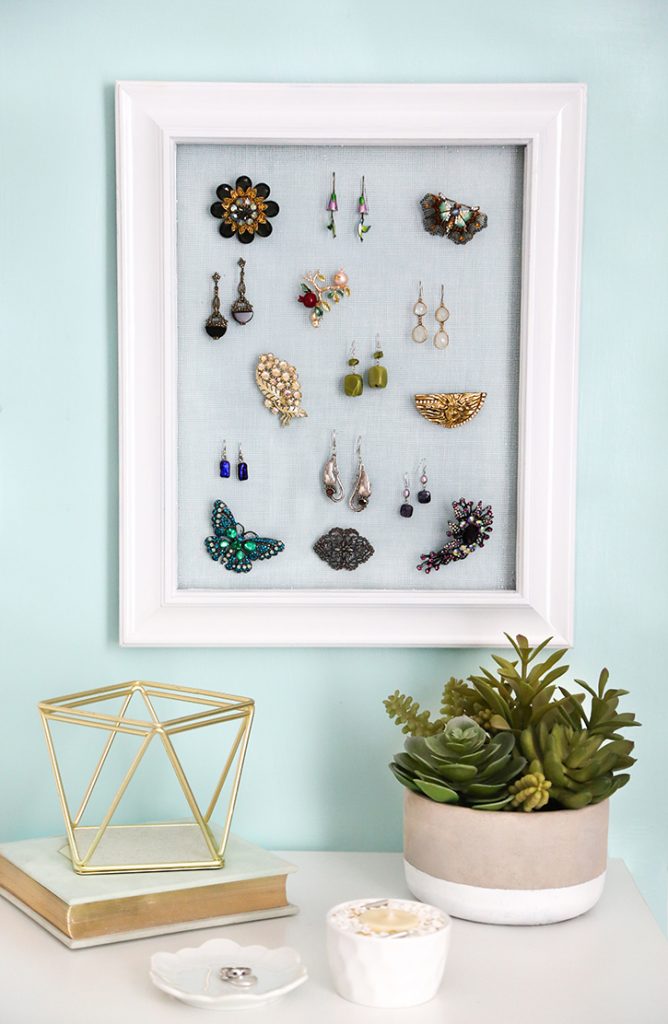
Organize your sparkling jewels while displaying them for others to admire with this cute Hanging Jewelry Holder. It’s easy enough to DIY with an empty picture frame that measures 8×10 inches or larger.
This is a great way to display some of your treasures if you’ve been collecting jewelry for most of your life the way I have! Why not use your favorite jewelry as art to adorn your walls, and enjoy them when you’re not wearing them? Also the brooches and earrings are easily removed from the display when you would like to put them on. Lever back or clip earrings won’t hang from this as nicely, but it works perfectly for posts and fishhook ear wires. You could even hang a necklace or two from the corners if you like!
Use the following handy list of materials to get started! It may seem rather lengthy, but if you’re a crafter you may have most of these items on hand.
- Empty picture frame-at least 8″ x 10″
- Spray paint of your choice
- Fiberglass or plastic screen mesh (like on a window screen)
- Scissors
- Manual staple gun (for home repair and craft projects)
- Staples at least 1/4″ leg length to fit your stapler
- Extra-strength wood glue or super glue
- Shop towels or paper towels
- Balsa wood strips to fit inside of frame, back of frame
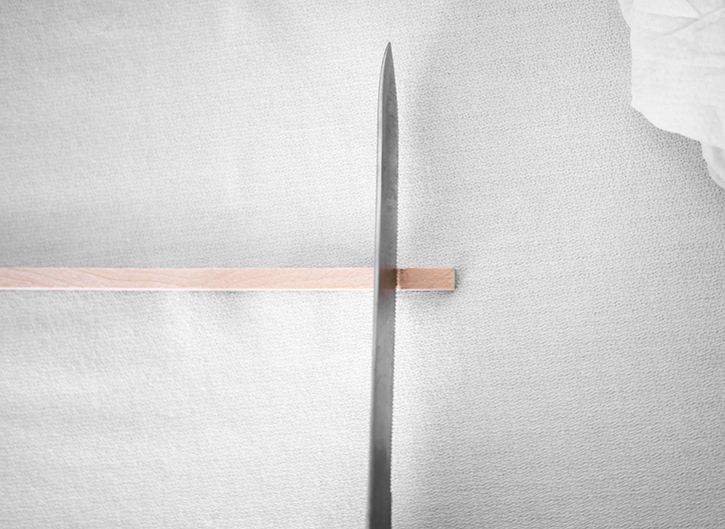
- Serrated knife, small hacksaw or large cutters (for cutting balsa)
- Saw tooth hanging strips (2 to 4, depending on the size of your frame)
- Drop cloth
- Masking tape or painter’s tape
- Protective gloves
- Dust mask
- Ruler or tape measure
- Pencil
- 24″ level (preferably ruled on one side for accurate measuring)
- Bubble wrap or towel
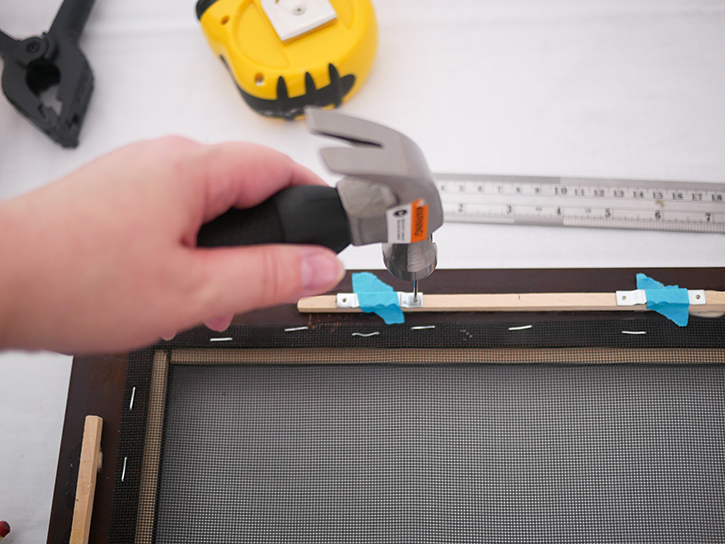
- Small hammer
- Wood putty
- Rubbing alcohol
- Sandpaper
1. 
2. 
3. 
4.
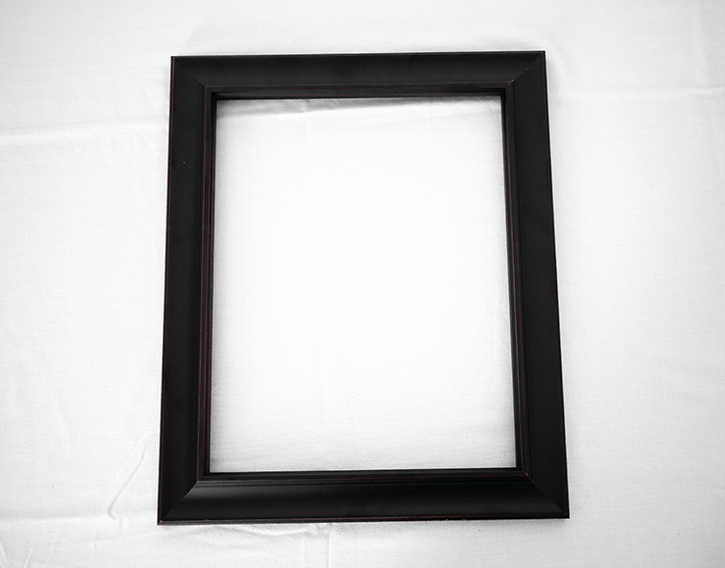
1. Empty the picture frame. You really can use just about any empty frame you would like for this project. It can even be something you have on hand, or an interesting-looking frame from an estate sale or thrift store. You might not want to paint it, in which case you could just add the mesh and hangers-and presto! You’re done. In this case, I found this frame in the bargain bin at a craft store. It’s a good size (11″ x 14″) and it has nice lines. I wasn’t worried about the color because I’d planned to paint it a different color. If you find something that has matting, glass, etc. in it, carefully remove all that and discard it, or reuse for another project.
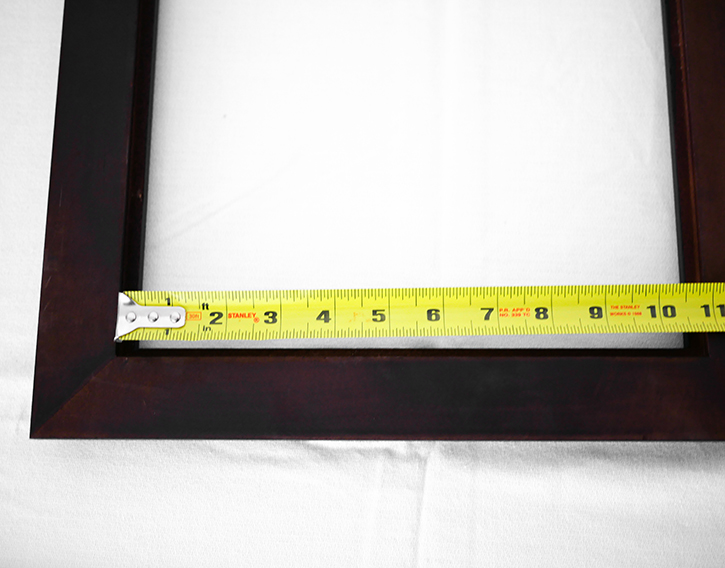
2. Lay the frame facedown on a clean, protected surface covered with paper or a towels. If your frame is antique, or has a lot of fancy raised surfaces on it, you might want to use a thicker towel or bubble wrap to help keep things from breaking off it! Measure the inside space of the frame. What your going to do next is lay down strips of balsa wood, and mark off lengths on them to fill the four corners of the inside of the frame.
3. Cut the balsa into lengths to fit the rabbet or recessed area on the back of the frame; sand the ends of the lengths if you want. Reserve what balsa you have left (you’ll need it for step 16).
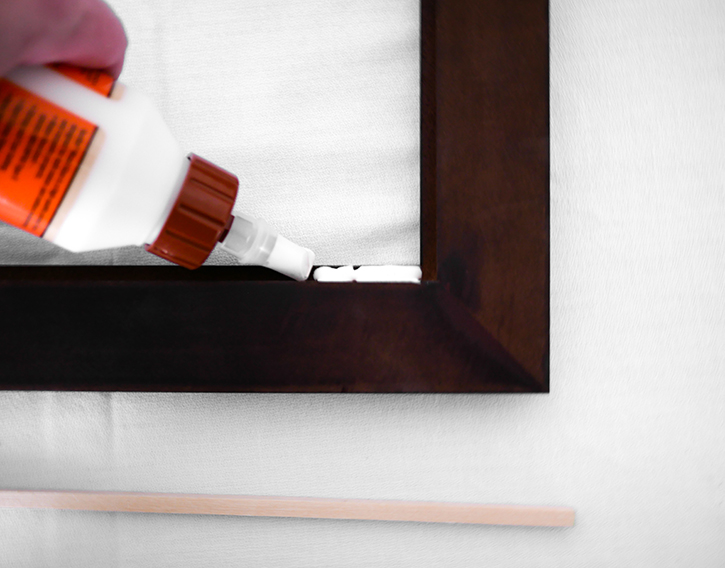
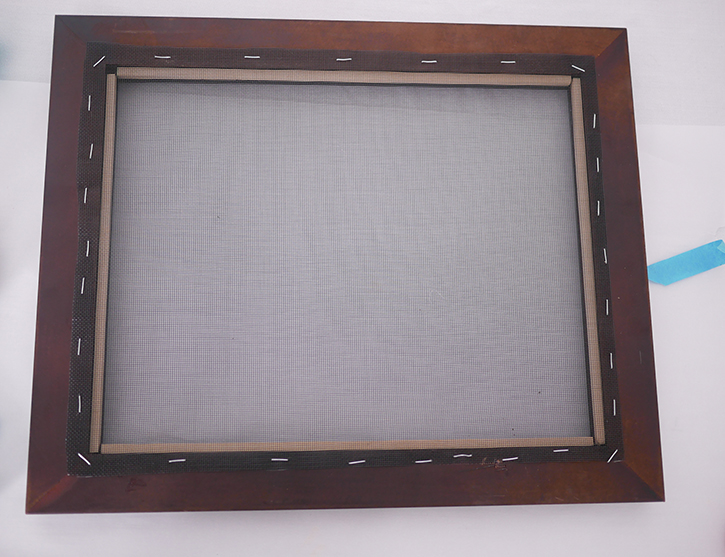
4. Glue the balsa lengths to the inside of the lip of the frame, on the back side, preferably with strong wood glue.

5. 
6. 
7. 
8.
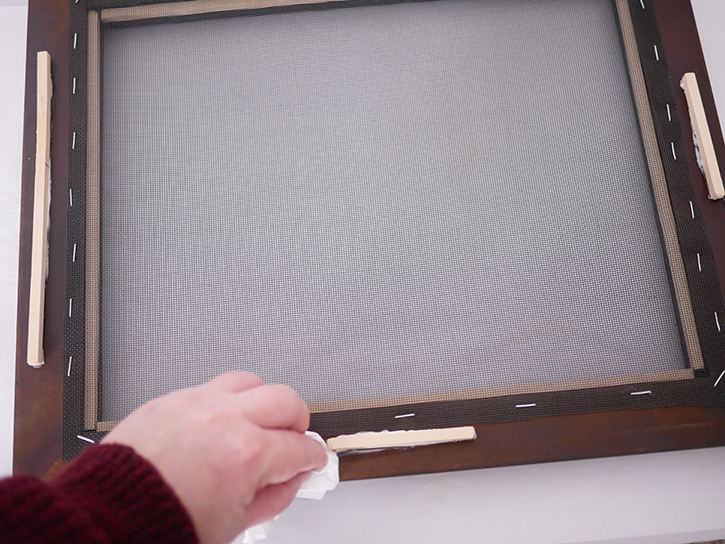
5. Wipe away any excess glue, and let stand at least 20-30 minutes.
6. Go ahead and figure out where you want your sawtooth hangers to be spaced. It’s generally a good idea to space them 3″ to 4″ from the outer sides of the frame, and at least a half inch from the top. You will want to use a tape measure, and mark with a pencil where the hangers will need to go. Repeat this step for the next side, if you want it to hang as a vertical and also as a horizontal.
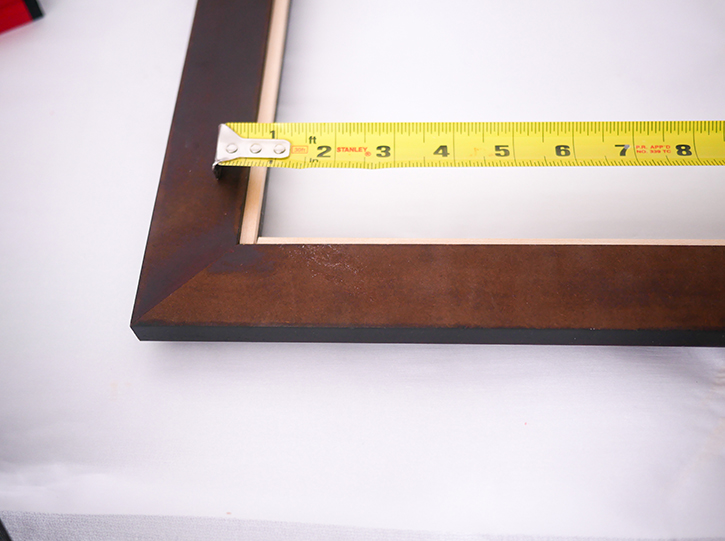
7. Next, measure the length and width of the inner opening of the frame, adding an inch to each dimension.
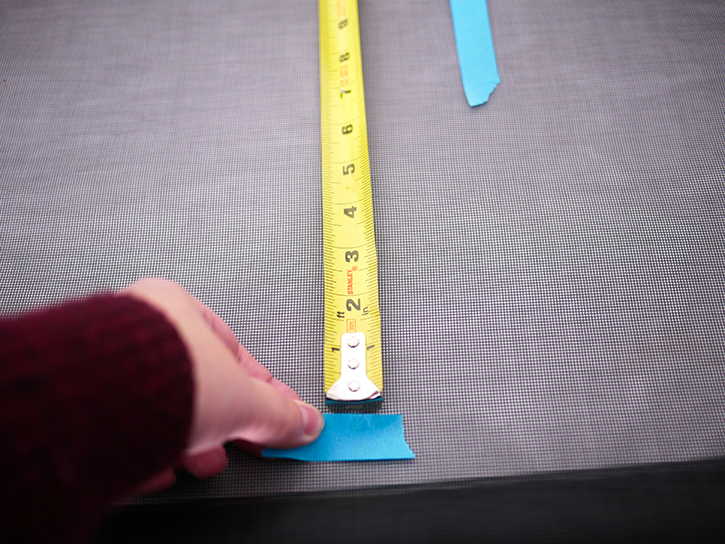
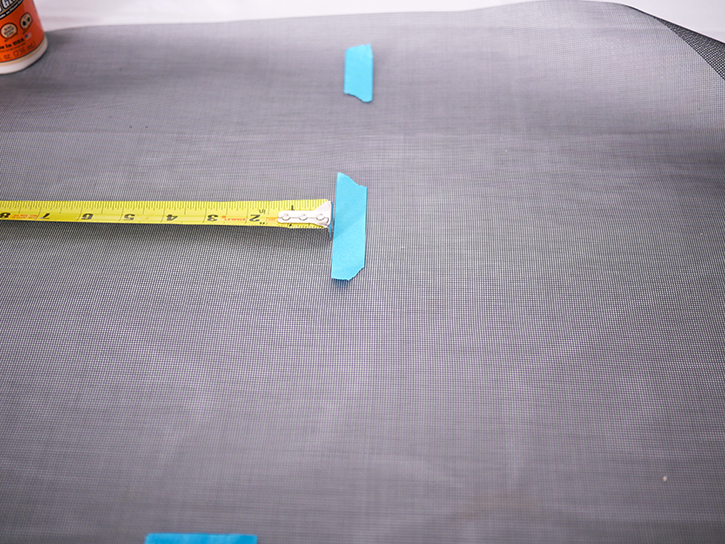
8. Lay out the fiberglass screen material, and mark off the measurements for the height from step 7 to the outside of the tape measure with two pieces of painter’s tape. Make sure the height of the roll fits at least the shorter dimension of your frame.
Note: Fiberglass screen mesh can be bought at any hardware store or home improvement store. It comes in rolls, and is inexpensive. You could use aluminum mesh, but it’s scratchy and not as flexible.
9. 
10. 
11. 
12. 
13. 
14. 
15. 
16.
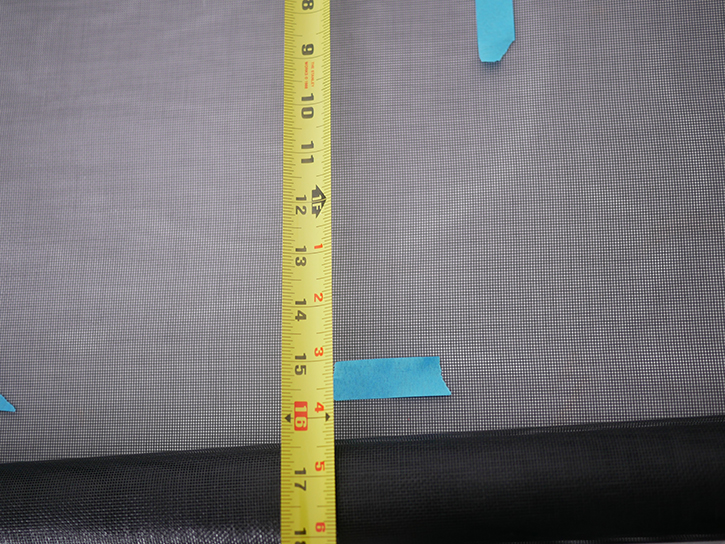
9. Same as step 8, but here I’m marking off the width.
10. Make sure your pieces of tape match in distance from the outside corner of the mesh-this way the mesh will be even and square when you cut it.
11. Cut mesh from outside edge for the width, into where it will intersect with the length. Then cut from the outside for the length. Essentially, you’re just cutting a rectangle or square of screen to go on the back of the frame.
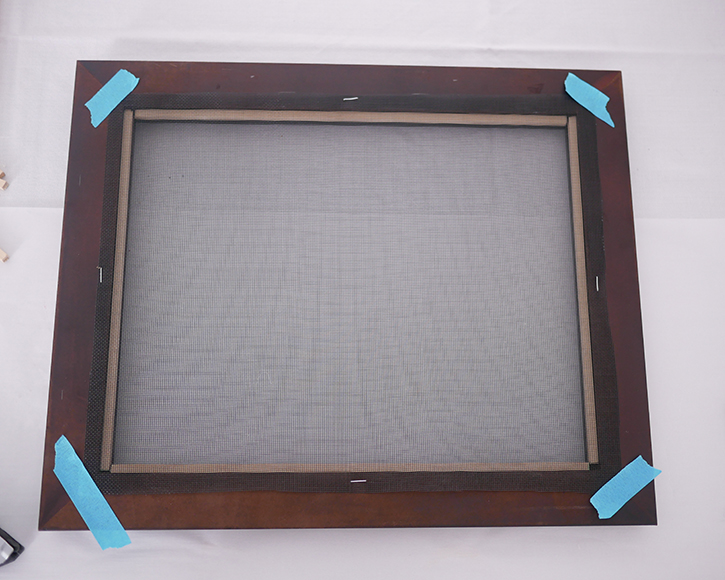
12. Line the mesh up on the back of the frame so that it covers the opening, and overlaps about a half inch onto the frame. Tape the corners down so that the mesh will stay in place when you begin to staple it down.
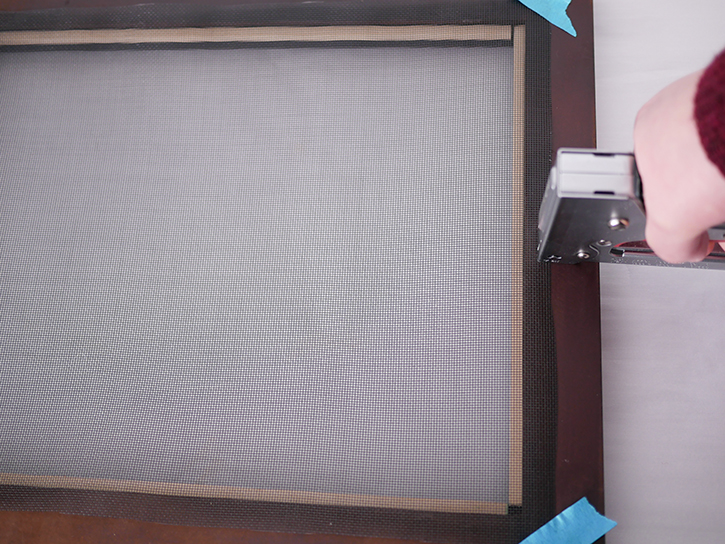
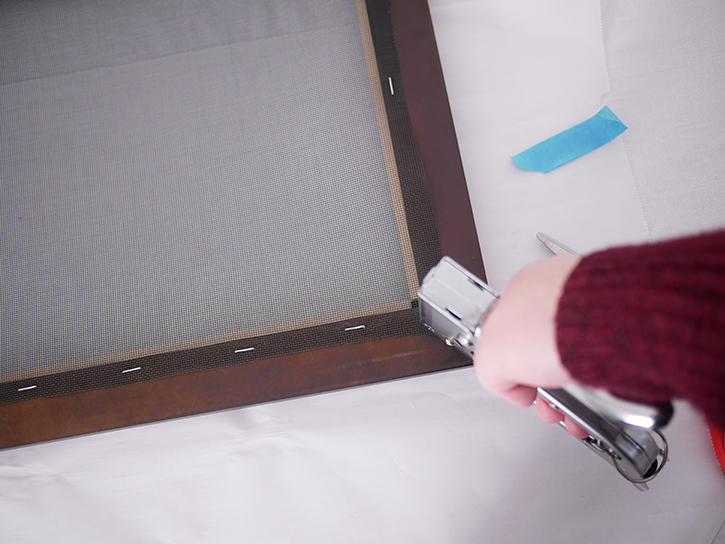
13. Anchor the mesh by stapling once in the middle of each length and width side, about 1/4″ in from the inside lip of the frame.
14. Staple mesh in the corners of the frame, and fill in more stapling to the rest of the mesh, 1/4″ in from the inside lip of the frame.
15. Staple the mesh evenly to the back of the frame, adding extra staples to take up slack areas in the mesh. You want to stretch the mesh so it isn’t too loose and wavy, but it doesn’t need to be as tight as a canvas. Remember, you want to be able to fasten pins and earrings to it easily!
16. Using the marks you made for your sawtooth hangers in step 6 as a guideline, measure and mark the balsa strips you have left, to attach your hangers to. Add at least 1″ to those dimensions, to mark the balsa the length you need for cutting. Cut the balsa and then glue in the area you’ve marked off, and wipe away any excess glue. Any small excess pieces of balsa you have left, center in the other sides and glue down to make stand-offs for your frame. Let stand at least 20-30 minutes to set the bond.
Note: If your frame is newer and has a finish on the back of it like this one, buff off the finish within the area you’ve marked with rubbing alcohol, then sand that area off. This will allow the glue a better bond between the balsa and the frame.
17. 
18. 
19. 
20. 
21.
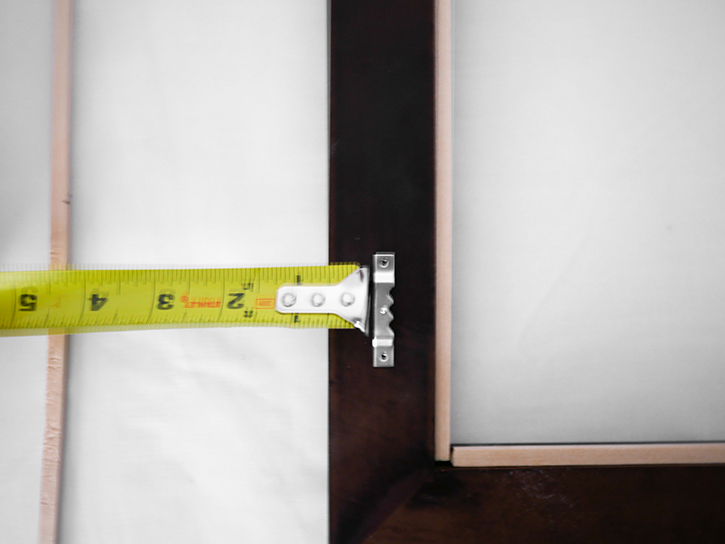
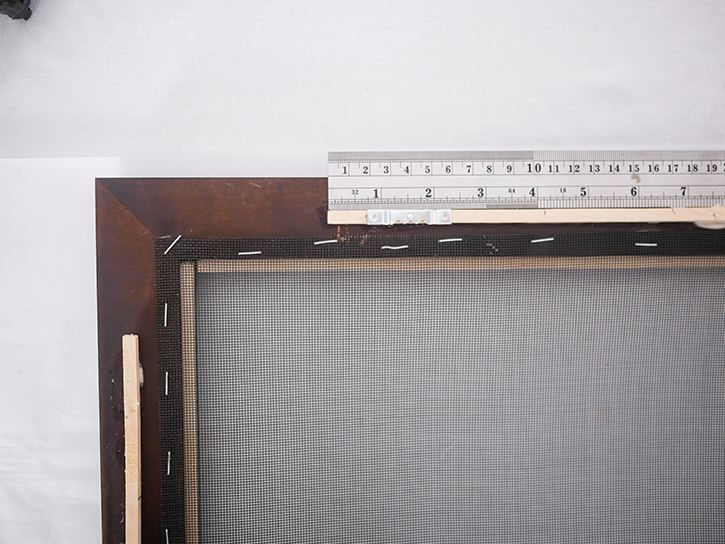
17. Once the balsa has a good bond, measure in 1″ in from outer sides of the strips, and mark where your sawtooth hangers will go.
18. Tape down your sawtooth hangers to hold them in place while you attach them with nails to the balsa strip. Or if you prefer, use super glue where the nails would go, especially if you don’t want to jar the frame and risk damaging the front of it. Leave the tape on while the super glue sets; make sure it bonds for 24 hours before painting, or hanging the frame.
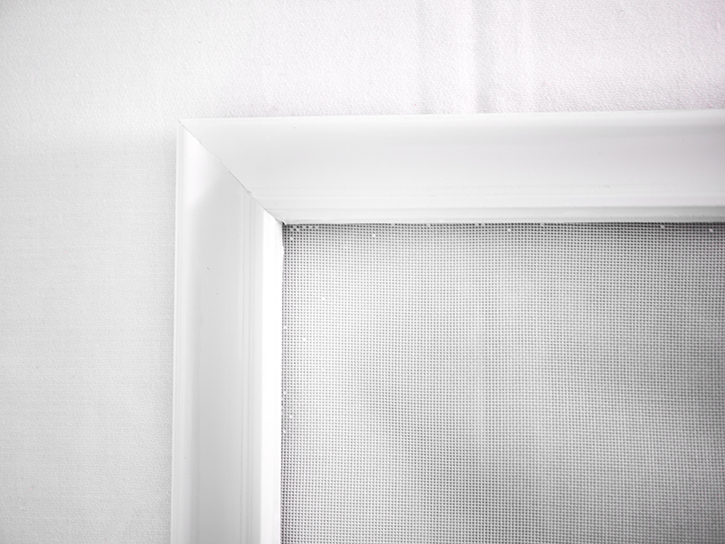
19. Turn the frame over, face up. If it has a finish you don’t want to keep on it, buff it with rubbing alcohol on a shop towel, so the paint will stick to the surface more easily. If it has any rough areas you don’t like, sand ’em off! If there are any dents or gaps in your corners, fill them with wood putty and sand those filled areas smooth after at least 15 minutes. Now you’re ready to paint! Lay down a drop cloth in a well-ventilated area, preferably outdoors. Put on your protective dust mask. Shake your spray can well, and give the inner lip of the frame, the area that has been filled in with balsa, an even coating. Also give the screen a coating, not too heavy because you don’t want to fill in the mesh, you need it to color coordinate with your frame. Spray the outer sides of the frame as well. Next, give the face of the frame an even coating of spray paint. It’s usually a good idea to wait at least 2 hours for the paint to dry well before adding another coat of paint, and most of the time you will need a second coating (even with spray paints that are primer and paint in one). Check all the areas to make sure you didn’t miss any spots! This is another good reason for that second coating of paint, as well as making sure that everything is even. Once it looks the way you want it to, it will probably be a good idea to let the frame dry overnight in an area where it will be protected from dust, debris and moisture.
20. You’re almost ready to hang up your frame. Pick an area on your wall to hang it, whether you want it to hang vertically or horizontally, also and decide the height it needs to be at. It’s a good idea to have somebody hold it place for you so that you can mark with a pencil where the top center of it needs to go. Next, turn your frame facedown again, and measure the distance between the middles of your sawtooth hangers, and how far down from the top of the frame they are. Then go back to your spot on the wall, and use the level to mark where you need to drive in the nails to hang the frame on. Drive the nails in, hang your frame, and make sure it’s level. It’s easier to make any adjustments to hanging at this stage, if you need to. Before you add your jewelry to it, you might want to lay the frame down and lay out where you want the pieces to go. Then you can hang your earrings from it, and fasten your pins to it too before you display your frame on the wall.
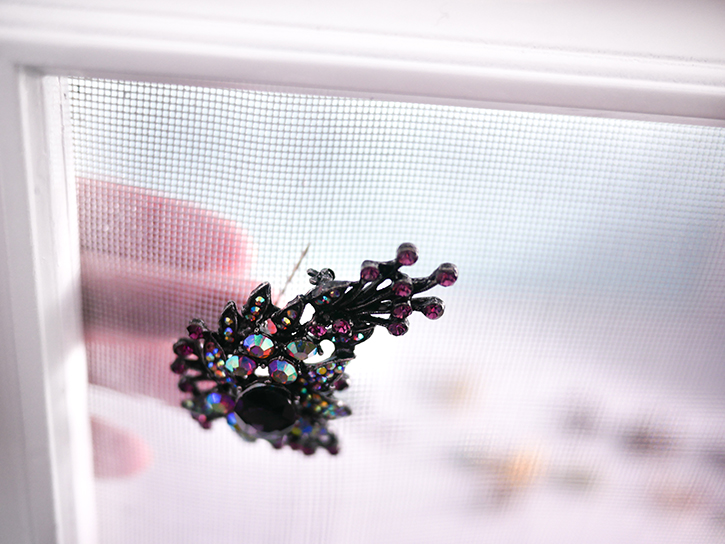
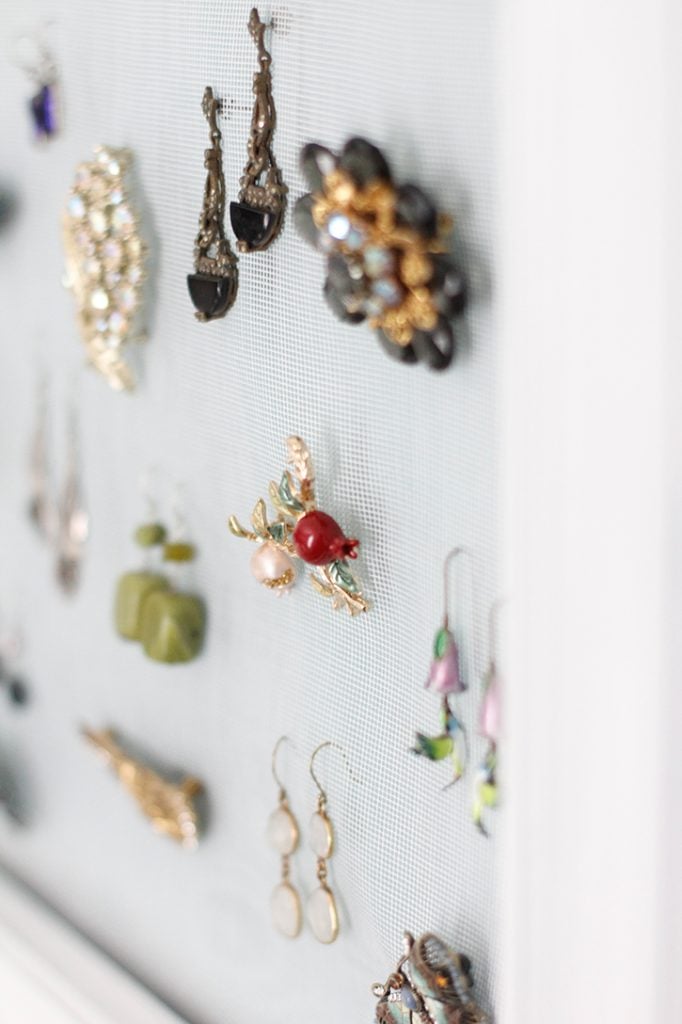
21. Brooches are fairly easy to attach to the mesh. A little bit of looseness in the screen gives you more flexibilty to pin and fasten the brooches more easily.
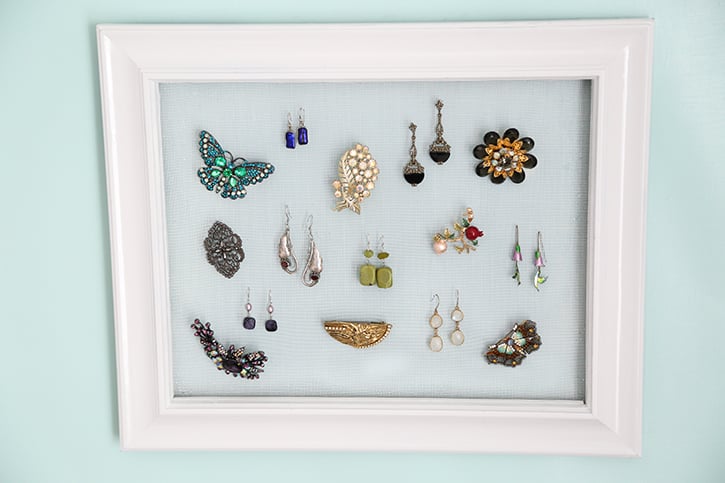
22. The finished frame with some of my personal treasures displayed on it, where they can be admired as works of art! Notice how the screen is transparent, and lets the wall color show through in a different shade! This will look very nice over a chest in your bedroom, or in a powder room.
Do you have unique ways of displaying your jewelry? Let us know in the comments!