
DIY Glass Picture Magnets is a quick and easy craft project. It requires just a few materials and your own creativity. Put together some designer fridge magnets, or make keepsakes from family photos.
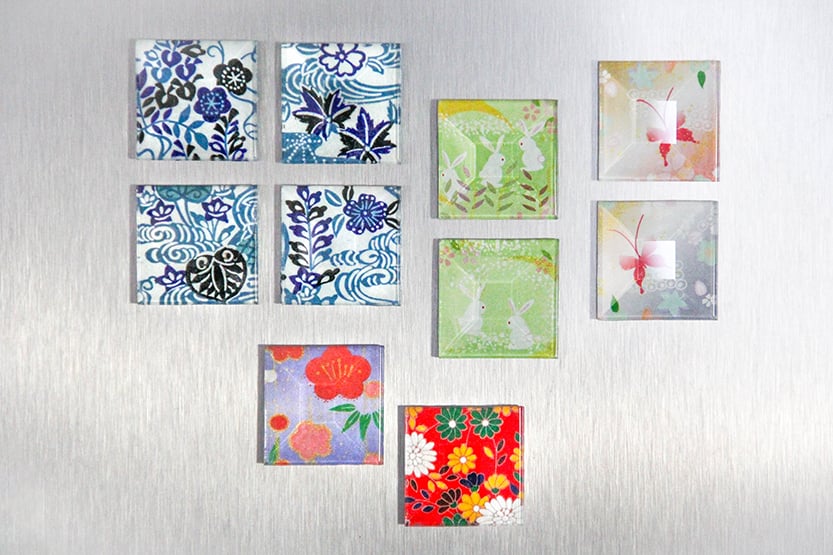
Picture magnets are available wherever home décor items or office supplies are sold, especially the mass produced round ones. It’s also a popular DIY project. Most crafters use the jumbo flat round marbles to make their glass magnets, but those can be lower quality and have bubbles in the glass. As an alternative, using small beveled glass pieces sourced from stained glass supplies gives the DIY Glass Picture Magnets project a more polished look.
I used origami paper for this project because I have a collection of it on hand. I appreciate the craftsmanship and beauty of origami papers. The patterns and colors make them useful for a lot of décor projects. Putting pieces of them under glass makes them even more jewel like. You can use just about any decorative paper to make a custom look.
You can also use photos from a vacation or memorable occasion, or photos of kids or pets. This is a great idea for a very thoughtful, personalized gift.
Glosses and Glues
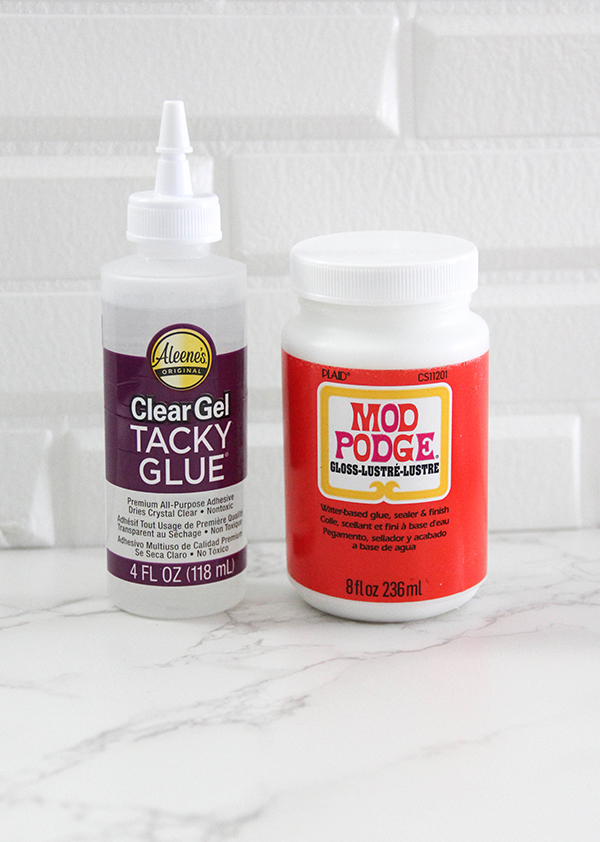
You will need Gloss Mod Podge or any other non-yellowing gloss medium that dries completely clear, to seal the images to the back of the glass pieces. I don’t recommend using matte or satin mediums, because you wouldn’t want the magnets to look hazy or blurry.
Also I had this Clear Gel Tacky Glue on hand. Any Tacky Glue would make a strong adhesive to hold the magnets onto the backs. It’s a low odor glue that takes less drying time than E 6000. Which I would recommend if you were making a larger, heavier version of these to hold the magnets to the weight of the glass.
Tools
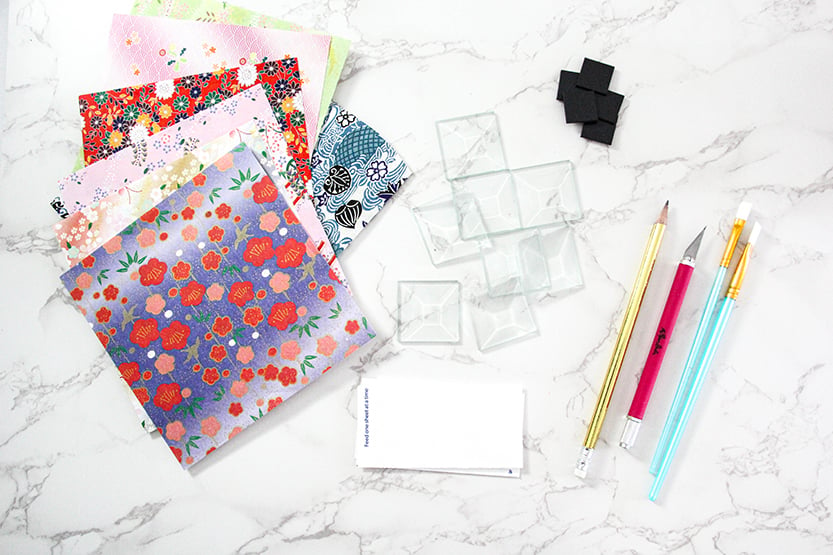
Have a couple of smaller flat brushes on hand for spreading the gloss medium. You’ll need a craft blade with extra blades to make sharp, clean cuts. Also, a well sharpened pencil will came in handy. Small magnets of some kind, like these .75″ magnetic squares will be needed. You will also need some light cardstock for backing. Preferably white, since the decorative paper you use could be a little bit transparent.
Papers
Origami paper is a good option to use to make your DIY Glass Picture Magnets. It’s a beautiful decorative paper often printed on a lightweight but durable paper stock, or even on a light rice paper. It can sometimes be found in art supply shops, and there is an overwhelming selection of patterns and colors available online. You could also use an interesting handmade rice paper, or even upcycle tissue paper or giftwrap for this project. You can use different papers, or you can make sets of magnets from one piece of paper. Whatever you decide to use, a more smooth texture is recommended.
If you will be using photos, regular processed photos from the drugstore or laser printed photos will work best. Photos from your inkjet printer at home can end up blurry when gloss medium is applied, because that type of ink dissolves easily.
Use Glass
You can use flat glass marbles to make your DIY Glass Picture Magnets, which are easy to find. They are even available in a larger than an inch jumbo size. But these beveled glass squares are a bit larger and lightweight. Smaller beveled glass pieces can sometimes be found in stained glass making supplies, in various sizes and shapes.
I would not recommend using acrylic blanks to make these magnets, as acrylic is not as durable and scratches easily.
Getting Started
Make sure all your glass pieces are clean before you get started. Clean them with a soft cloth and glass cleaner.
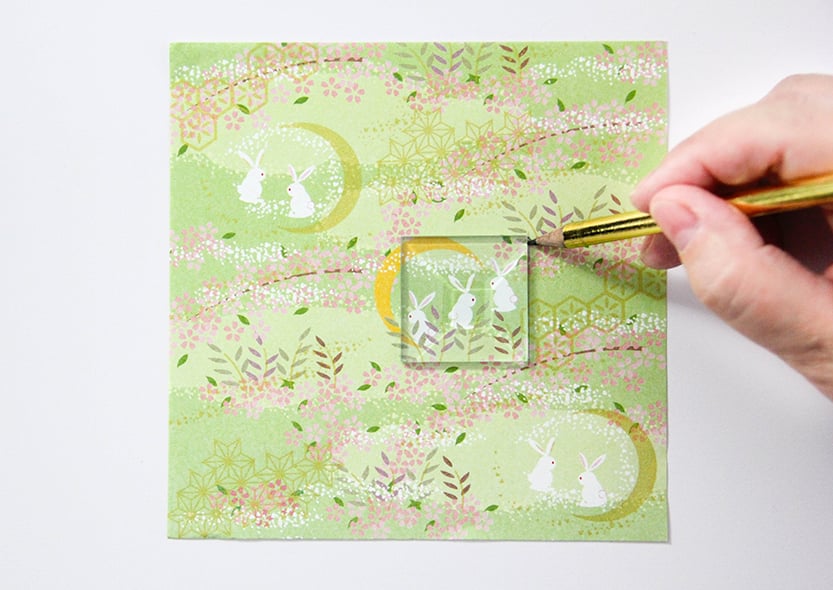
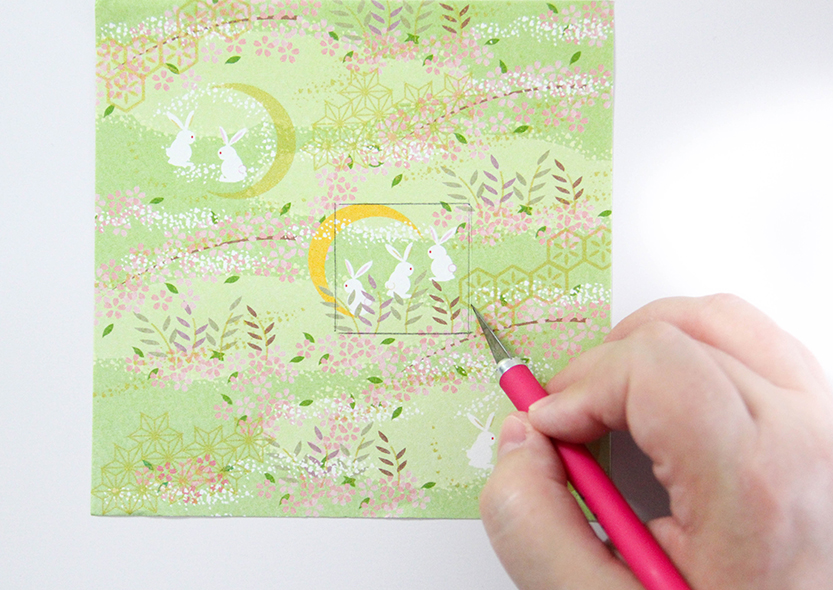
Lay a glass piece flat side down on your decorative paper. Zero in on a picture or design element you like. Think of it as looking through a camera and focusing. Lightly outline the area in pencil, using the glass as a guide.
Cutting it Out
Use the pencil marks as guidelines to carefully cut the design out with the craft knife.
Backing
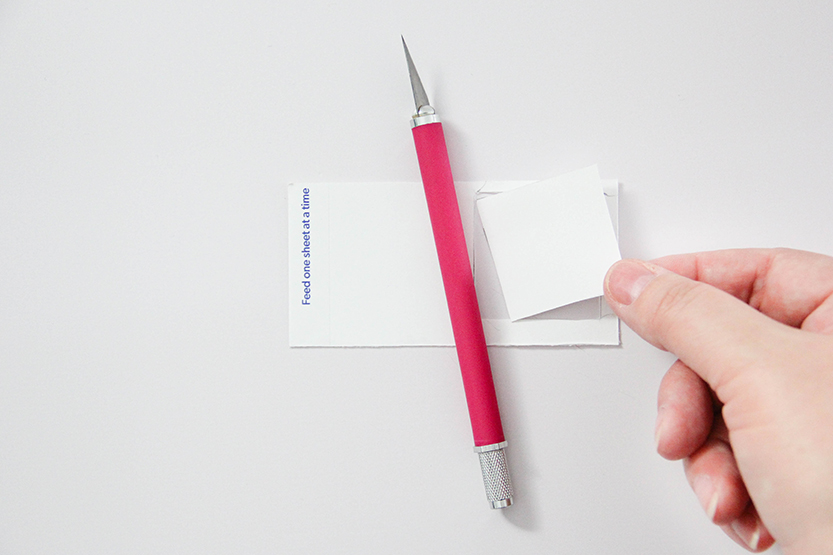
Also trace around the glass on cardstock. If you’re using glass pieces that are all the same shape and size, you cut out can cut as many as you need to back your fridge magnets. You might want to do this one at at a time for individual glass pieces if you are using flat marbles. The shapes and sizes might be slightly irregular. I had scraps of inkjet printer cards left over that I could use for this part of the project. Any scraps of white cardstock can be used as long as they are flat.
Glossing it Up
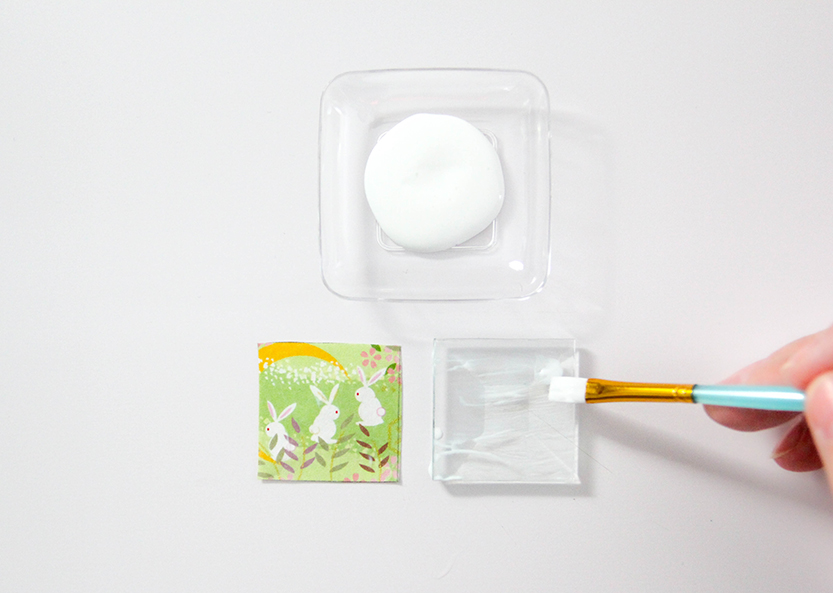
Pour out a little bit of gloss medium into a small dish, maybe less than a teaspoons worth. It should not take much to cover each piece of paper and glass. Make sure your gloss medium is clean and free from any debris. Paint a light, even layer of gloss medium on the front design side of the piece of paper, and a slightly heavier layer on the of flat back of the glass piece. Pick out any stray brush bristles, and pop any large bubbles in the wet gloss.
Put it Together
Quickly before the gloss medium has a chance to get tacky, lay the design side of the paper facedown on the back of the glass. Make sure the corners are close to in line. Gently press down on the back with your palm for a second, but don’t move your hand. You can carefully burnish out any air bubbles from the back with your fingertips.
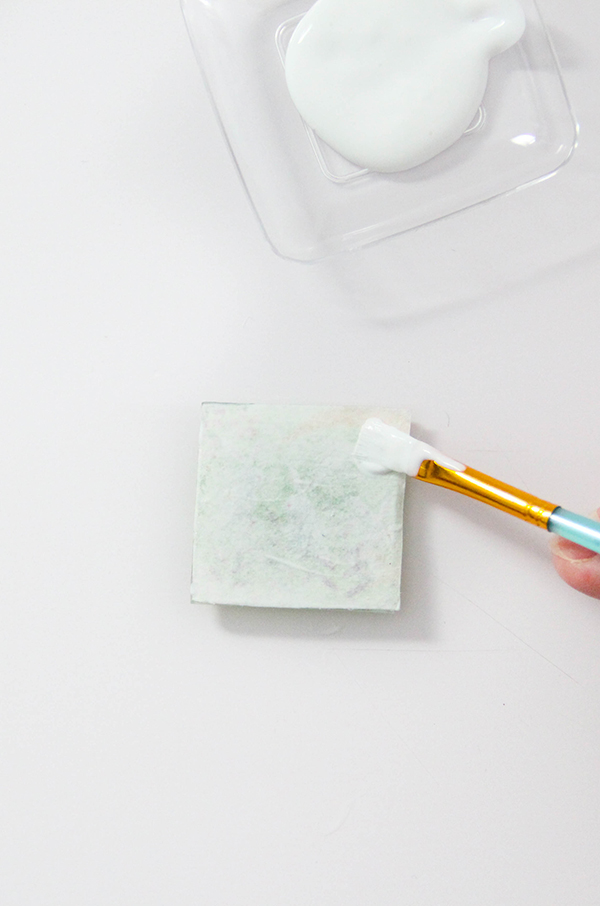
Let it set a few minutes, and brush another smooth layer of gloss medium onto the back. Place the square of cardstock with the corners aligned.
Let the piece set up facedown so that the gloss dry well, for at least half an hour. All the layers need to hold together before the final steps.
Clean Edges
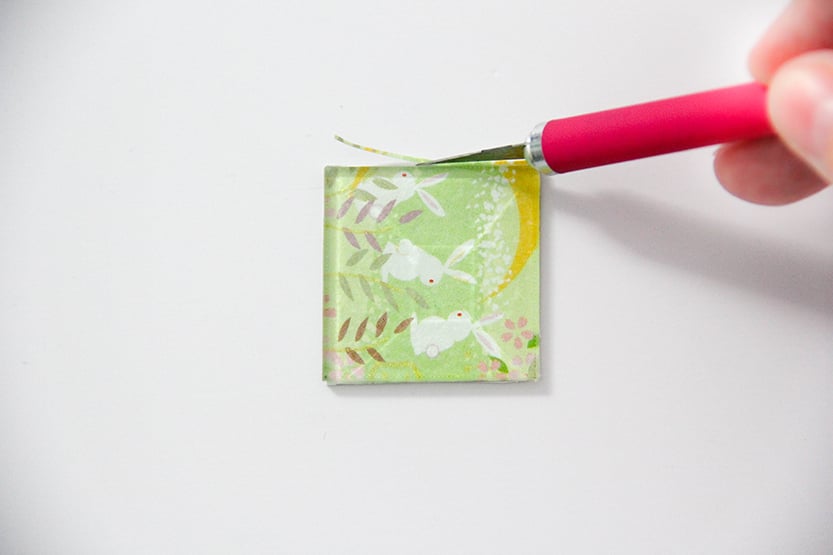
Lay the glass face up and trim off any excess with the craft knife. Put a new sharp blade in to get nice clean cuts. Use the sides of glass as a guide for trimming off any excess paper and backing.
Make it a Magnet
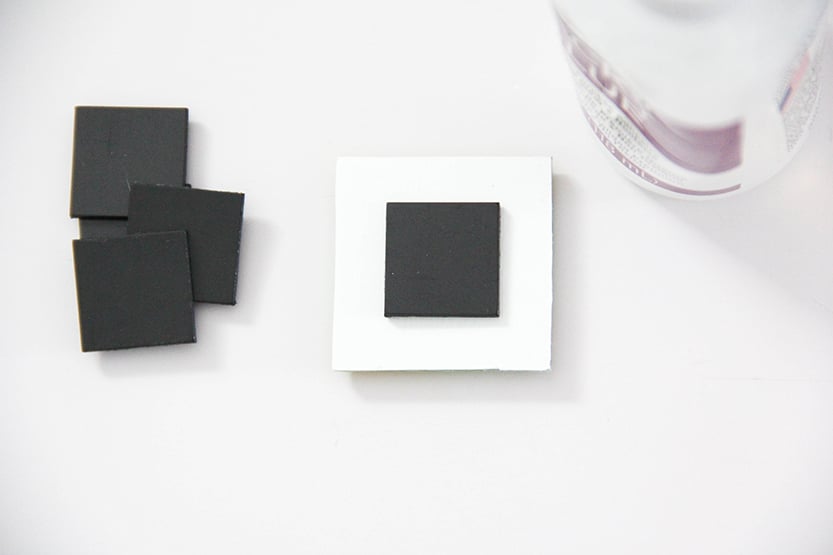
Lay the piece facedown, and add a small dot of glue in the center of the back. Place the magnet over the dot, and straighten it while the glue is still wet. Let Them dry overnight so that the magnet has a stronger hold to the piece.
Even if your magnets may already have adhesive on the back, that will not be strong enough by itself to hold the magnet onto the piece. So this gluing step is important. Just place the adhesive side down over the dot of glue for this step.
Once each piece is dried, you can spray some glass cleaner onto a cloth, and buff off any finger prints and excess glue. Scrape more stubborn glue spots off the front with your fingernails.
Your Finished DIY Glass Picture Magnets
Buff each piece of until they gleam! The gloss medium and glass bring out colors and magnify images. The beveled sides make the magnets look like stained glass or jewels.
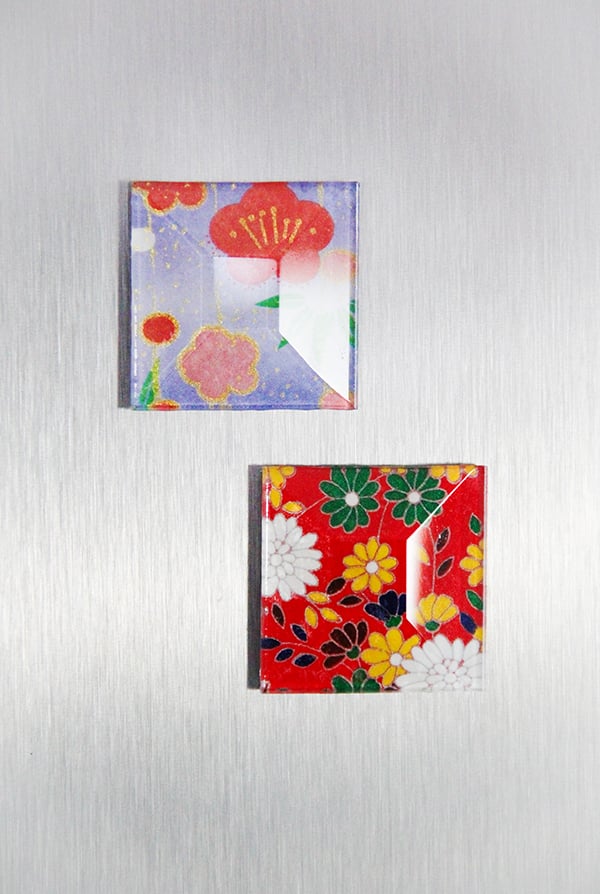
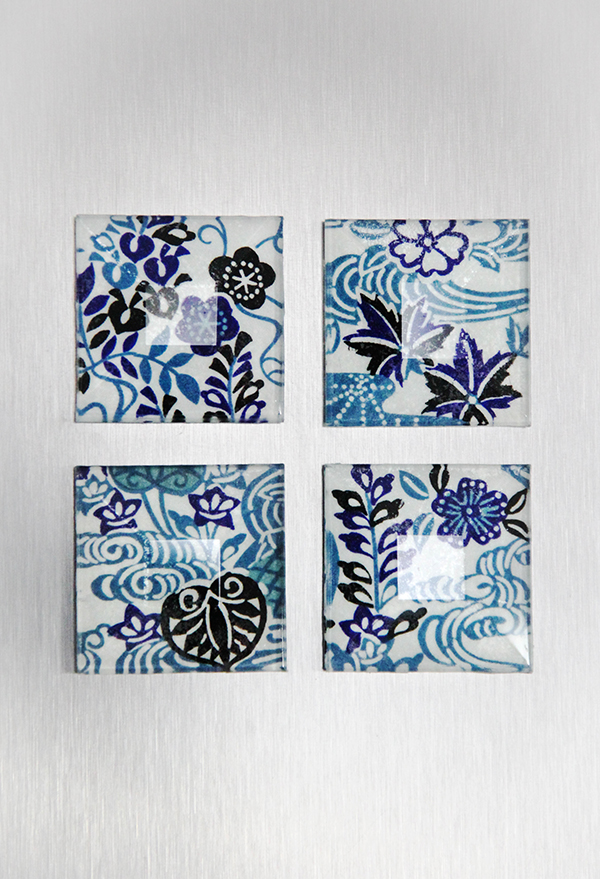
Making DIY Glass Picture Magnets is an easily customizable craft project. There’s a wide range of style ideas and materials you could use to make your own. They are a unique way to liven up the front of a fridge or magnetic bulletin board. DIY Glass Picture Magnets only take a little time to put together, and make a great handmade gift idea. Using photos can make a very thoughtful and memorable gift. Who wouldn’t love to receive a set featuring photos of their favorite pets, family or friends?
Related project: Paper Napkin Decoupage Pumpkins