
This sweet decoration is quick to make with items and supplies you can find almost anywhere at this time of year, but a good place to start looking is the seasonal aisle at your local craft store. There you’ll find adorable stickers and floral embellishments to create this Valentine’s Day decor with your own personal flair!
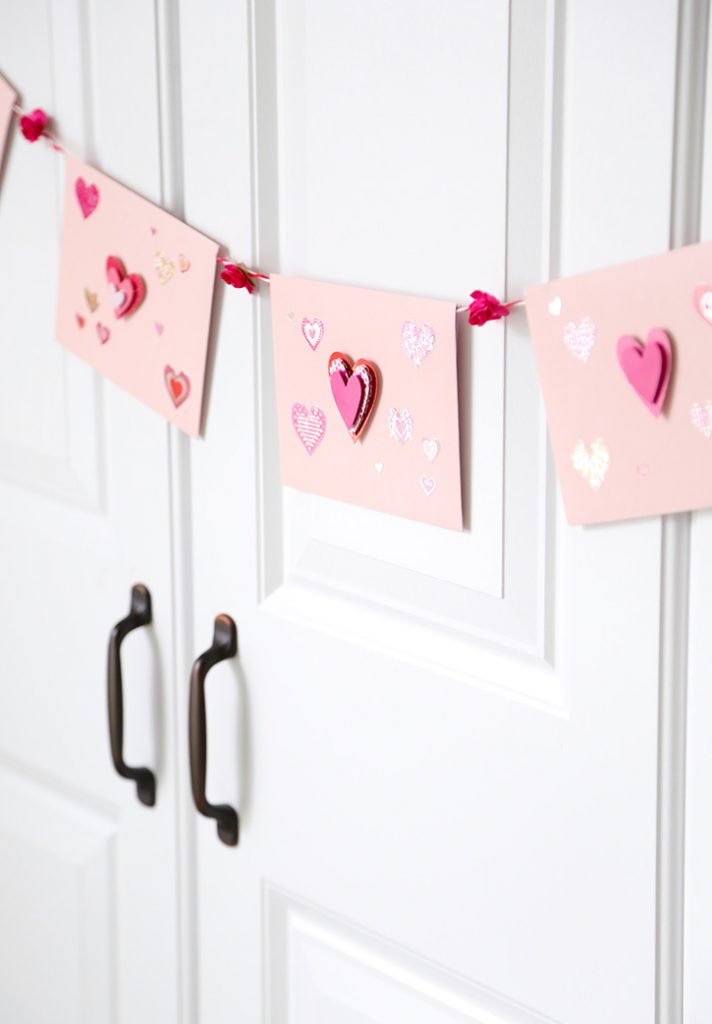
Use small damage-free adhesive hanging hooks, or invisible tape to hang the garland on surfaces that you don’t want to put a thumbtack into. From this angle, you can see the snazzy 3D self-adhesive embellishments that I chose to be the focal point of each little envelope.
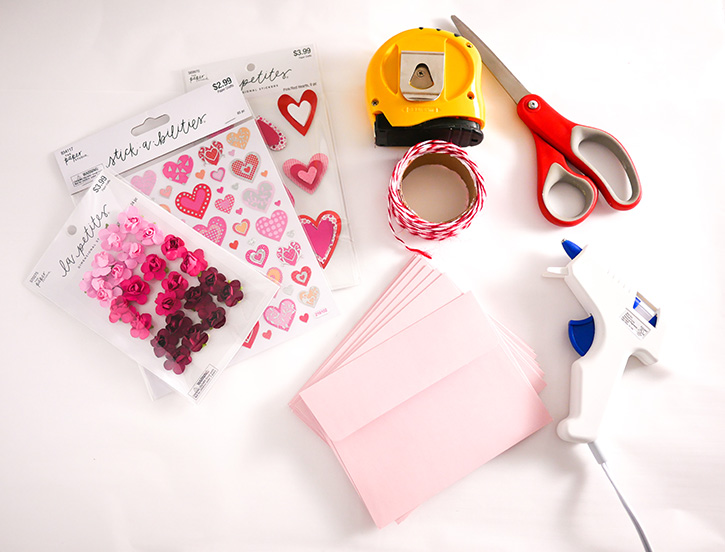
Here are the supplies and tools used from right to left:
- Glue gun (small, low temperature glue gun works fine).
- Scissors
- Tape measure
- Decorative twine, yarn or ribbon, about 50 inches
- Blank envelopes. In this case, I used five 4.375″ x 5.75″ envelopes to create a garland about 40-50″ wide. The larger your envelopes, the larger you garland could end up being.
- Stickers and floral embellishments from the scrapbooking department. I recommend purchasing variety packs like the ones pictured because they offer a range of designs to work with.
1. 
2. 
3. 
4.
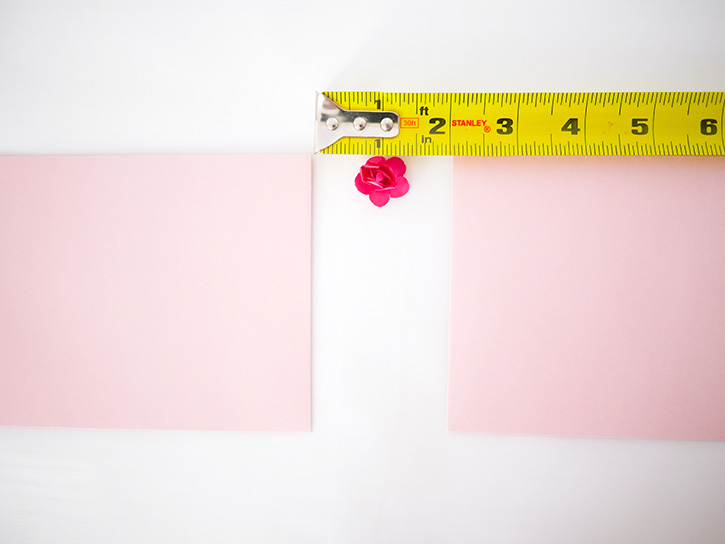
1.Lay out two envelopes and an embellishment to see how much space looks good between your envelopes.
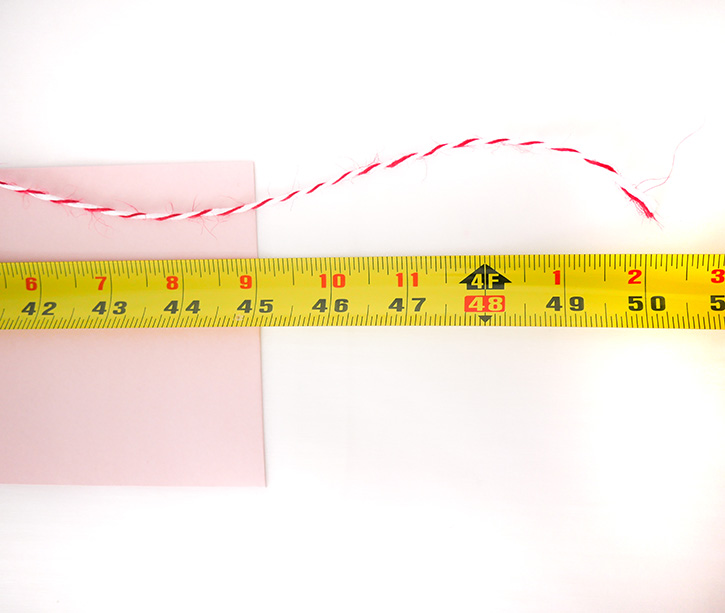
2. Decide how many envelopes and embellishments you want in your garland, and add up the width of each one, plus at least 5 more inches on each end to see how much twine you’ll need. It doesn’t have to be precise, as long as you have some extra length to work with.
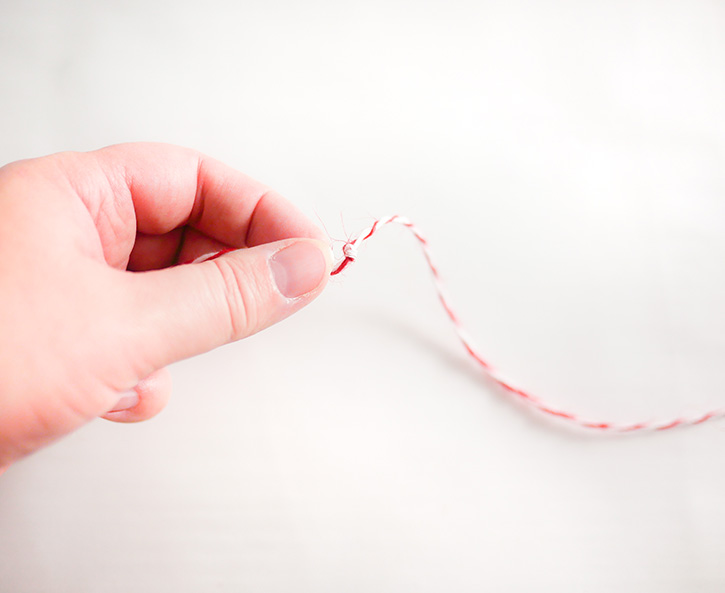
3. Cut a length of twine according to your calculations, and fold it over in the middle. This will help you find the center of the garland.
4. Mark the center of your twine or ribbon by tying a knot there, or with a marker if you like.
5. 
6. 
7. 
8.
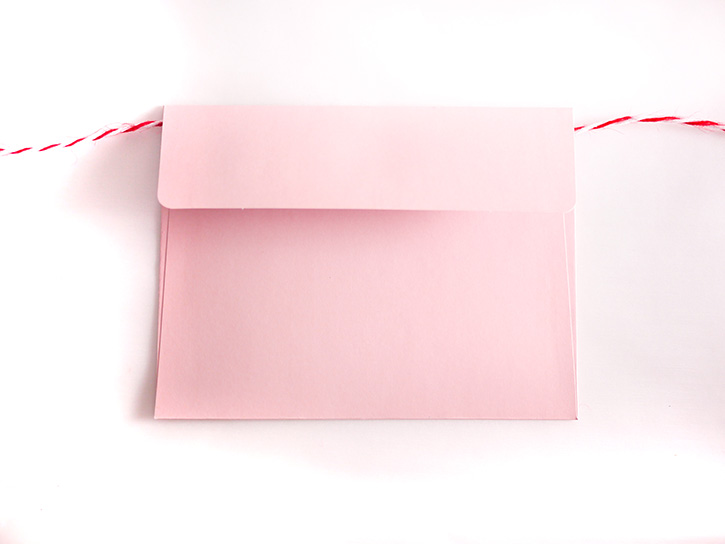
5. Lay an envelope face down, and hook its flap over the twine, with the knot in the middle of the envelope.
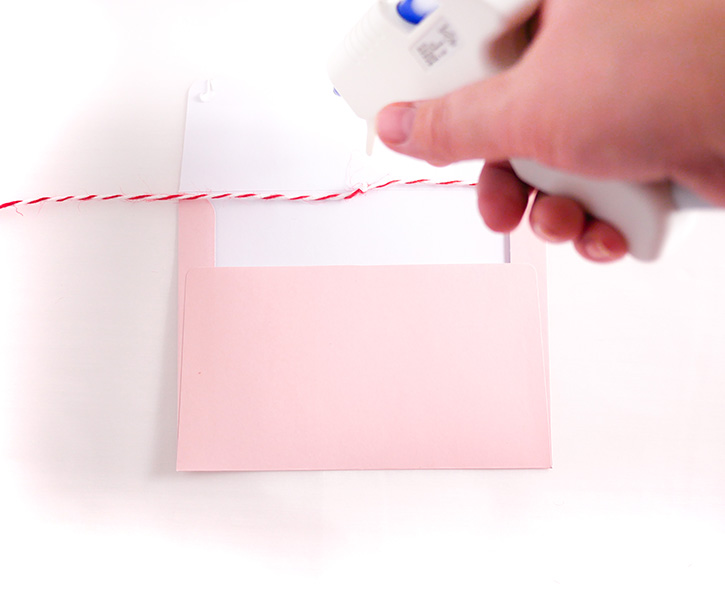
6. Fold the flap down and tack the inside of the flap along the edge (where the sealing strip is) with hot glue. Also, add a dot of glue to the inside corners to hold the twine in place. Fold the flap down and press gently to seal. Space the envelopes evenly along the twine on either side of your center envelope, and repeat the gluing process on each one.
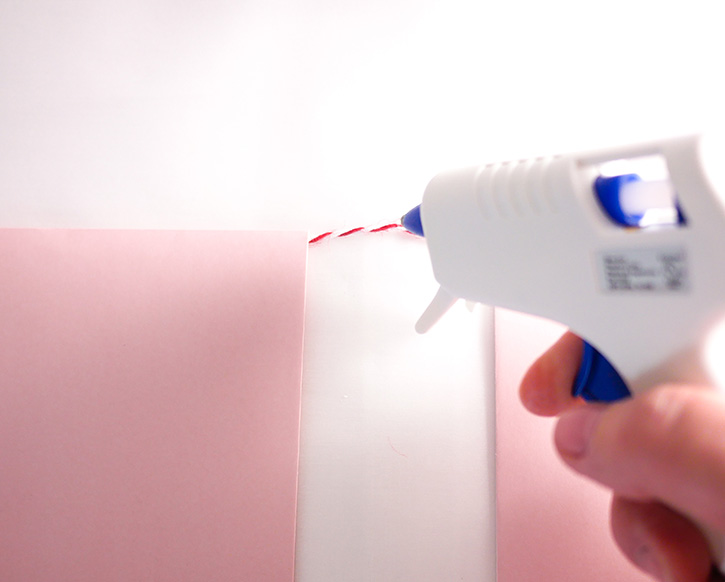
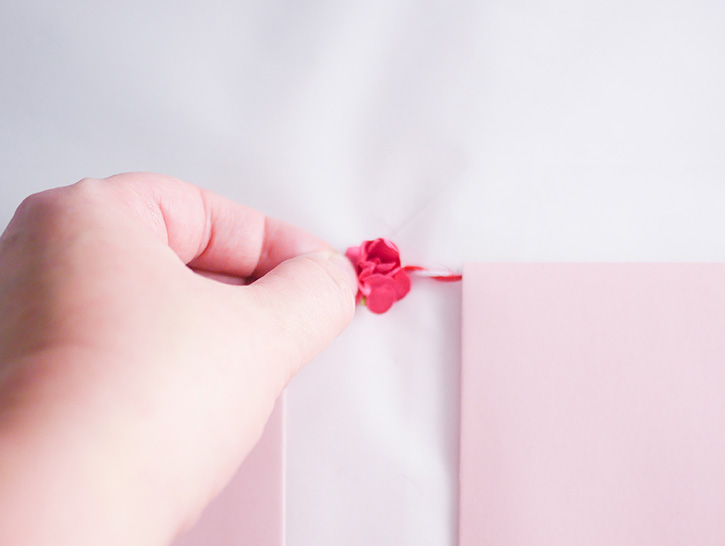
7. Flip the garland over so that the envelopes are face up, and add a drop of hot glue to the middle of the exposed twine between the envelopes.
8. Carefully press a paper flower or other embellishment onto the drop of glue before it cools. Repeat step 7 and 8 until each space between the envelopes has its own embellishment. Note: some scrapbooking embellishments such as the floral ones pictured have self-adhesive foam pads attached to the backs. Remove them from the embellishments before gluing them to the twine, so that they attach more firmly.
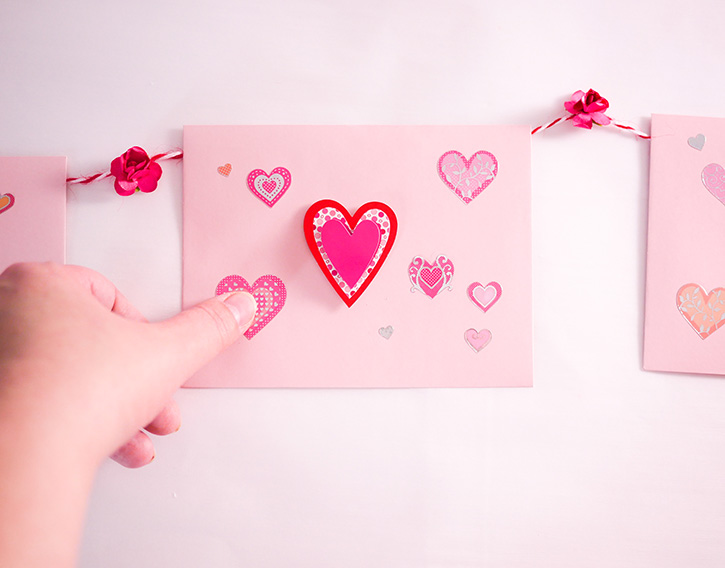
Place stickers on the envelopes until they are all filled with a vibrant arrangement of designs.
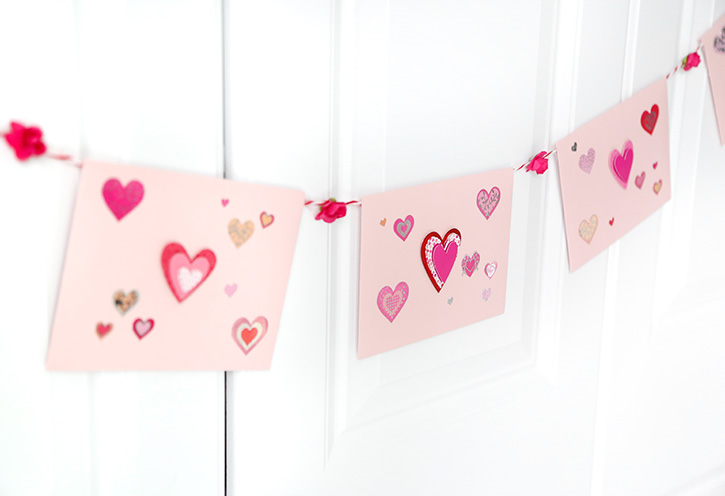
Now you’re ready to show off your own festive Valentine’s Day decoration! Hang it on the front of a cabinet, door or mantel, in a window, or display by simply tying the ends to two thumbtacks on your wall.