
Bring some fun and sparkle to your summer soirée with these cute napkin rings!
These napkin rings were inspired by some very beautiful, but very expensive jeweled bug napkin rings that I’ve coveted for months! Recently, while browsing online, I found some adorable jeweled bug pins that were inexpensive, and made me consider DIY’ing a set of my own.
There’s no intensive crafting here, it’s more just assembling. I had eight completed in about 20 minutes, and drying time takes at least 8 hours, or overnight.
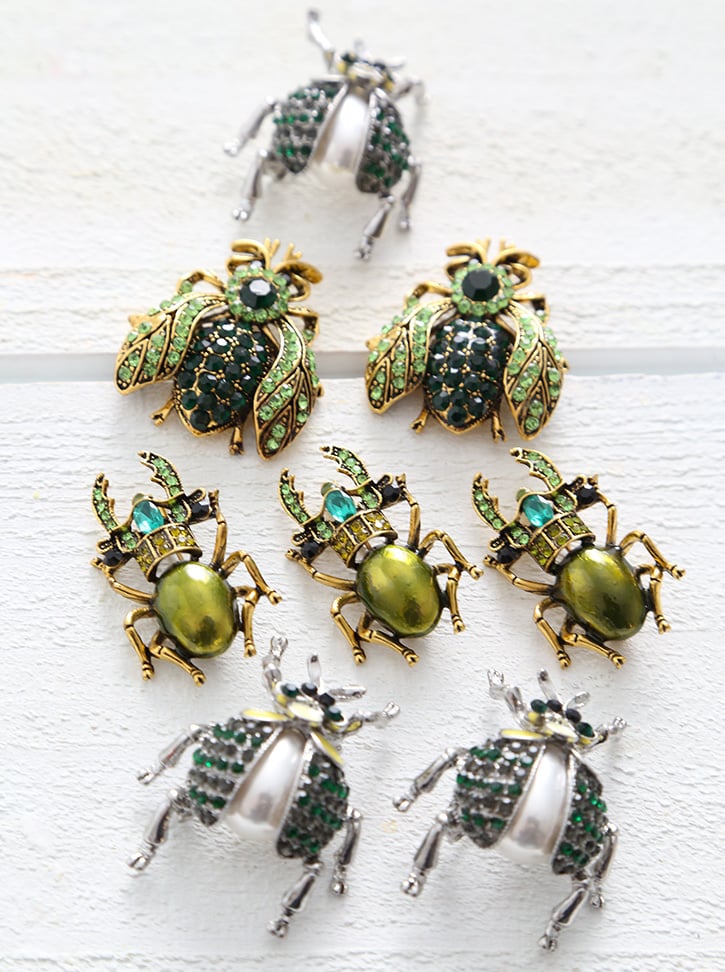
The bug motif is optional, and you can make your own version with any assortment of vintage pins or thrift store finds. However, if you like these buggy little guys, you can find the pins for purchase here. $6 per pin may seem expensive, but the original napkin rings cost upwards of $60 per set of two. Granted, the expensive version uses semi-precious stones, but I’m ok with a little rhinestone sparkle instead.
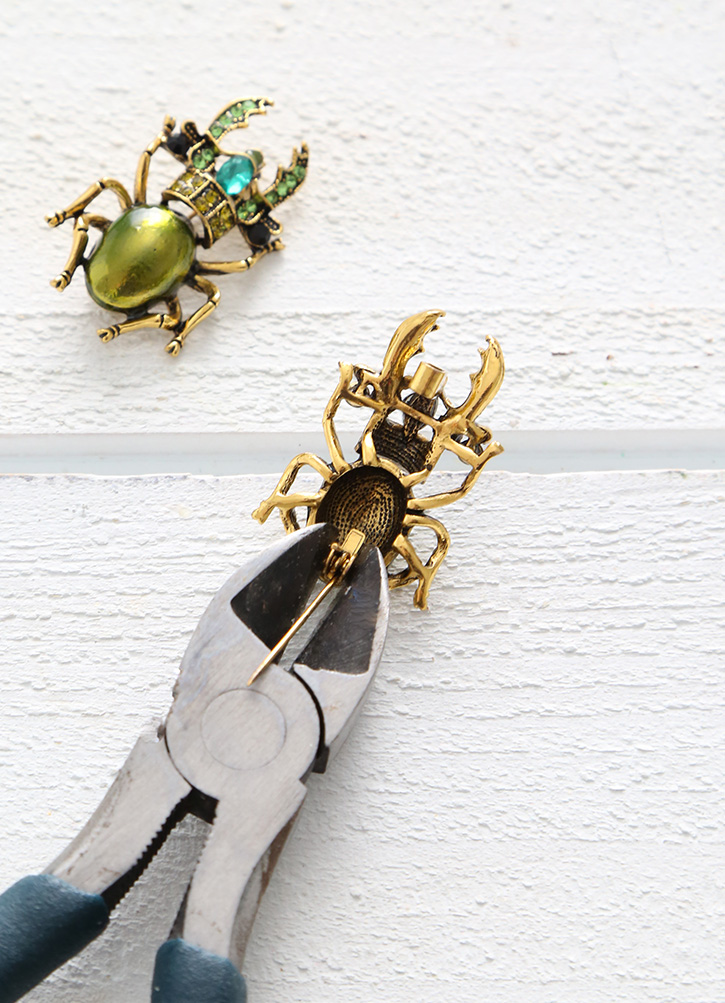
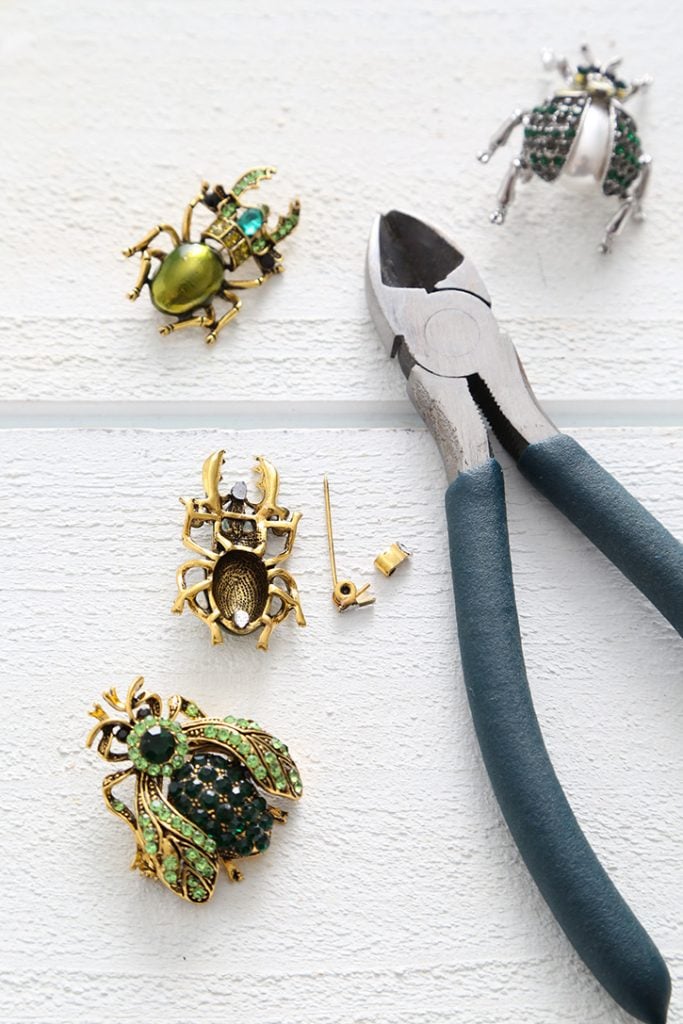
Clip off the pin clasp on the backs of the brooches. You can do this with a pair of wire cutting pliers. Apply gentle pressure until the pin pops off. Avoid wiggling the pliers while you cut, because you could end up loosening some of the rhinestones from the pin. Costume jewelry metal is usually soft, and after a few pinches the pin should break away easily.
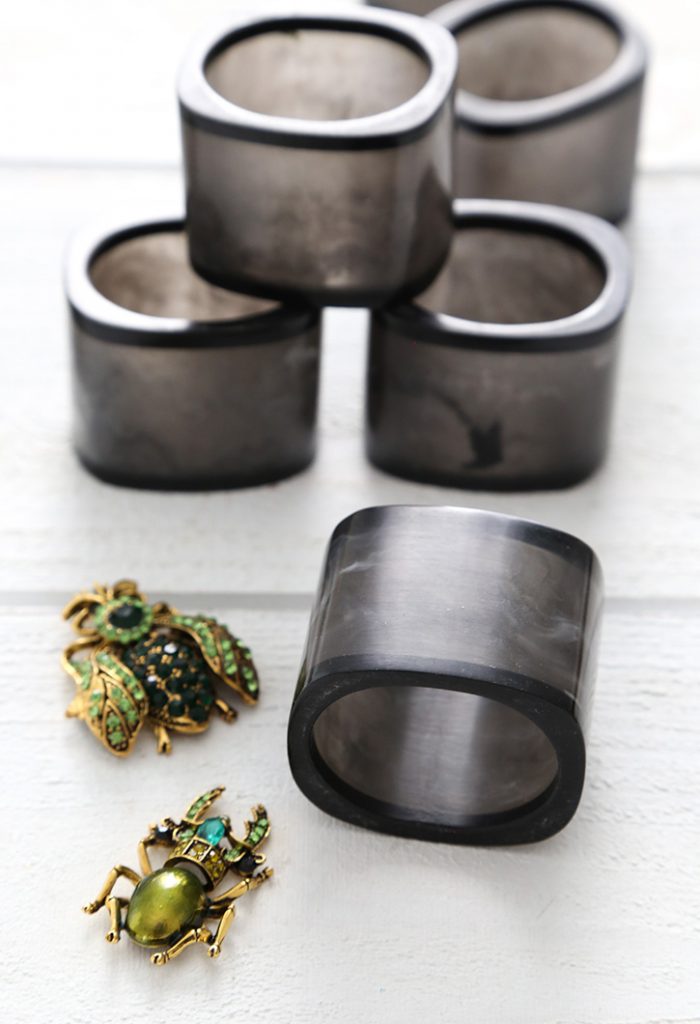
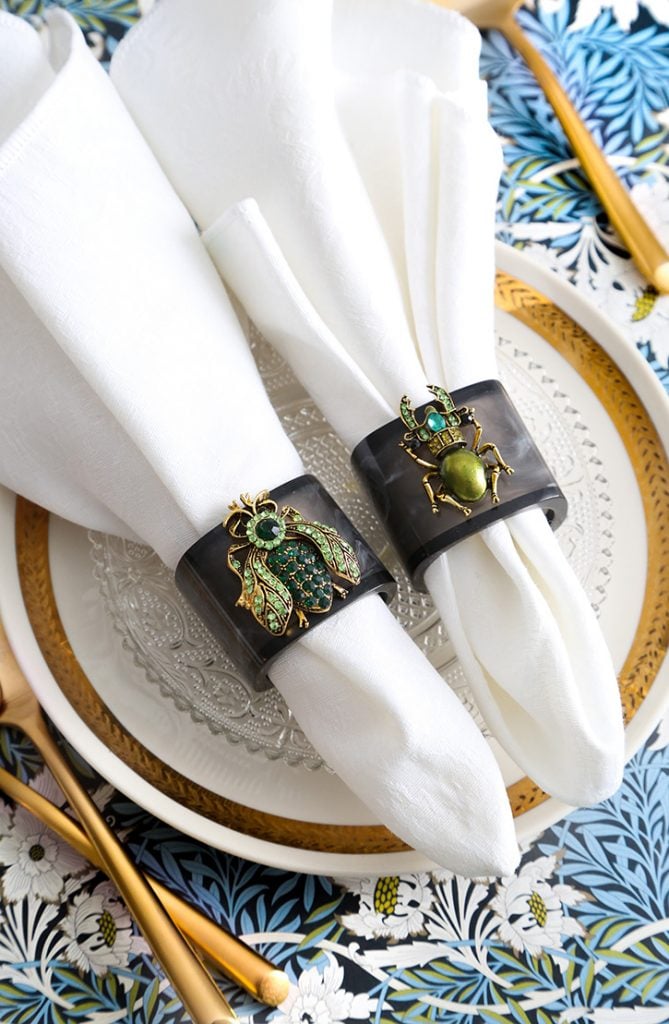
A smoky set of grey napkin rings will match just about any decor, and I think they look so chic! You can find the set I purchased here, which is just $9.99 for a set of eight.
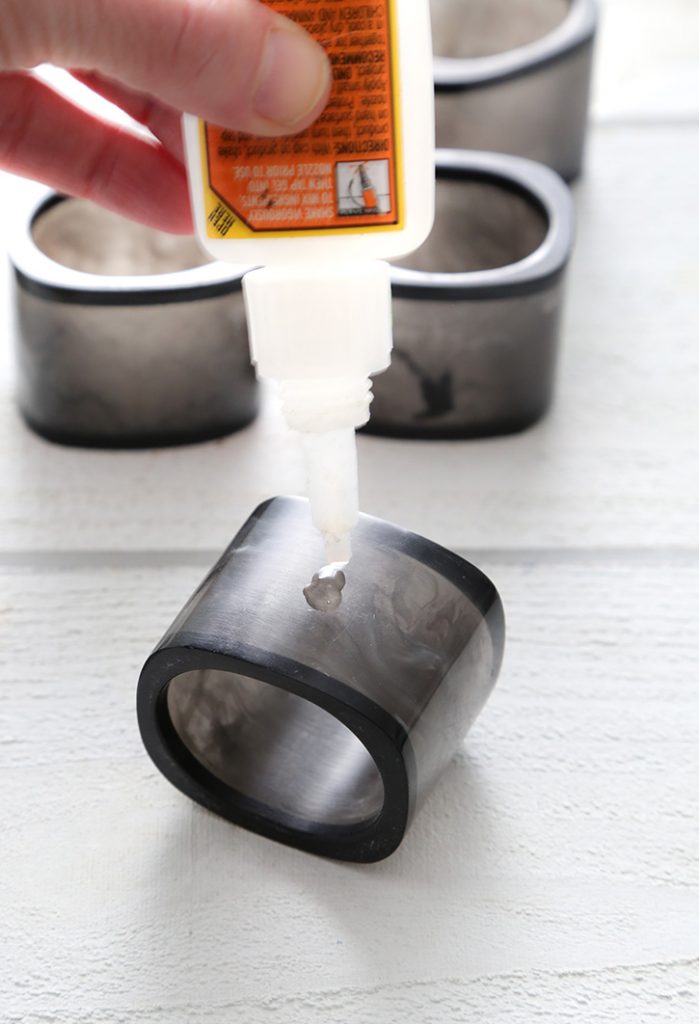
Gel superglue is one of my favorite adhesive tools, ever! It piles high and holds tight, which is perfect for this project.
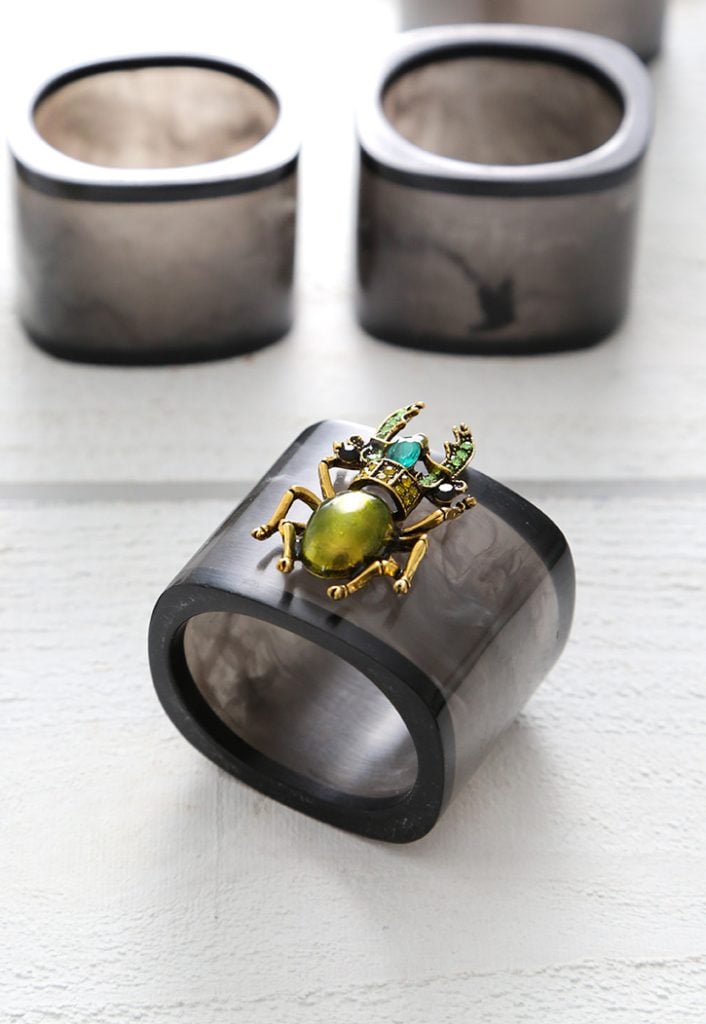
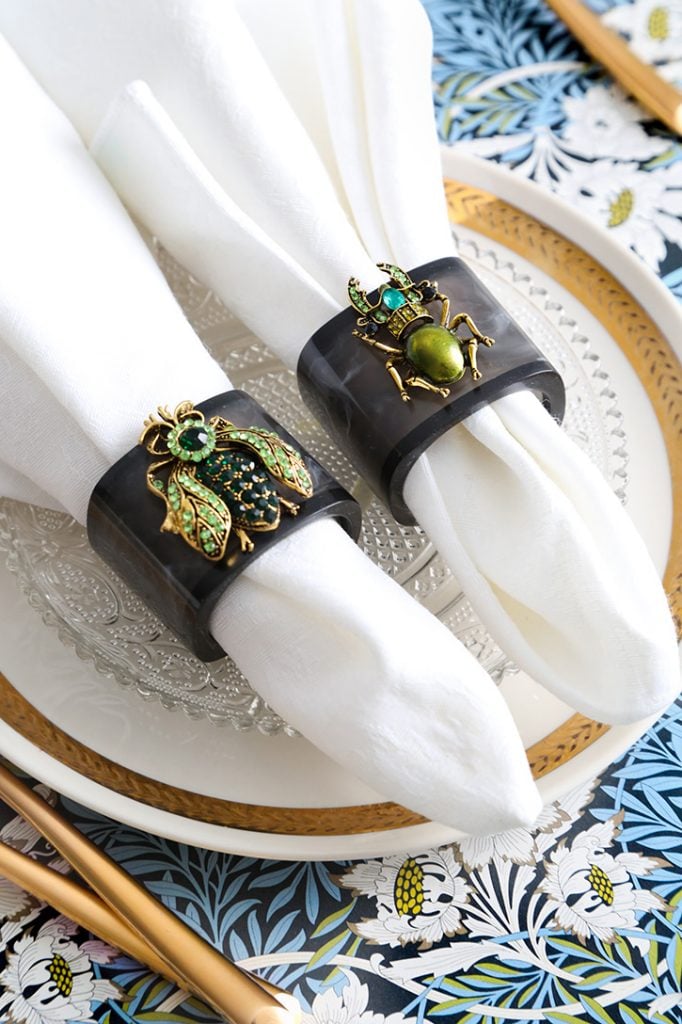
Place a generous amount of the glue on a napkin ring and set a jeweled pin on top. Repeat with remaining rings and pins. Allow the assembled rings to stand until set, overnight. It can be tricky to get metal to adhere to plastic, but gel super glue works wonders!
It’s important to allow the rings to stand until the glue dries completely. Do not cover them with plastic or put them in a drawer or other enclosed area before the glue is absolutely SET! If covered, the outgassing from the glue will turn the rhinestones cloudy.
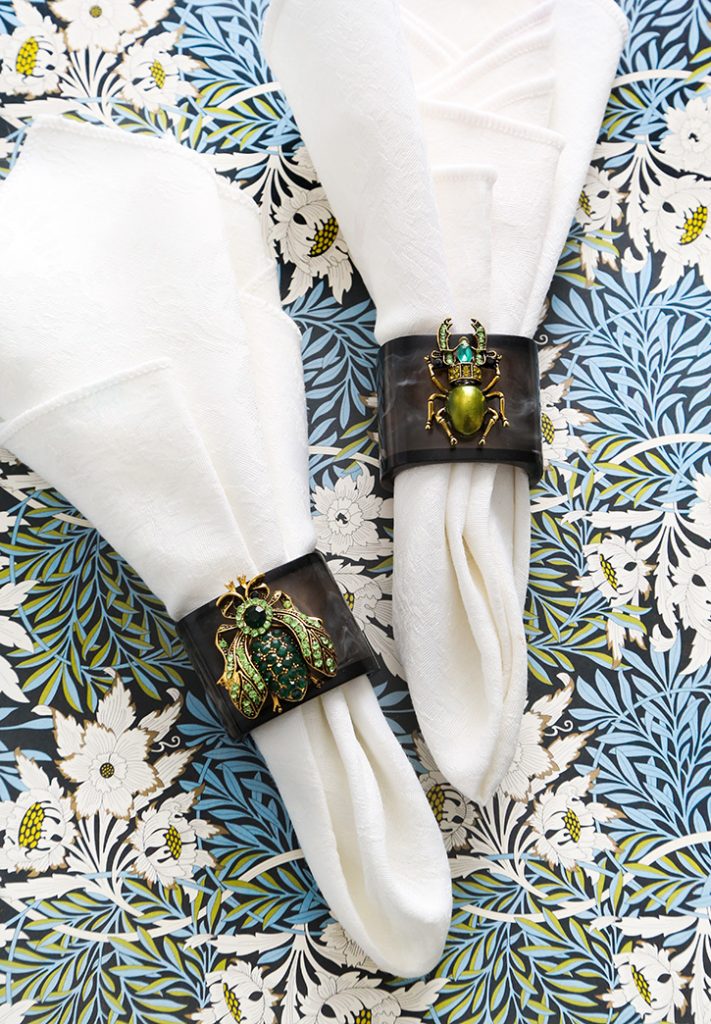
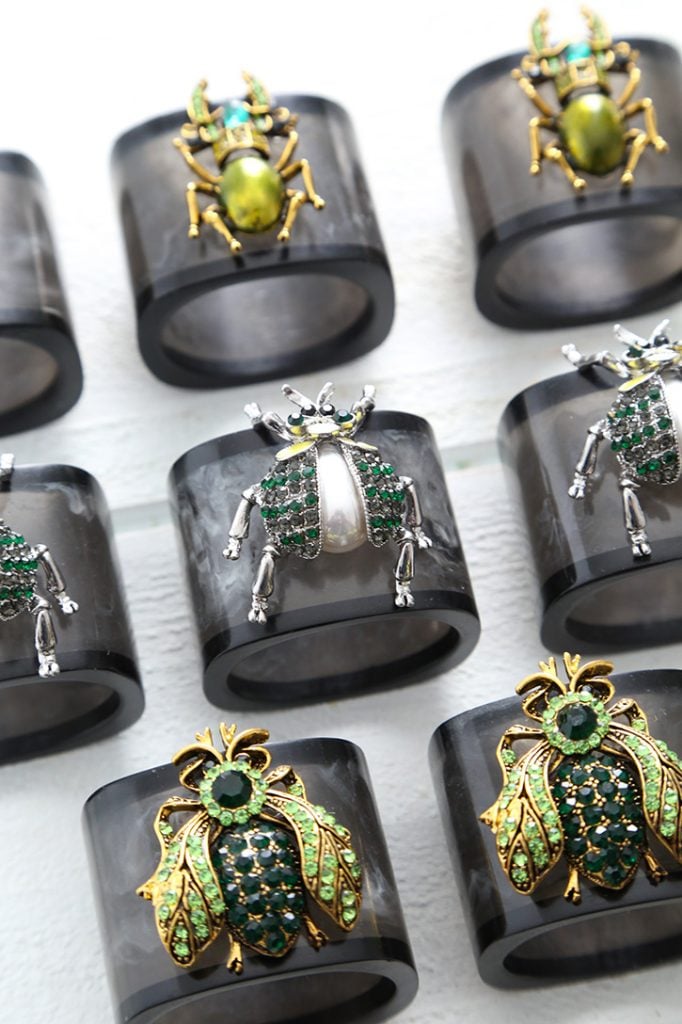
These turned out so nice. I used them with chambray napkins for my husband’s birthday dinner, and they were a real conversation starter!
The original (expensive) napkin rings remain on my wish list, but I’m just so pleased to have the same look for less with a DIY version!
The design can be endlessly varied with your choice of sparkling costume jewelry, so be sure to scour thrift stores and clearance racks for inexpensive jewelry findings. I’m already planning a Halloween version with some sparkling rhinestone spider brooches!
Magnificent!