A brooch bouquet can be a chic alternative to the traditional fresh floral wedding bouquet. It adds a touch of luxury to your bridal ensemble and will endure as a precious reminder of your big day.
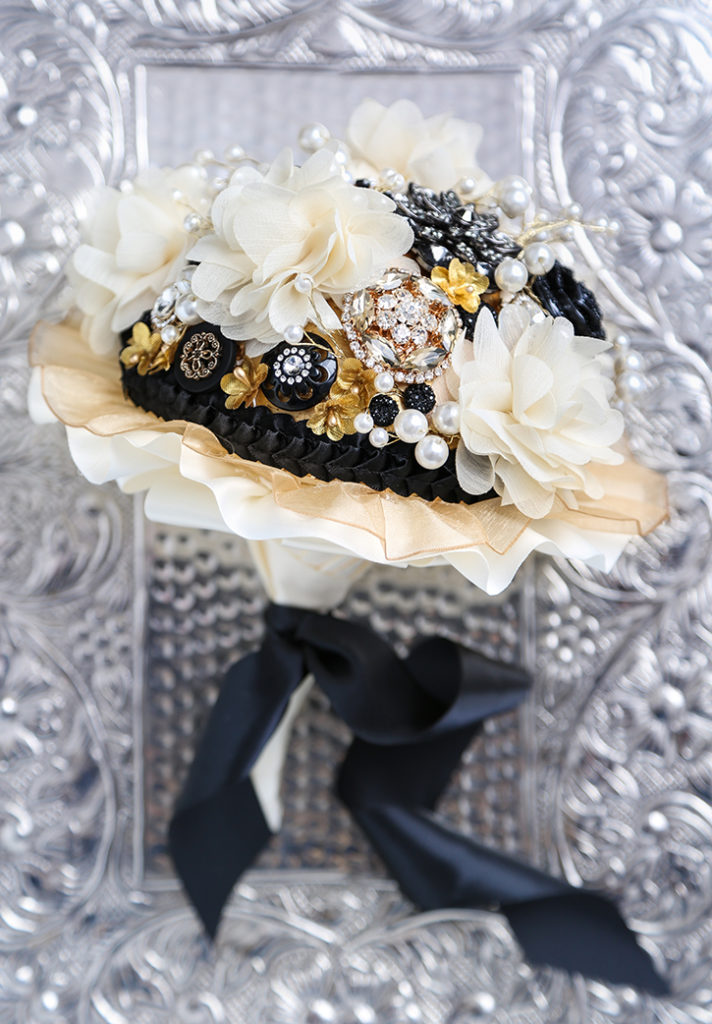
Custom brooch bouquets can be very expensive and can take months to arrive once you order them. However, if you have a more modest budget and you can’t wait as long for your bouquet, you can make your own!
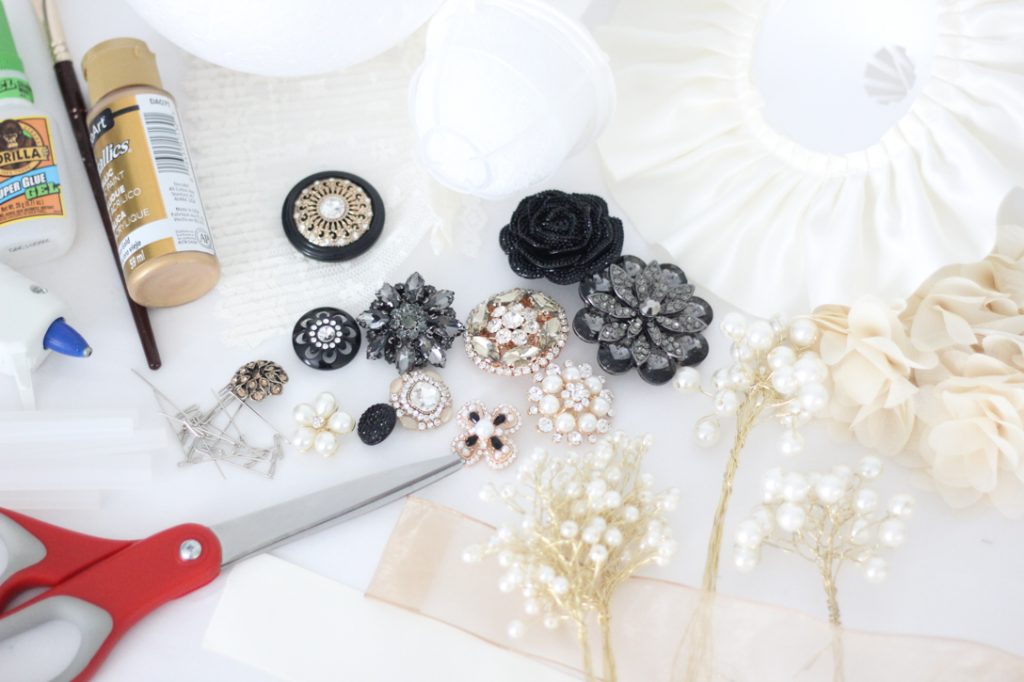
The basic tools needed are:
- hot glue gun
- gel super glue
- scissors
- wire cutters
- plastic bouquet holder
- bouquet collar
- styrofoam ball (or half ball 6″-8″ in diameter, depending on the size you would like the bouquet to be)
- acrylic paint (to apply to the foam ball)
- quilter’s t-pins
- spool of ribbon
- various brooches, pins, buttons, and jewels
- jar or vase
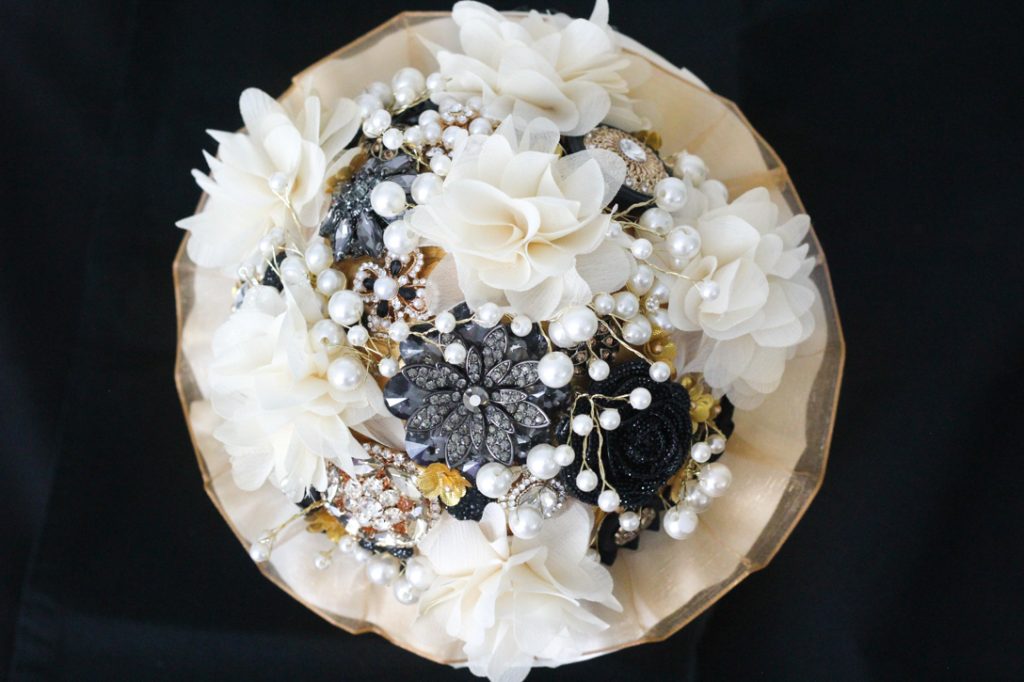
Decide on a color scheme and an overall style before you shop for your decorative elements. Check out some of the current fashions in wedding magazines or on Pinterest for inspiration! Your bouquet can be as ornate or as simple as you like. The color palette and look you choose can also reflect the season when your wedding is taking place; this is a great idea for a fall or winter wedding! This idea can be adapted to be as classic or as unconventional as you like.
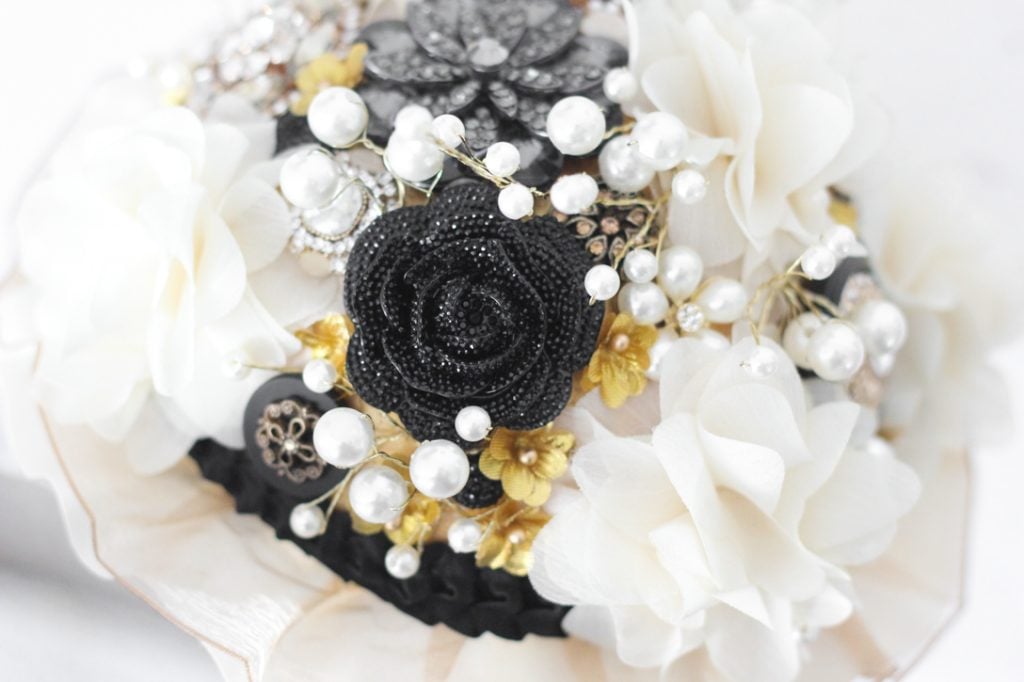
Brooches that are family heirlooms will make a beautiful and sentimental focal point for your bouquet. If you’re not in possession of any antique jewelry, then you can look for vintage pieces at thrift shops. Large dressy buttons can also duplicate the look of a brooch. Jewelry findings from the craft store can also add interest to your overall design.
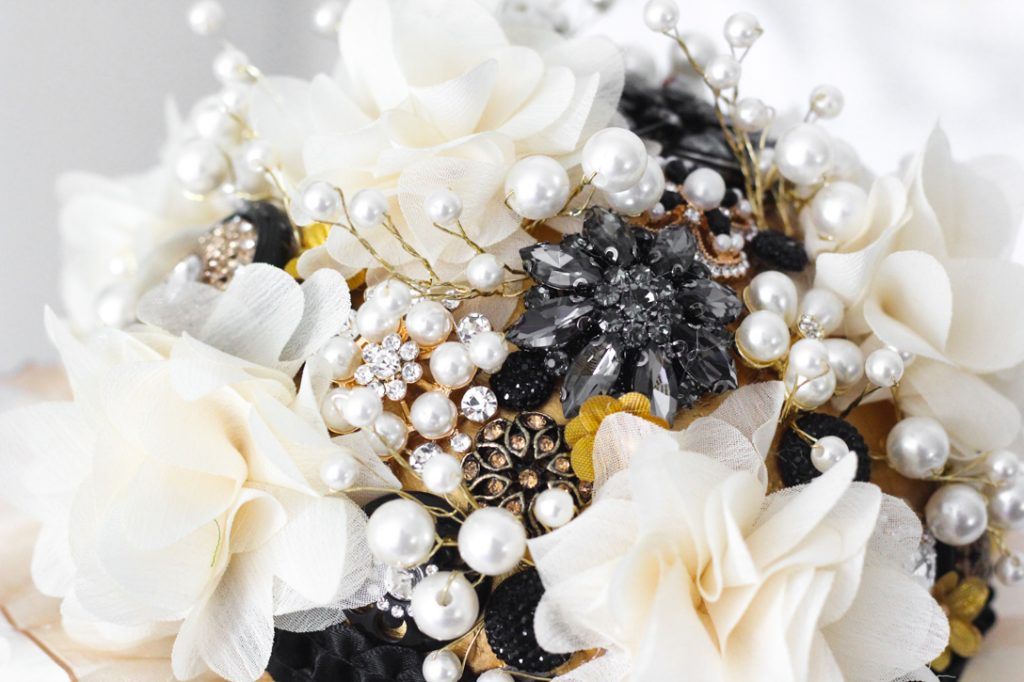
Use smaller elements of various sizes to fill in the spaces between larger pieces on your bouquet. Buttons, beads and small floral accents are great for getting complete coverage. Also consider using some fabric flowers to add softness and texture. Another nice effect comes from adding picks for extra dimension and sparkle. They are available in sprays of rhinestones or pearls, in a variety of sizes and colors.
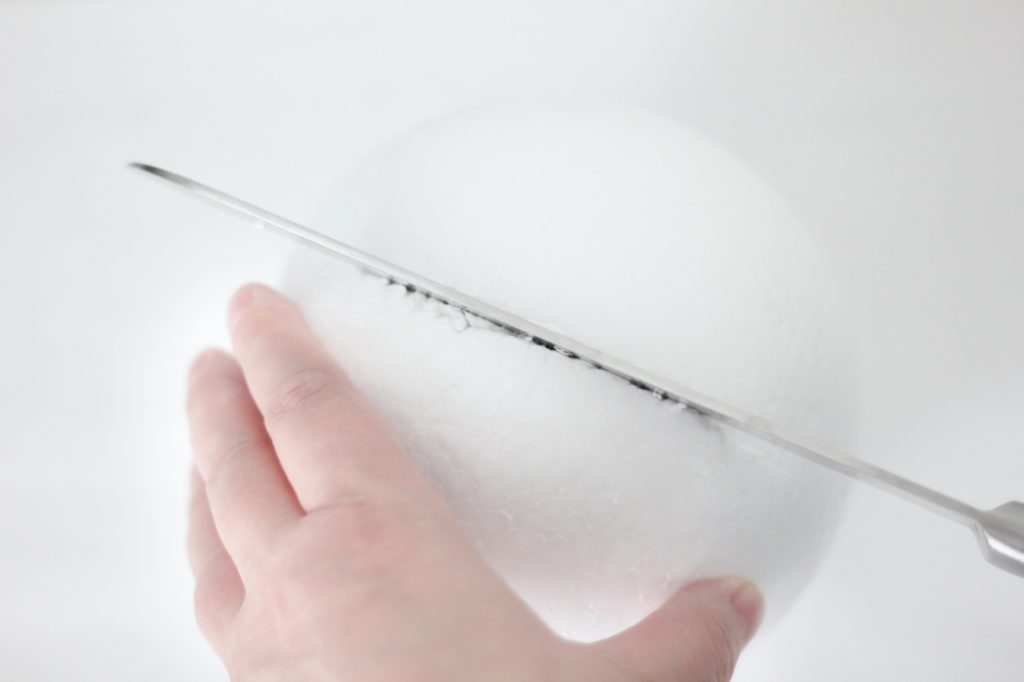
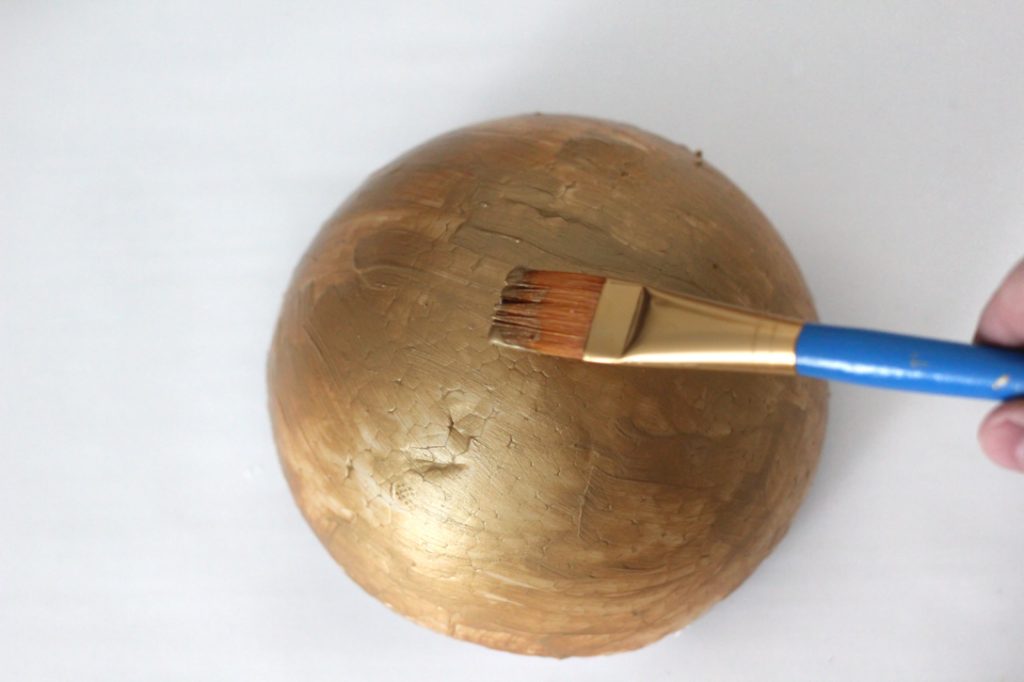
Start by cutting the styrofoam ball in half and paint it gold.
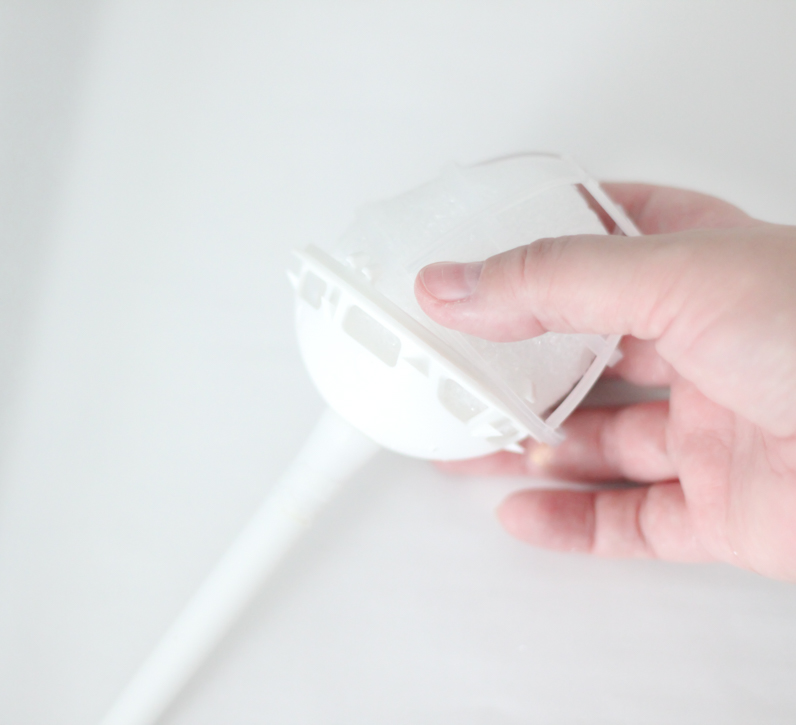
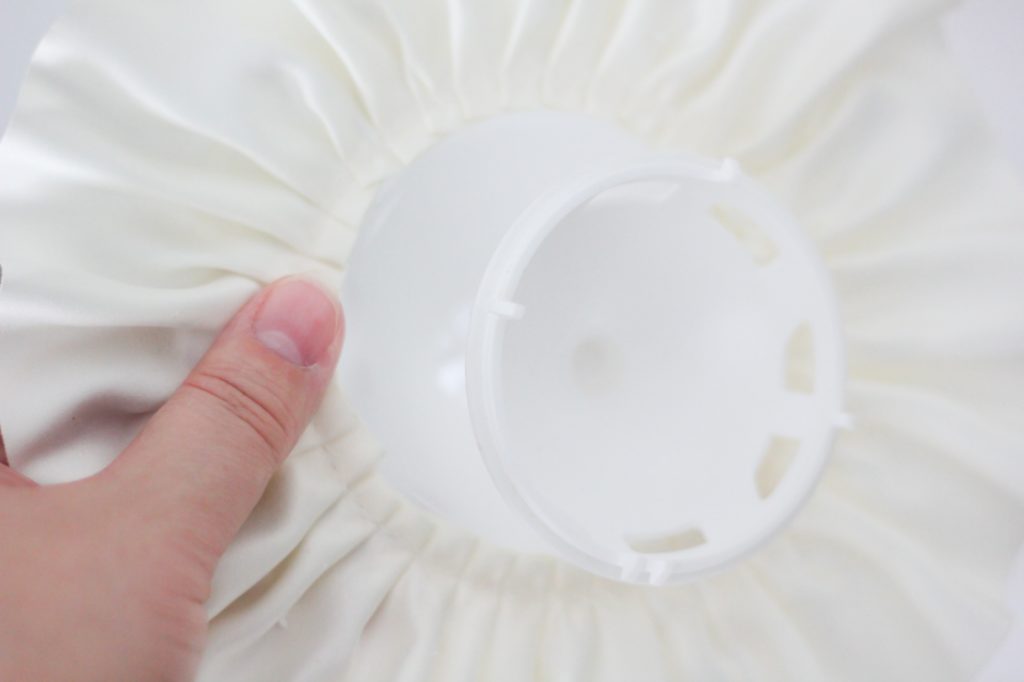
While the painted ball dries, remove the top from the bouquet holder. Secure the bouquet collar onto the holder with gel super glue.
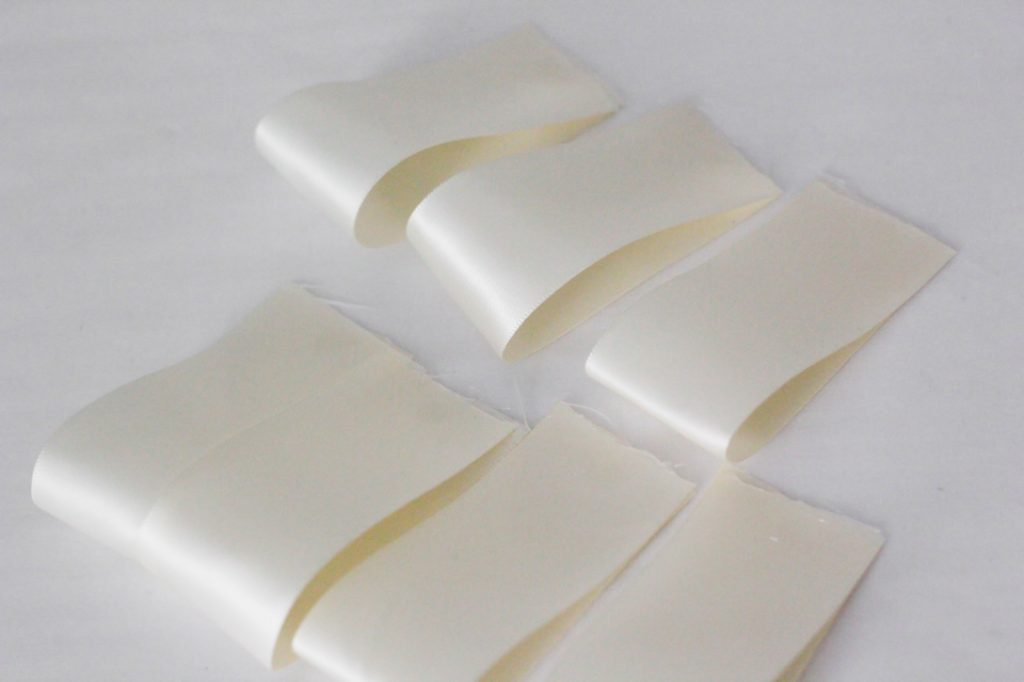
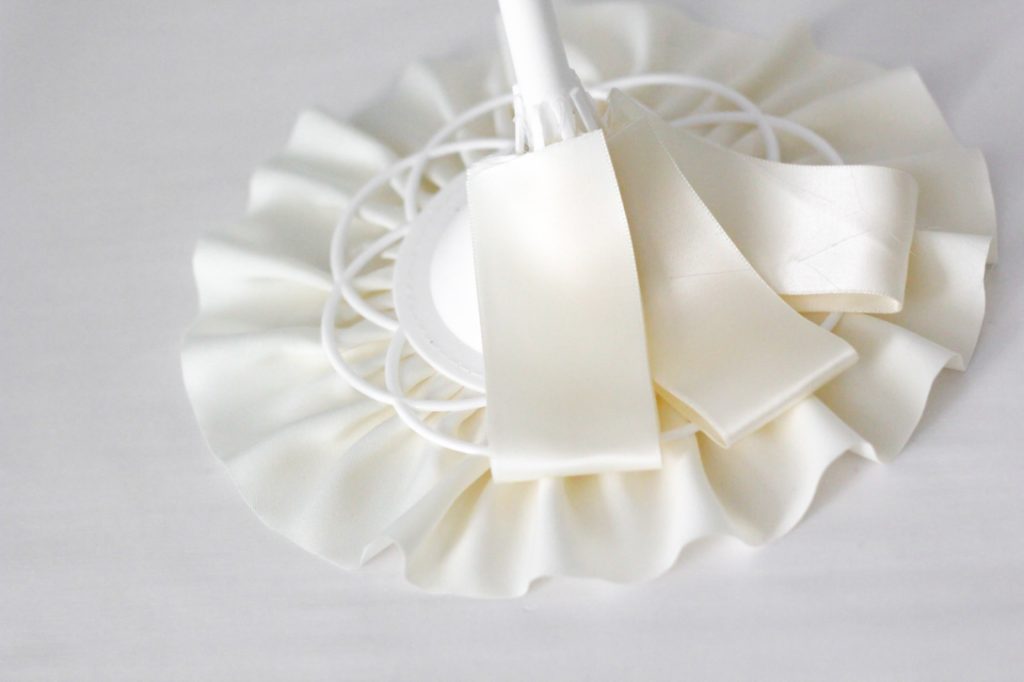
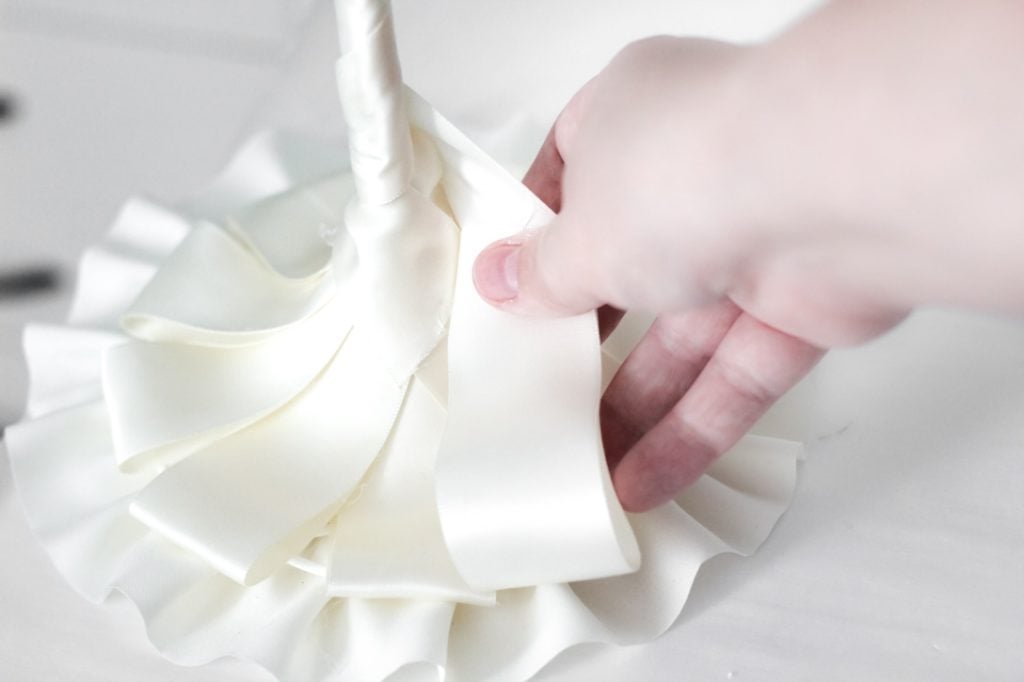
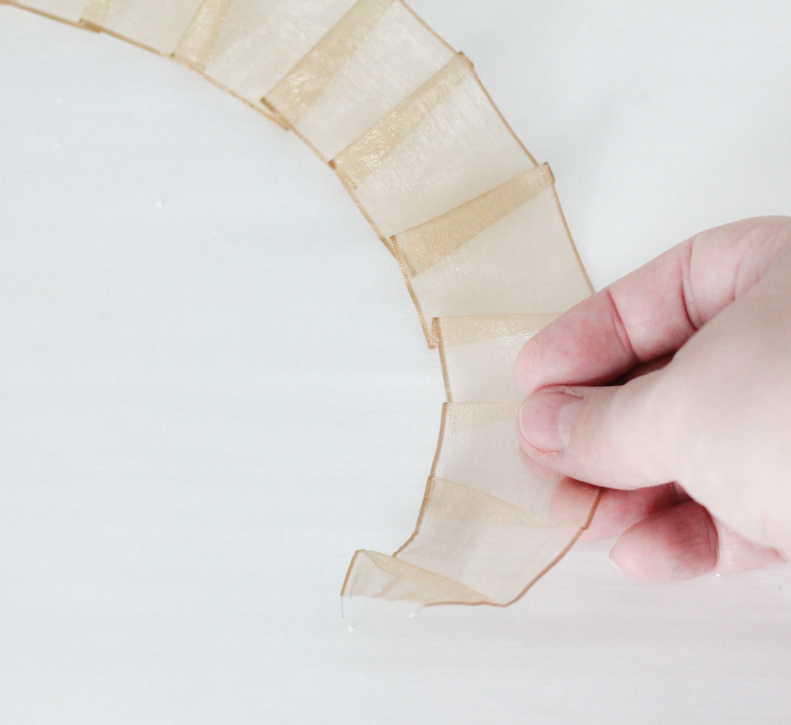
To cover the plastic bottom of the bouquet collar, cut ten 12″ long strips of the ribbon and folded them over; tack the ends together with a spot of hot glue to keep them closed. Turn the bouquet holder upside down, and tack each piece of folded ribbon to the handle and the filigree with hot glue. Overlap the folds to create ‘petals’ to cover the plastic filigree on the bouquet collar Wrap the handle by hot gluing the end of a ribbon to the tip of the handle, and winding it toward the base of the holder (wedding guests would probably never see this, but it adds a finished detail that just looks more elegant). I left extra length of the ribbon before cutting it, so that I could fold it over and add one more petal, which I tacked to the base with more hot glue.
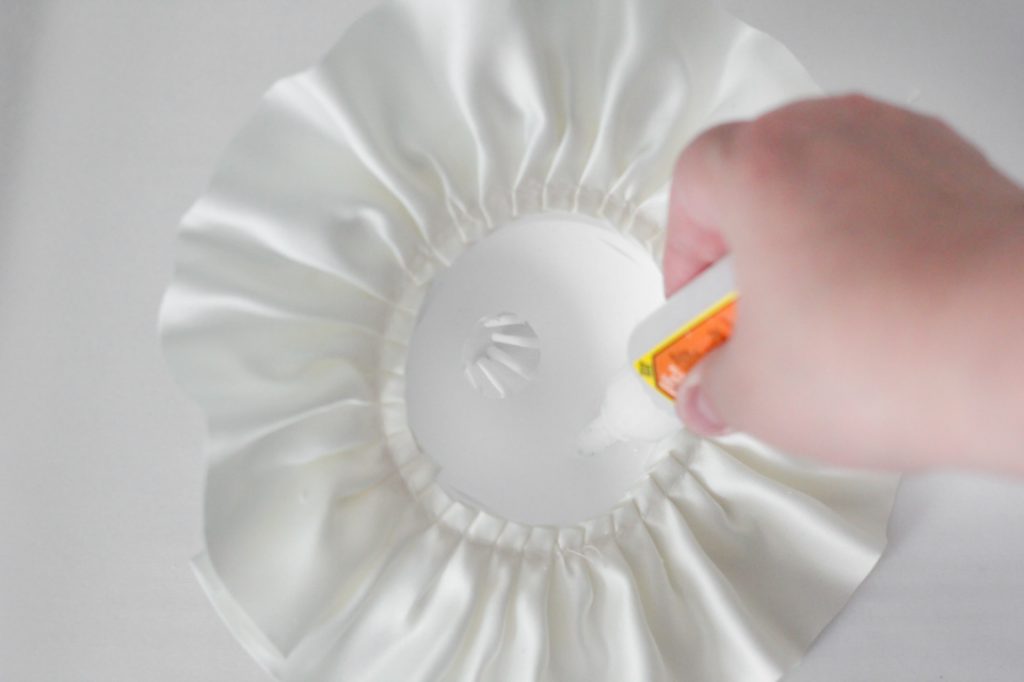
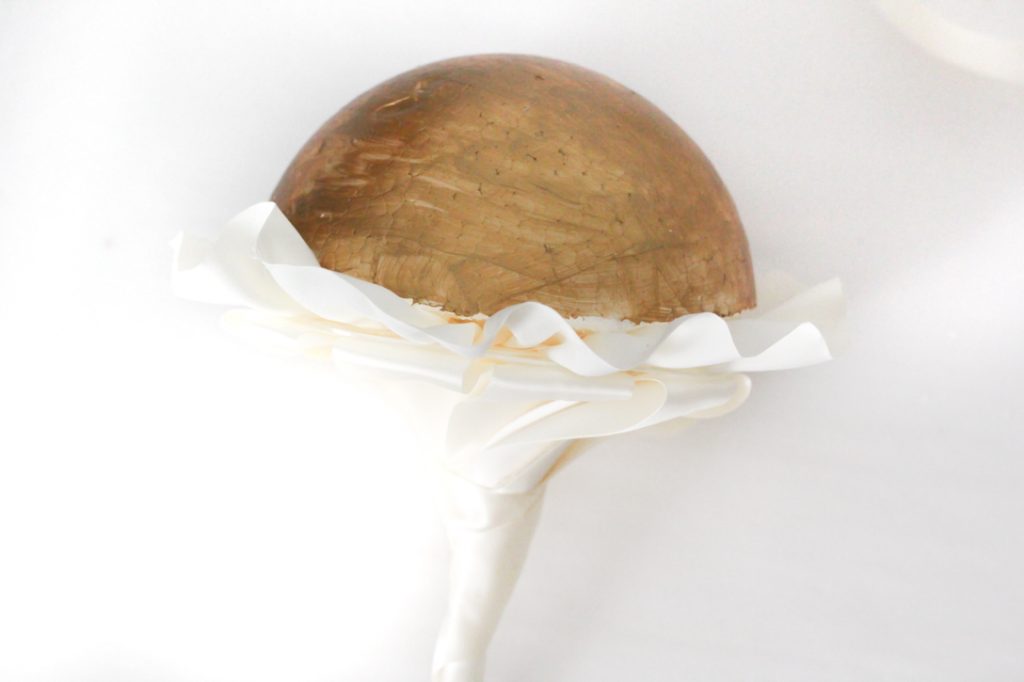
Next, place the bouquet holder in a sturdy jar or vase that will hold it upright and protect the handle. Form a ruff with some wired ribbon. Attach the ruff to the collar with hot glue, then center and secure the foam half ball to the top of the bouquet holder with more hot glue. I later added some black trim to the bottom edge of the styrofoam to cover any uneven parts, and give it a cleaner edge.
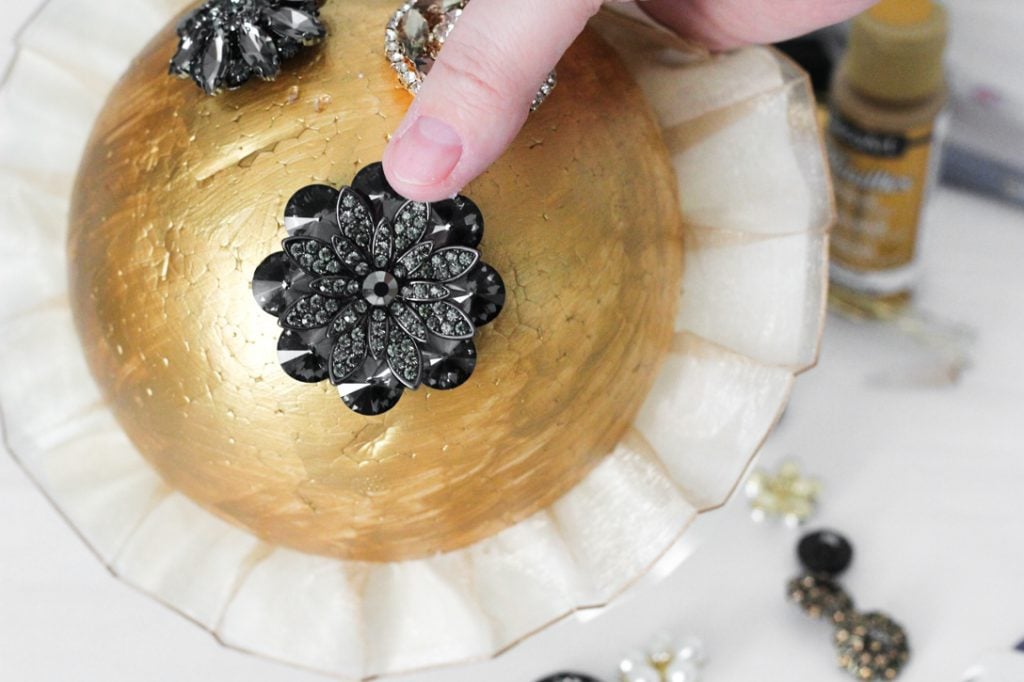
Start the bouquet by trimming the stems off fabric flowers with wire cutters flush with the base of the flower. Begin filling the top of the bouquet by placing the largest pieces first, before you glue anything to the foam. You can hold brooches and flowers in place with T-pins, and remove the pins when you glue them into place. Hot glue works well for attaching flowers and fabric, but gel super glue works best for heavy jewels.
If you need to make adjustments and move pieces, it’s no problem! They can be carefully pulled off and re-glued. Don’t worry about dents or holes in the foam, those can be touched up with paint and will get covered by finery anyway.
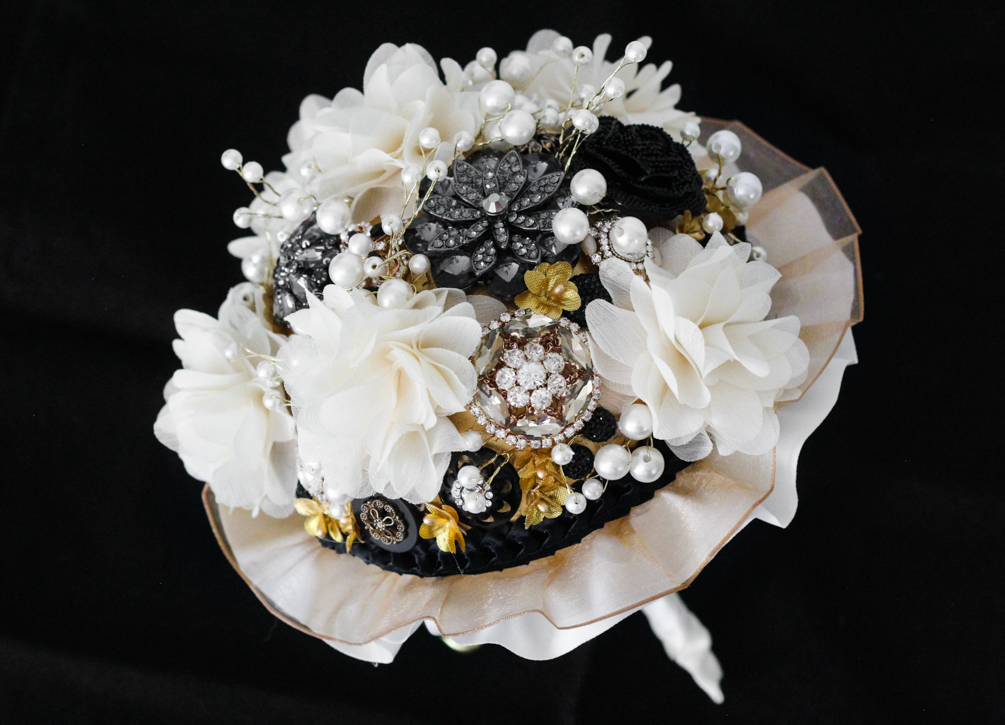
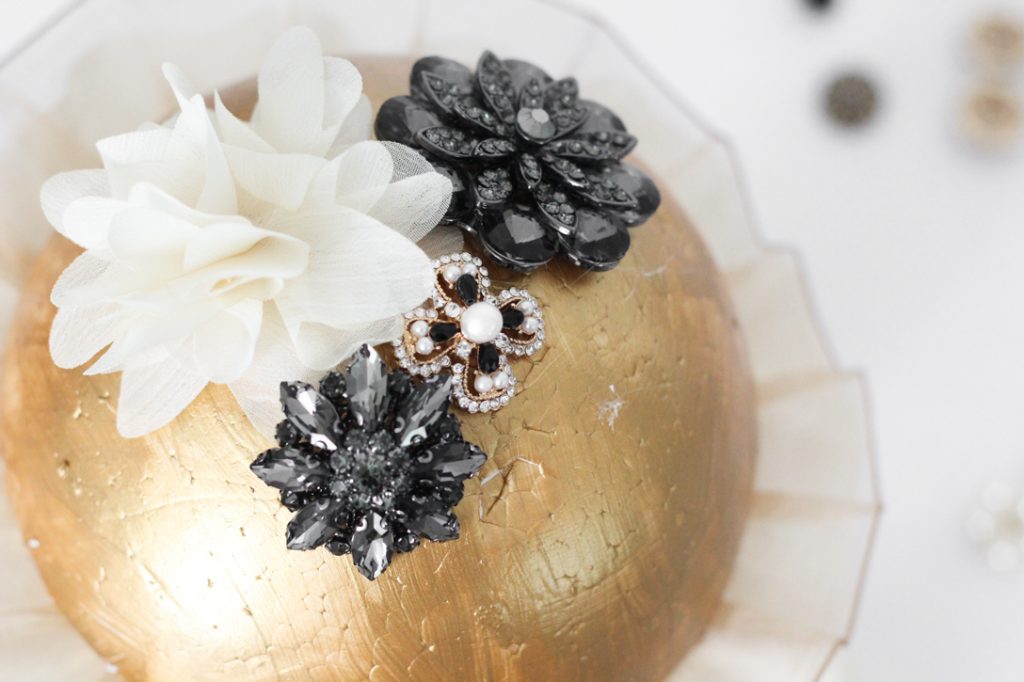
Fill in the gaps between larger elements with tiny flowers, buttons or beads until the entire surface is covered. Add the sprays in last, because they don’t cover surface area, but do add even more dimension to your bouquet. The final result will be a wedding brooch bouquet that is as individual and unique as you are!

