
Make this upcycled fleece blanket pet bed for a furry friend! It’s a quick and easy no-sew DIY project that is also inexpensive to put together.
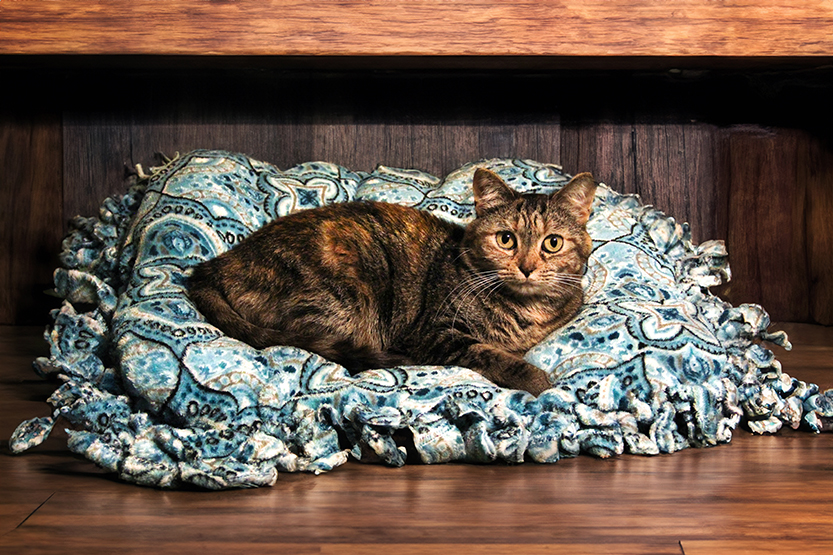
This project is a fun and creative way to repurpose upcycled materials and make a cozy pet bed on a budget! If you’re like me, you might already have a few fleece throws on hand. And you could repurpose one as a covering for a pet bed. A cushion or standard pillow could be used as the base for a bed for a cat or medium dog. If you have a large dog, a foam mattress topper could be tailored to make the right sized bed.
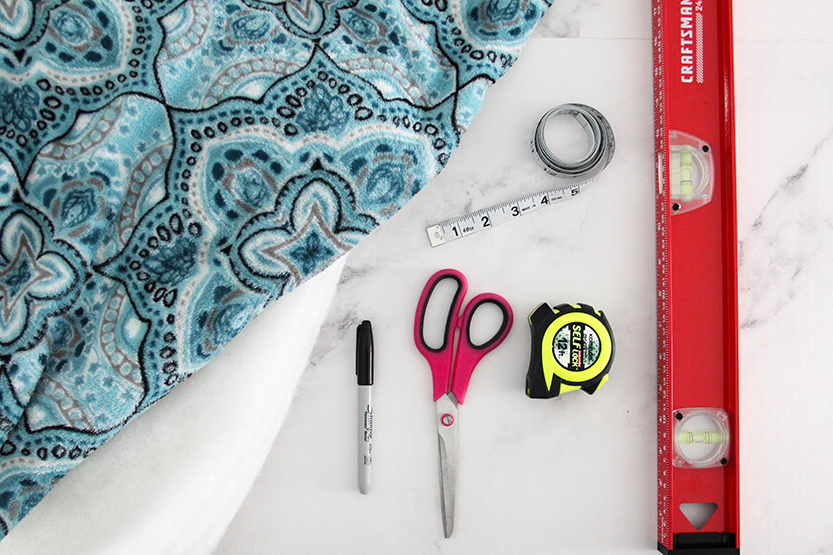
A Few Simple Materials
Fleece is perfect for this project. It’s a fabric that doesn’t fray or unravel, so it’s perfect for no-sew projects like this one. Fleece is inexpensive at fabric stores by the yard, if you want a specific look or don’t want to upcycle a blanket you already have. You could use one blanket for the whole thing, or you could use two different patterns or colors for contrast between the top and bottom. A yard is plenty of fabric to make a bed for most pets, but make sure to get another yard of the contrasting print.
Quilt batting is an inexpensive filler for the bed if you want a custom size for your pet. Low loft polyester quilt batting is not very expensive, and is easy to find at craft sores or online. You could use fiberfill, but that can be loose and messy. Batting packs evenly, stays together and doesn’t pull apart easily.
The only other things you will need to make this upcycled fleece blanket pet bed project are a marker, a sharp pair of scissors, a tape measure or two, and a straightedge, preferably one with measurements like a yardstick or level.
Filler Materials
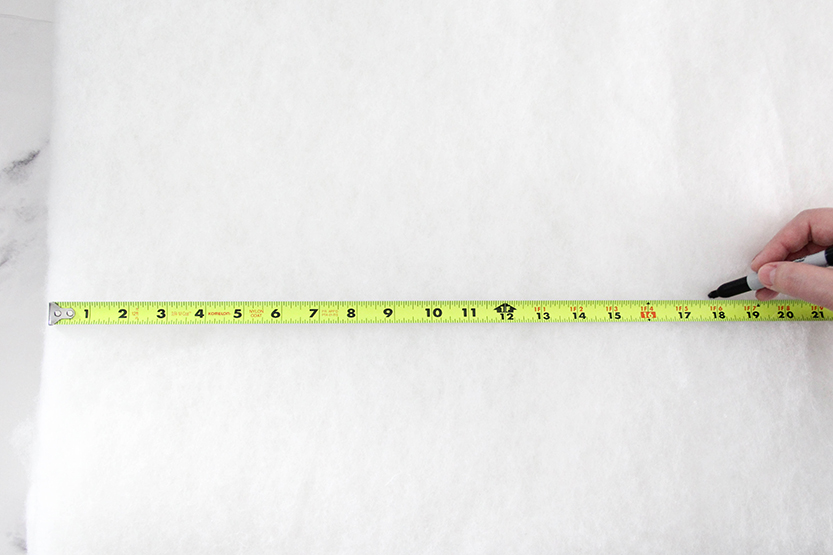
If you’re using a standard pillow or cushion for filler, the size of that will determine size of the fleece you will need to cut out. If you are using batting or foam, you might want to measure your pet to get an idea what size the bed needs to be. Decide on the size you want for the top of the pet bed, then use a tape measure to mark out where to cut the filler material.
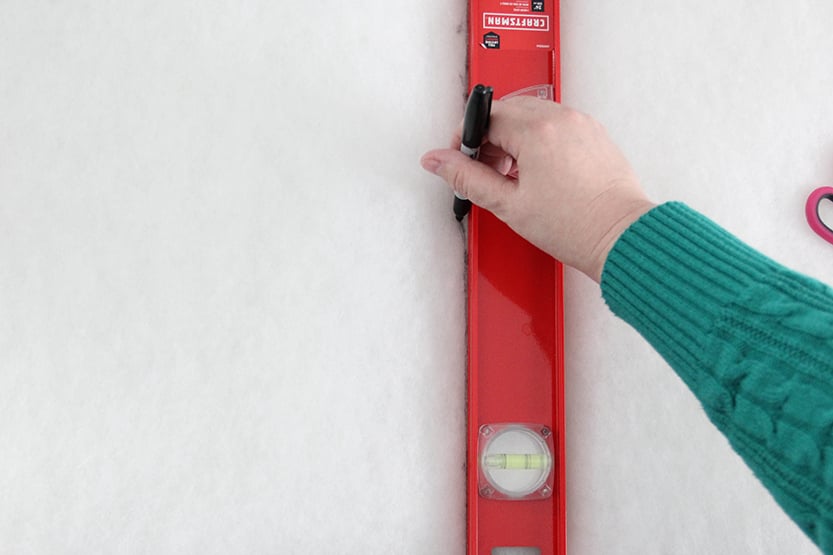
A Straight Edge Comes In Handy
Use the straightedge to mark a line showing where to cut the filler material. This will make cutting the material in a straight line easier.
Measure the Sides
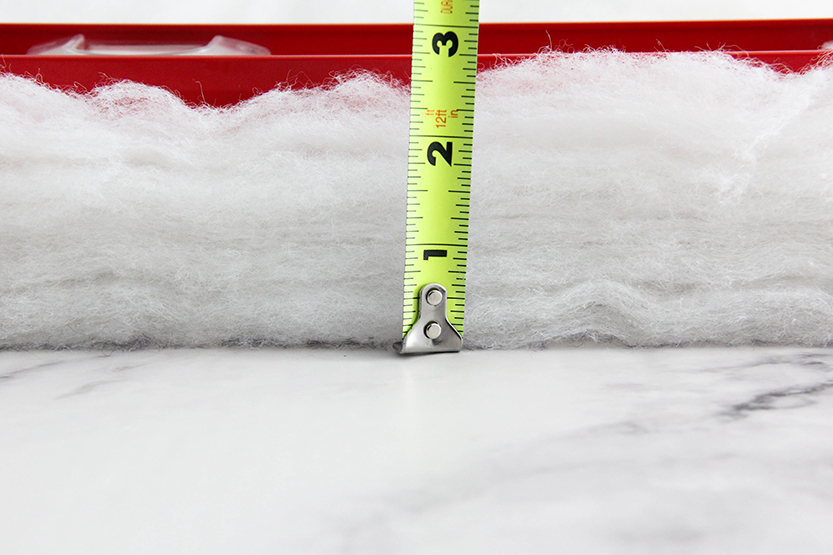
If you’re using batting or foam, those materials can be folded or layered to make the pet bed as thick or fluffy as you like. Batting is fluffy, so I used my straightedge to lightly hold the material down to get an accurate measurement. Be sure to measure the depth of your filler material, even if you’re using a pillow or cushion. Add double this thickness measurement to the size of the fleece covering, so that the sides will be covered.
It Adds Up
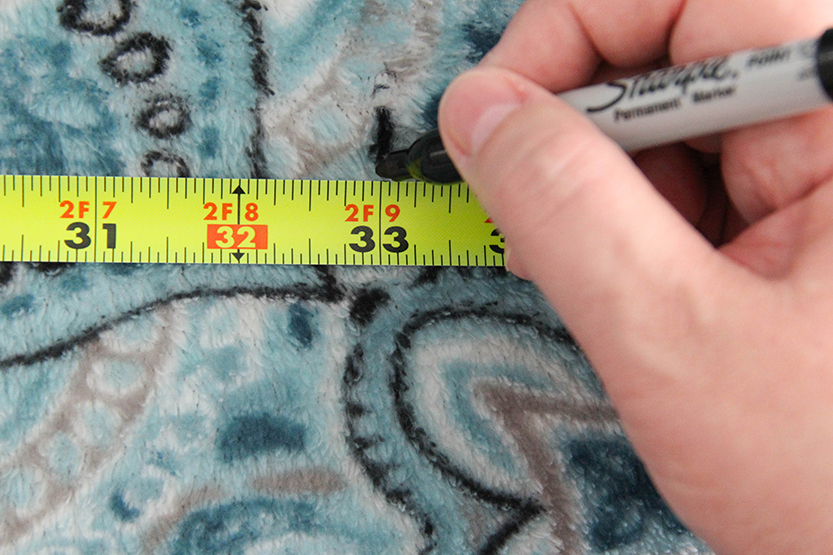
The bed I made was going to be 16″ x 25″ on top, so I added 4″ to this measurement to allow for the depth of the folded batting. Then I added another 8″ to each side, to allow for a 4″ fringe on the sides. The overall size I ended up with was 28″ x 37″ for each piece. Four inches long for the fringe is enough to knot the top and bottom of the bed together so you don’t have to sew it. You could make the fringe longer if you want to.
Spread the fleece out flat, inside out or back side facing up, on a work surface. Make sure to only mark the side you don’t want showing. Mark the measurement for the fringe and the overall size of the fabric to cut out.
Creating Guide Lines
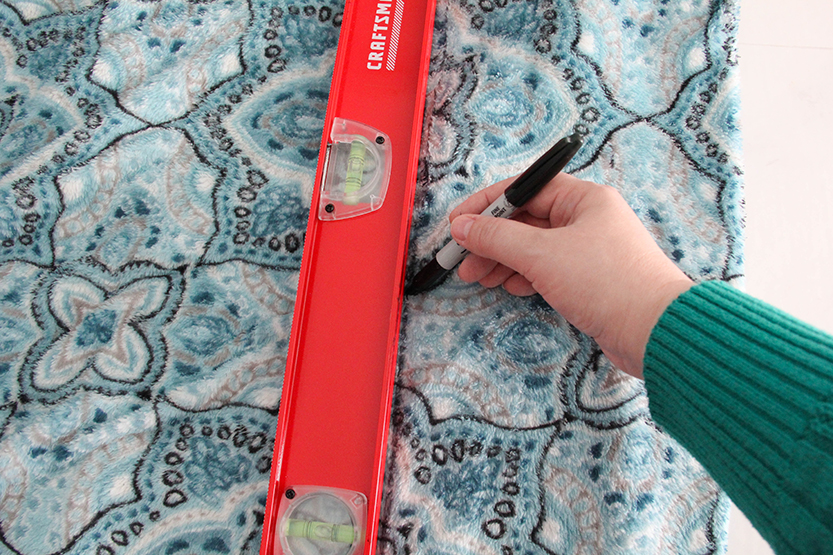
Use the straight edge to mark the overall size of the bed. Measure four inches inward from that outer line and mark on each side, creating a guide line for the fringe. These inner lines will denote where the edge is for evenly cutting the fringe. Repeat this for the other part of the bed. It’s easier to cut accurately and straight with these drawn lines as a guide.
Use Your Guide Lines
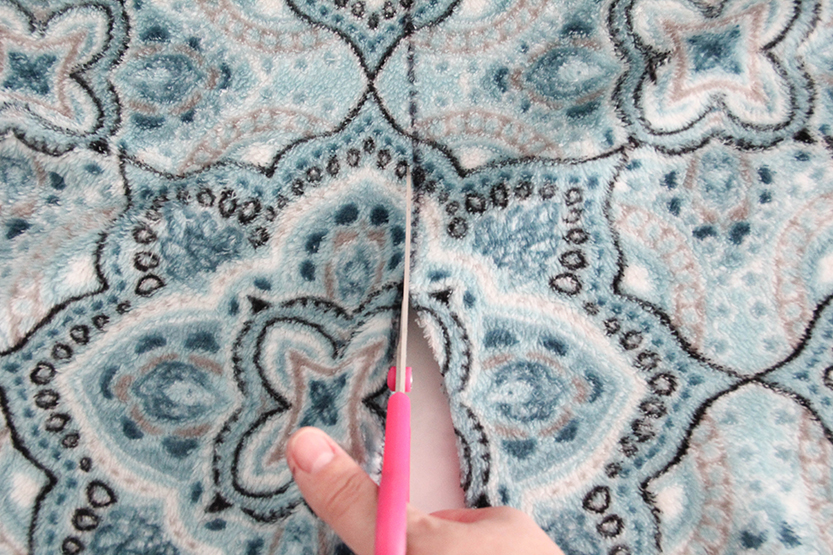
Using the outermost guide lines you have marked, cut out your top and bottom pieces of fabric for the pet bed. Any excess fabric can be saved for other projects.
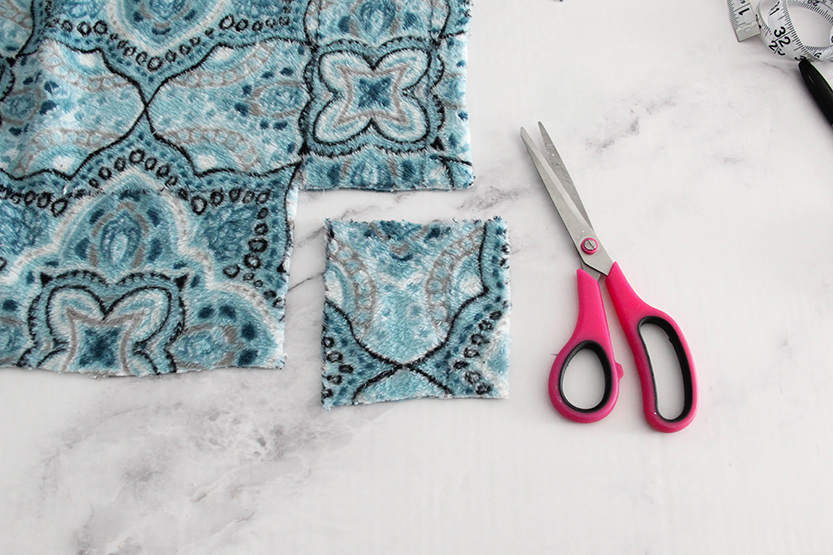
Cutting Corners
Cut out the corners in each piece of fabric. Use the intersection of the guide lines for cutting out the corners close to the same size.
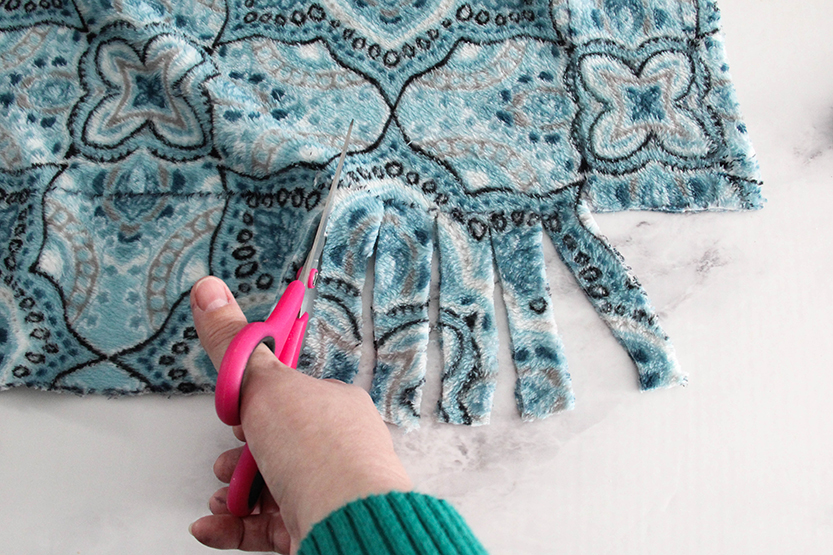
Cutting the Fringe
An easier way make sure the fringe lines up is by layering the top and bottom pieces of fabric and lining all the edges up together. Then cut the two layers of fringe at the same time. Cut the fringe about an inch wide, as evenly as possible. Stop each cut at the inner guide line so that the fringe is uniform around the edge of the bed.
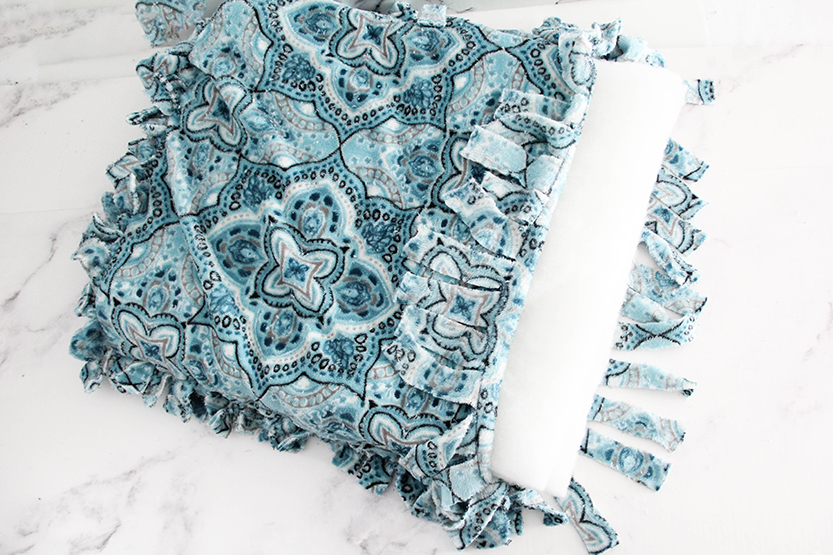
Easy Assembly
Line up both pieces of fabric make to make sure the front, unmarked side is showing for the top and bottom of the bed. Tie each strip of fringe together in two simple square knots that are strong but not too tight, so they can easily be untied if you need to. Tie the top and bottom fringe together on three sides. Treat the bed covering like a pillow case, leaving at least one side open so you can insert the batting or filling. Make sure filling goes out evenly to the corners before you tie up the last side.
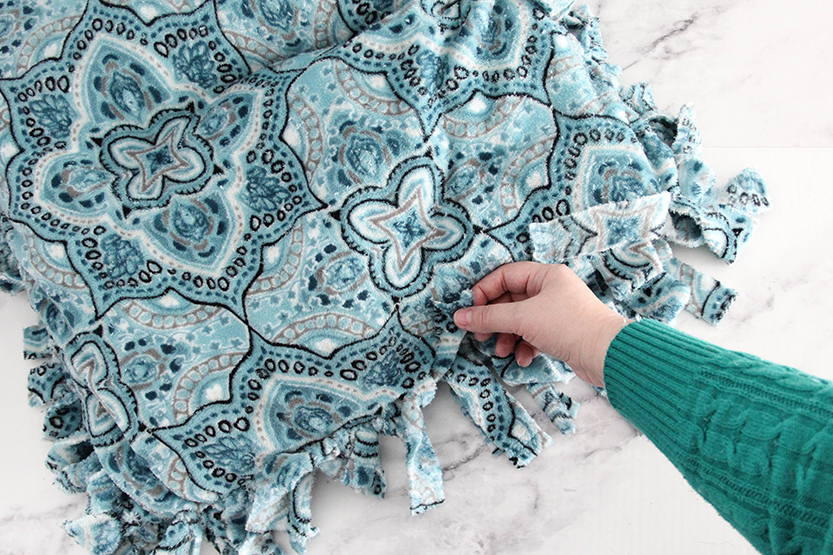
Ready for Nap Time
Tie the fringe on the open side together and the bed is ready for your pet to lounge on. The bed will be machine washable and dryable for easy care. You can untie the fringe on any side if you need to readjust the filler after laundering.
This upcycled fleece blanket pet bed is something your furry friends will enjoy. Dogs will feel cozy and cats will love to curl up on a fluffy cushion that you made just for them!
Related project: Make this DIY Dog Anxiety Pup Tent Hideaway for your dog!