
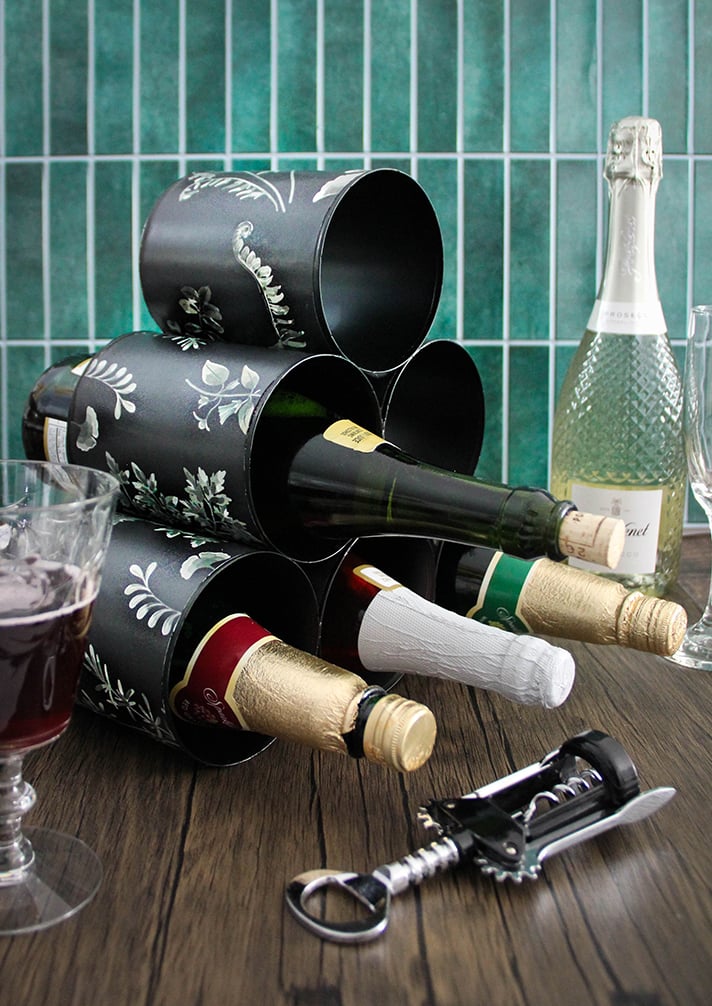
Upcycle empty coffee cans into a wine rack that’s perfect for a bar area, countertop or sideboard. Make an Upcycled Coffee Can Wine Rack and customize the color and look to fit your personal décor style with the creative use of self-adhesive wall covering.
A decorative wine rack can end up being an expensive accessory to display in your home. If you want something besides a basic wine rack, think about making a more personalized one from some materials you might already have around for a fraction of the cost. An Upcycled Coffee Can Wine Rack is an inexpensive DIY project that only requires a bit of time to create something unique for your home.
Getting Started
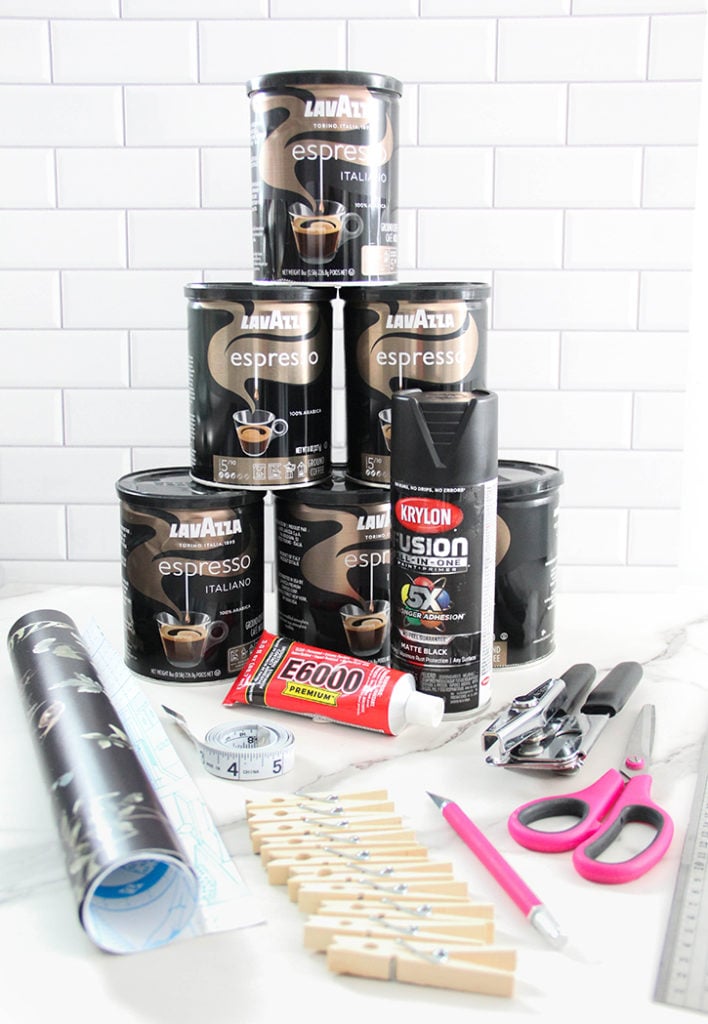
For this project, I used six 8oz. coffee cans. If you brew coffee at home, you might have a lot of sturdy coffee tins saved just waiting to be reused or upcycled. Six cans makes a wine rack that is stable enough to hold wine bottles, and not take up a major amount of space at the same time.
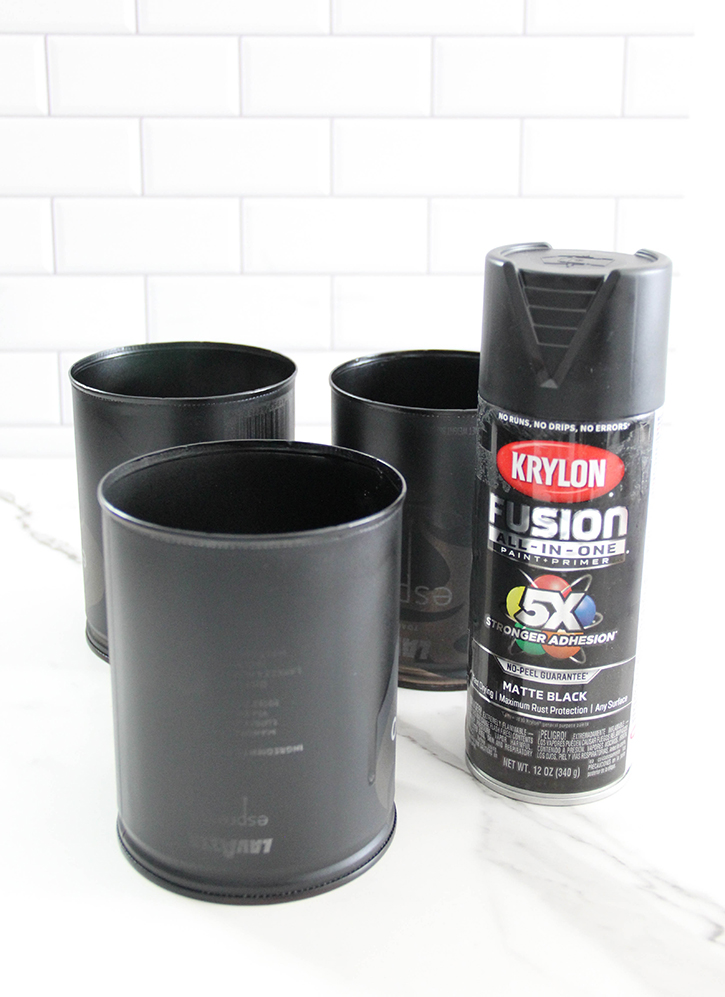
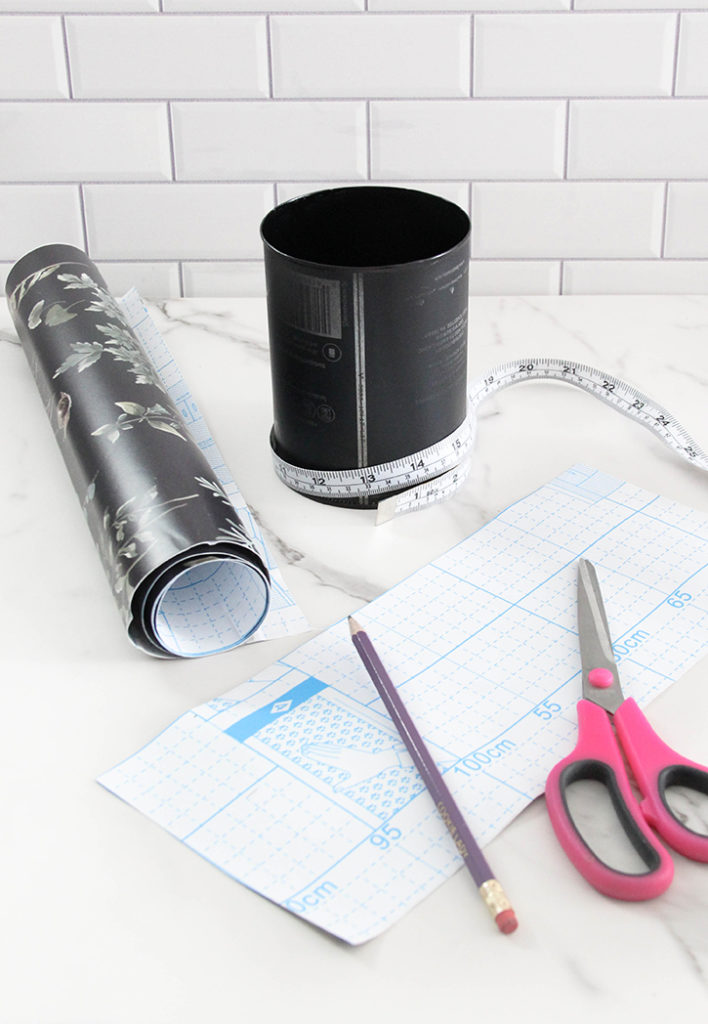
You might also have some leftover pieces of high quality wall treatment left over from a room makeover. Something like this cottagecore look self-adhesive wall covering is perfect for a project like this. Note: all-over patterns like a botanical work best for this project. You don’t have to worry about keeping lines in a pattern straight on the round cans. It’s a creative, custom way to cover grooves and text on the outside of coffee cans. You would need about three square feet to cover six 8 oz. cans. You could leave the inside of the cans unpainted, but I used Krylon Fusion Matte Black spray paint and primer to cover the insides of the cans for a richer look.
The best adhesive for this project is E6000, a more durable craft adhesive. You could use hot glue, but the E6000 has a stronger bond that’s worth the wait in drying time.
Old-school clothespins are great to use as clamps for this project, I used fourteen for this stack of six coffee cans. A fabric tape measure comes in handy for measuring around your cans. You will also need a ruler, scissors, and a pencil. A craft knife and extra refill blades are also needed. Also, very importantly you will need a can opener.

Preparing the Cans
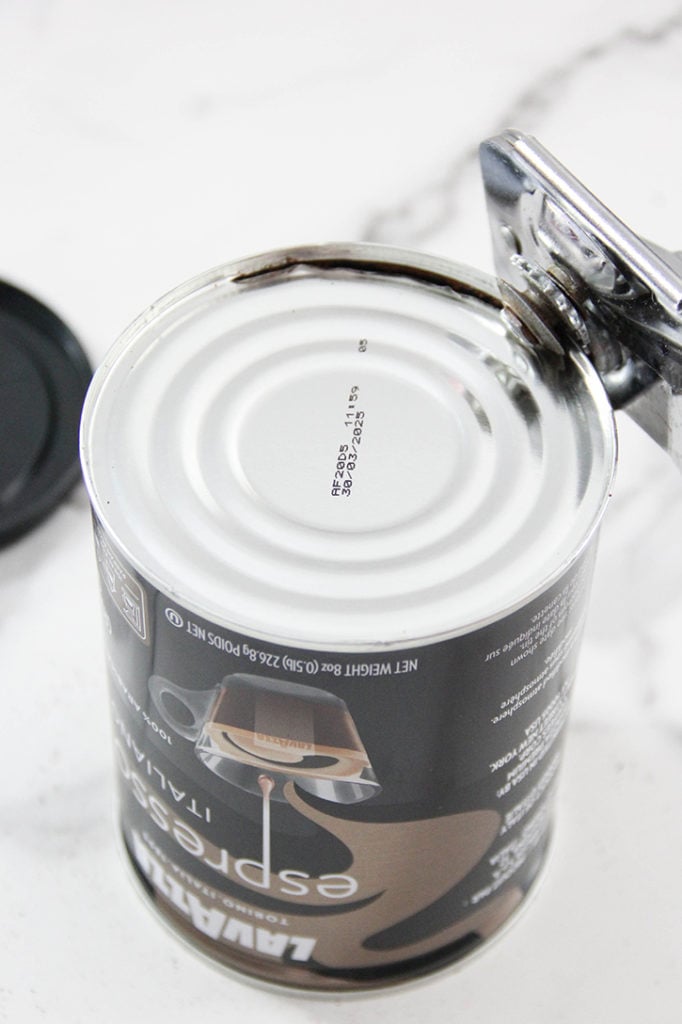
Remove the lids and discard or use for another purpose. Cut out the bottom of each can with the can opener. Turn each can over. That inner metal lip in the top of the can could scrape fingers or bottles. Run the can opener over the lip in each can. This will fold the lip down evenly and will curb that sharp surface in each can.
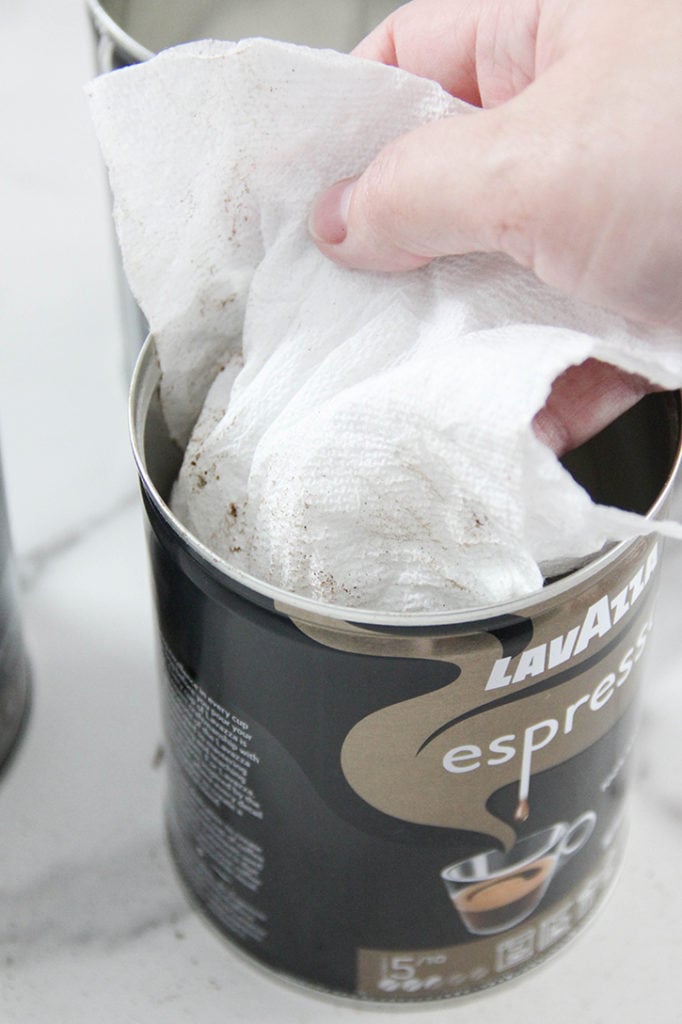
Rinse or wipe out coffee ground residue in each can with a damp cloth. Make sure the cans are dry before painting the insides of the cans.
Inner Detail
Use the spray paint to coat the insides of the cans, following the product directions. It might take two or three coatings to paint them evenly. Allow the cans to dry for at least twenty minutes between coatings. Paint the top and bottom rims on each can, if you don’t want shiny metallic rims showing. Let the paint dry and cure up at least an hour before handling. You will want the paint to be cured up for at least twenty-four hours before clamping them together, though.
Preparing the Outer Covering
Measure the outside of a can so you know what height and width of covering to wrap around the outside of the cans. The grid pattern on the underside of the wall covering can be a helpful guideline for marking out each piece. Use the ruler to measure out pieces of covering and mark them out with the pencil. Add about a quarter of an inch to the height of each piece of covering. This will overhang the edges of the cans or overlap with the rim and be trimmed off later. Use the scissors to cut out six pieces of covering, or enough to cover each can. To hide grooves in the cans, use a double layer of covering. You could also cover each can with some self-adhesive shelf liner, and add the wall covering on top.
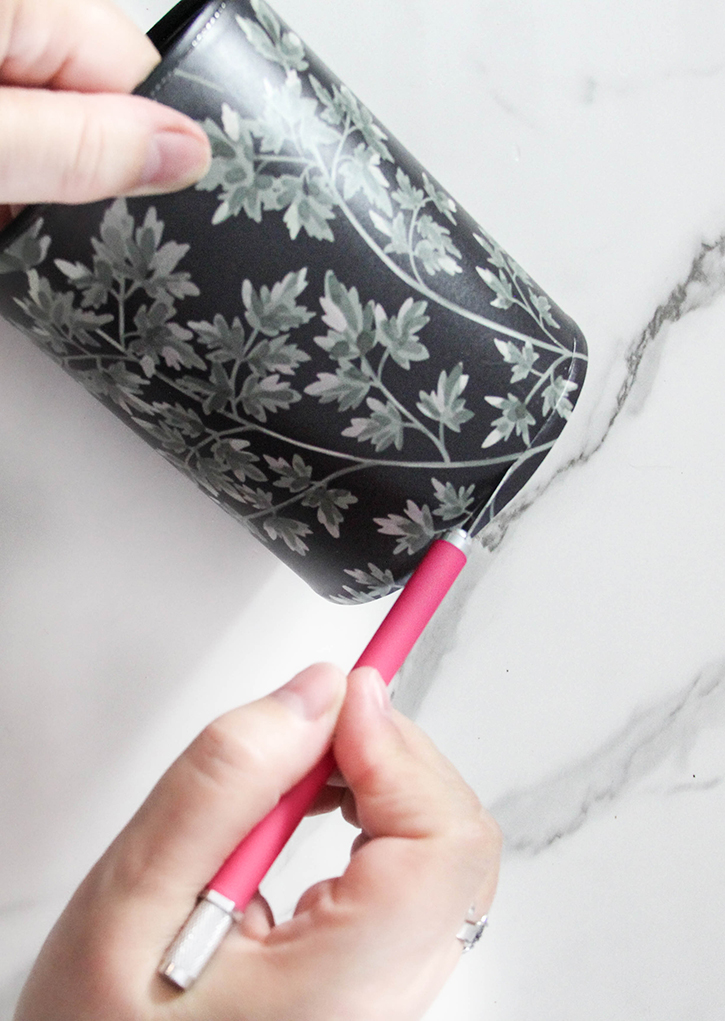
When you start to cover each can, lay the can flat on your workspace. Use the seam in the can as a starting point to wrap the can. Roll the piece of covering around the can gradually, smoothing it over the can as you wrap it. As you go along, you can burnish it down with your fingers. You can also peel up the covering and smooth it back down if you get air bubbles trapped under it.
Trimming
Trim the excess covering off the top and bottom of a can with the craft knife. Cut along the inner edge of the rim. You may need extra blades to keep your cuts sharp and clean.
Holding It Together
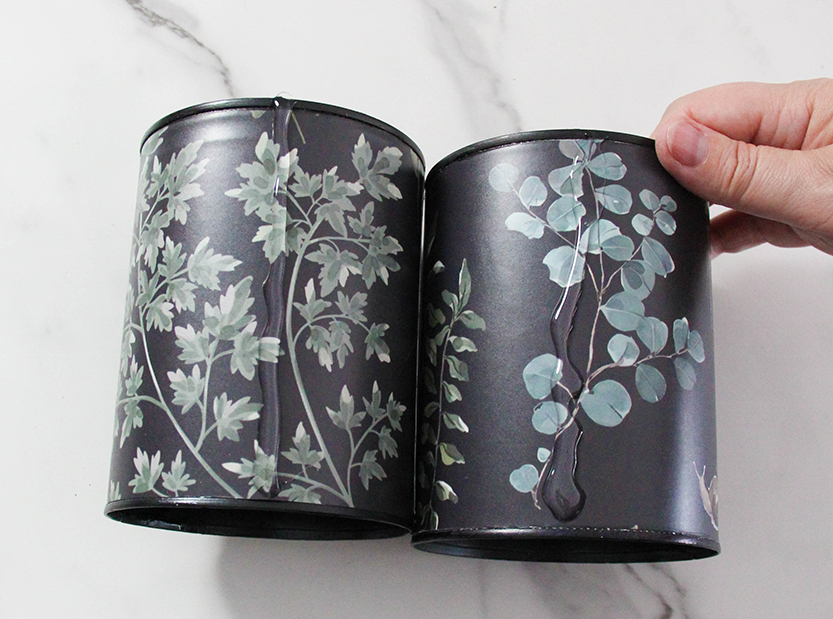
Run a strip of E6000 adhesive along one side of the cans you want to glue together. Following the product instructions, let the glue sit about two minutes, then line up them together to bond.
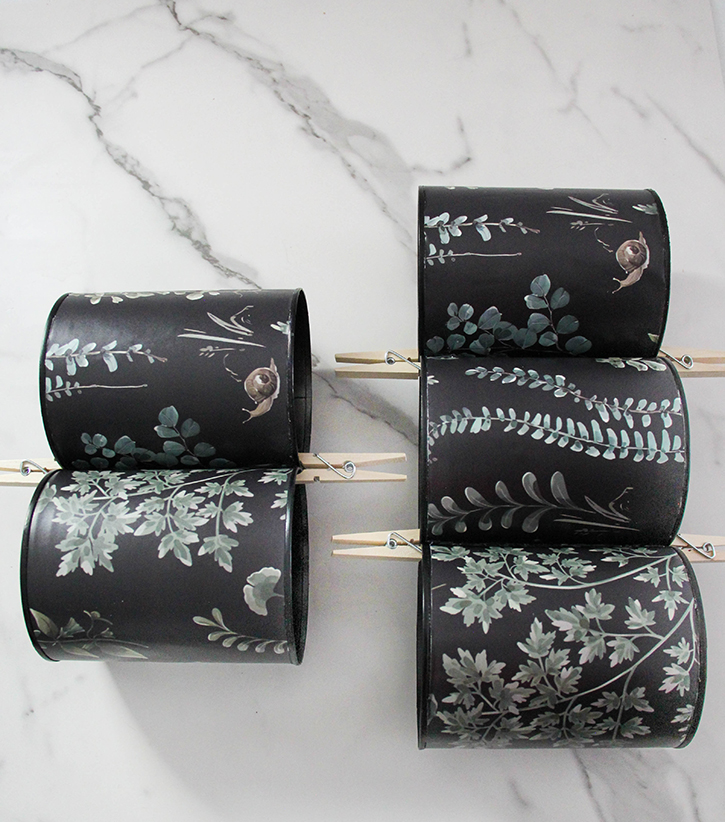
Clamp the cans together with the clothes pins while the glue cures up. I glued three cans together for the bottom row, and two for the next row in the stack. Let each row cure up overnight for a strong bond before gluing the stack together.
Simple Assembly
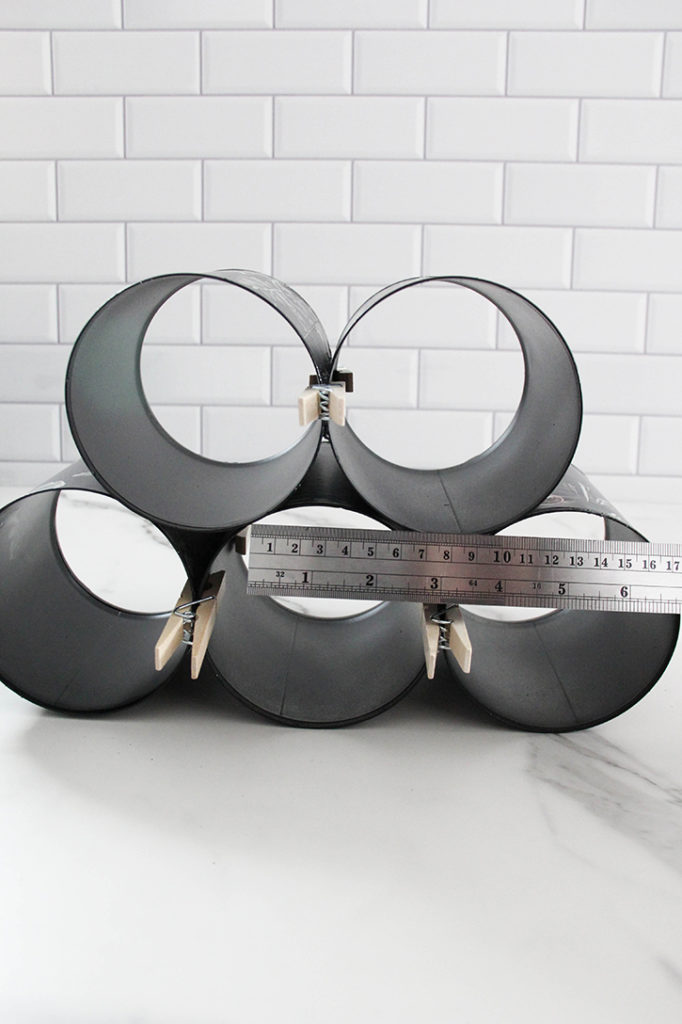
Before gluing the stack together, sit the row of two on top of the bottom layer. This way you can see where the cans will touch, so that you know where to run the strips of glue to the hold the stack together. You can use the ruler to mark this on the cans before gluing if you need to.

When you’re finished gluing the stack together, clamp all the cans together with clothespins to hold them into place. You want a strong bond to hold the weight of wine bottles in the rack, so the drying time will be worth it. The E6000 glue will reach it’s initial bond strength in about four hours, but it’s best to let it cure for 24-72 for maximum bond strength.
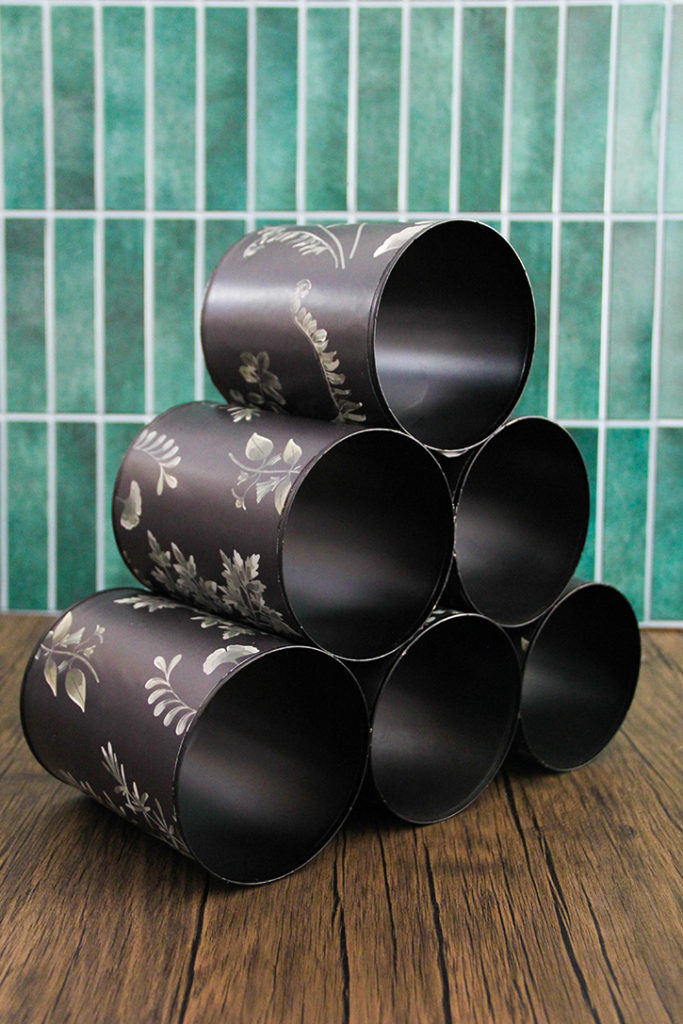
Remove all the clothes pins, and you have a custom wine rack that will hold six bottles! This is ideal for displaying on top of a bar or sideboard. It’s a fairly easy project, and the results are worth the wait in drying time for paint and glue. Make an Upcycled Coffee can Wine Rack for yourself, or create one as a unique hand made gift.
For your next special occasion, try making these fun DIY Glitter Wine Bottles!