
Inspired by botanical art, these creations can easily be put together in multiples to create an unusual gift to give to family and friends.
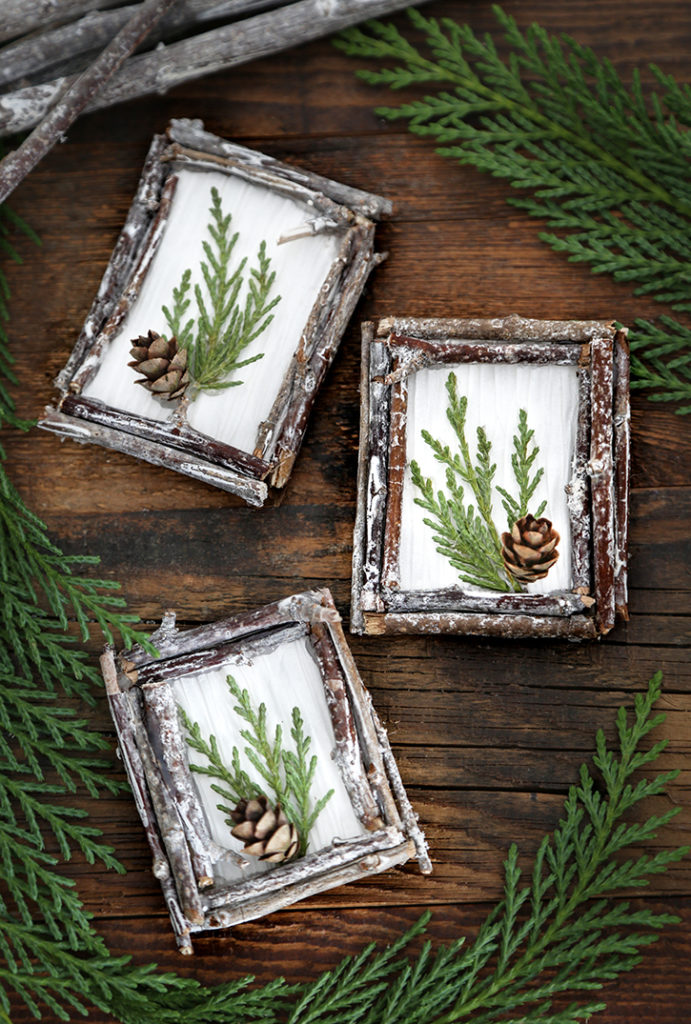
This project features natural twigs and greenery that could be gathered on a stroll on a chilly afternoon. You can capture some of the beauty of a wintry forest to wear as a pin, or as an ornament to decorate a Christmas tree.
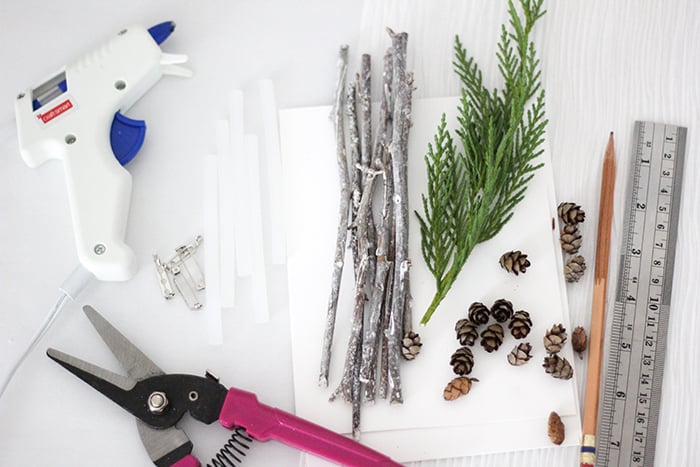
To create the botanical look I envisioned, I chose some sprigs of Eastern Red Cedar for their flatness and feather-like pattern, and tiny cones from an Eastern Hemlock tree. You might find inspiration in any kind of leaf or sprig you come across, but be sure to keep them on the small side! If your green element isn’t already kind of flat, place them between paper towels, and then press between the pages of a heavy book (old phone books work well). Weight the book with a heavy object for at least a week, to insure that they are smooth and dry enough to work with. You can gather a collection of thin, mostly straight twigs on your own, or you can even find them pre-cut in bundles at craft stores this time of year (which is what I used-the twigs already had a nice whitewashed, snowy looking finish to them).
As well as the fresh greenery and twigs, you’ll need a hot glue gun and plenty of glue sticks, as well as some floral shears or wire cutters, scissors or an exacto knife, a pencil and a ruler. You will also need pin backs, some decorative scrapbooking or craft paper, and some heavy card stock or lightweight illustration board. You might also want some twine or ribbon to make hangers for the backs of them, if you decide to make them into ornaments.
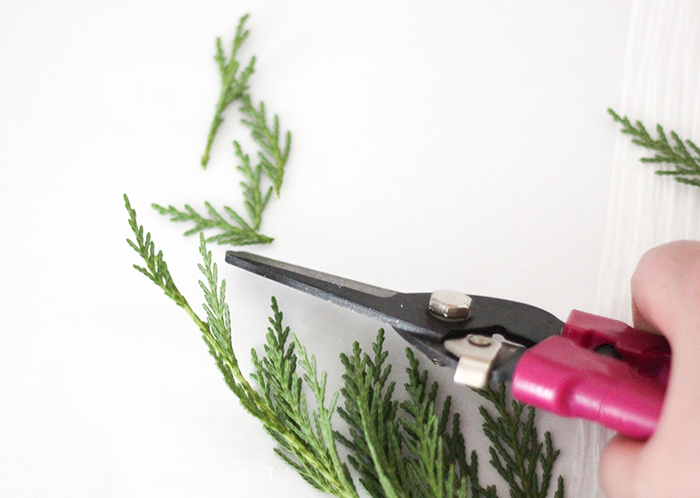

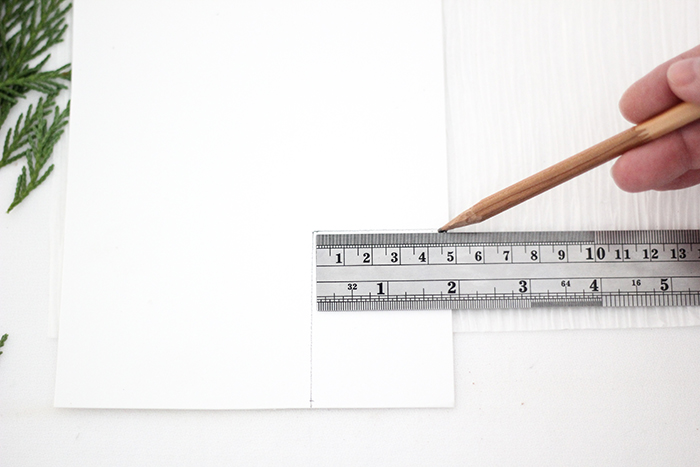

The first step is to trim off small pieces of the greenery to create your main composition. Starting in a corner of the backing board material, lay out an arrangement and measure about a half inch of extra overall space around it, top and bottom. Mark the measurement and rule it off in pencil, using the ruler as a straight edge. Cut out the piece of card stock using the penciled lines as a guide.
Next, lay the decorative paper face down, lay the card stock piece on it, and trace the outline of it. Cut out the decorative paper using the pencil outline as a guide. Add a thin coating of glue to the front of your card stock backing, and evenly press the decorative paper cut out to it, with the decorative side facing out.
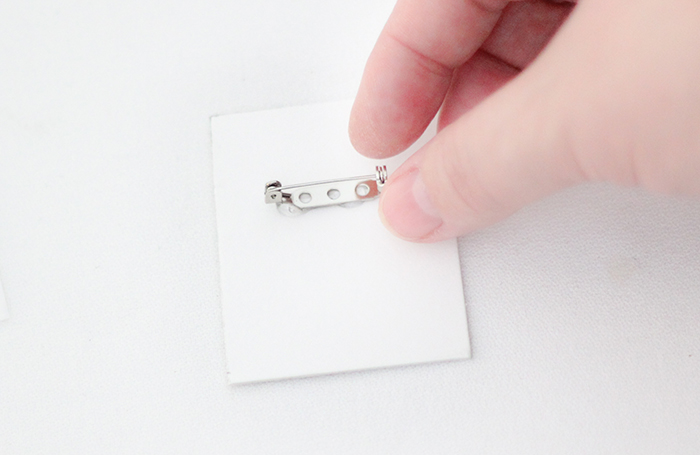
Turn the card face down. About a third of the way down from the top, dot a little horizontal line of hot glue in the center, and hold the pin back to it until it sticks into place.
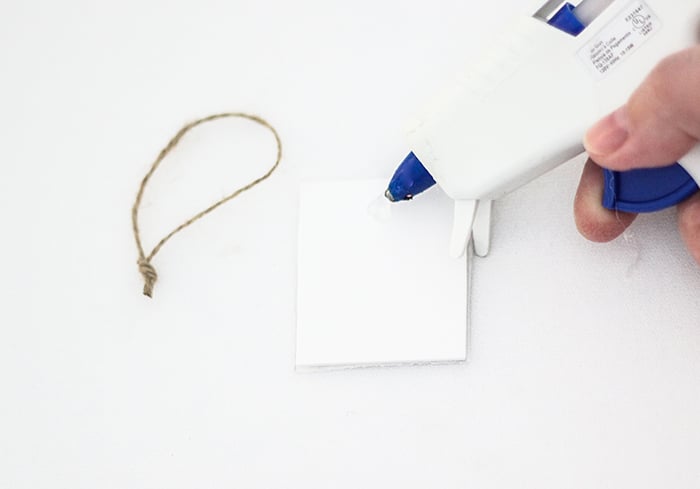
To create this as an ornament, cut out a 7″- 8″ strip of ribbon or twine and tie it into a loop, trimming off excess from ends for a cleaner edge. Dot some hot glue in the center of the back of the card, about a quarter inch down. Press the knotted part of the loop down on the glue until it sticks into place.
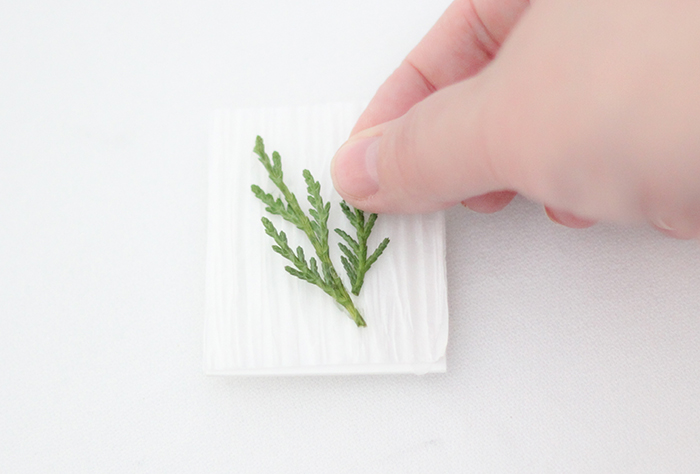
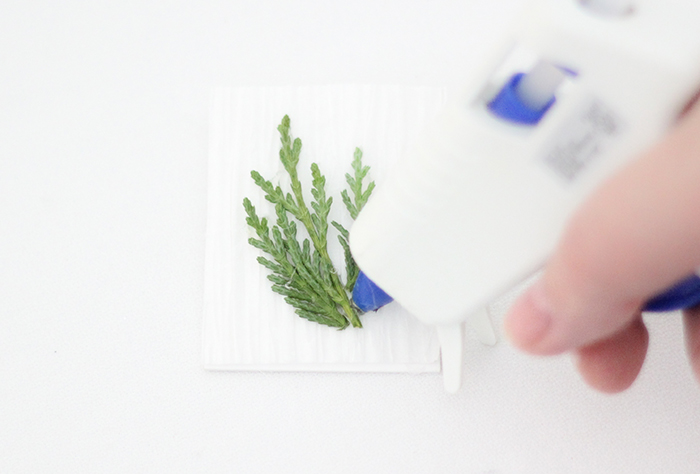
Now you are ready to add your botanical design! Lightly dot hot glue to the back of your pieces of greenery, and place them roughly in the center of the front of the card, pressing them into place. Add a a generous spot of glue to the front of the greenery to hold any tiny pine cones, berries or other dimensional items into place.
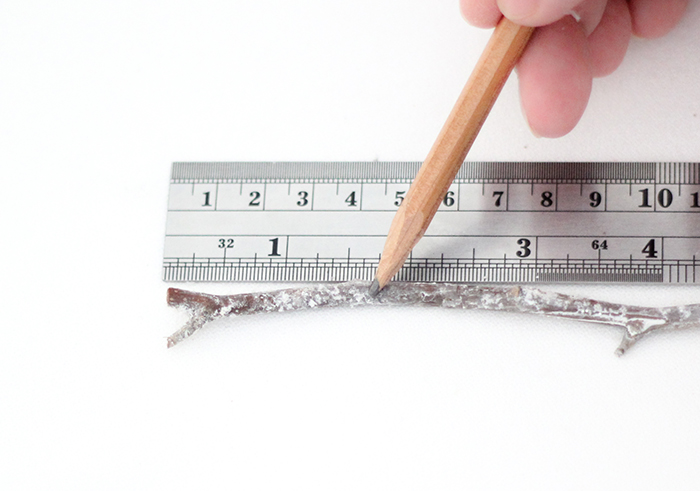
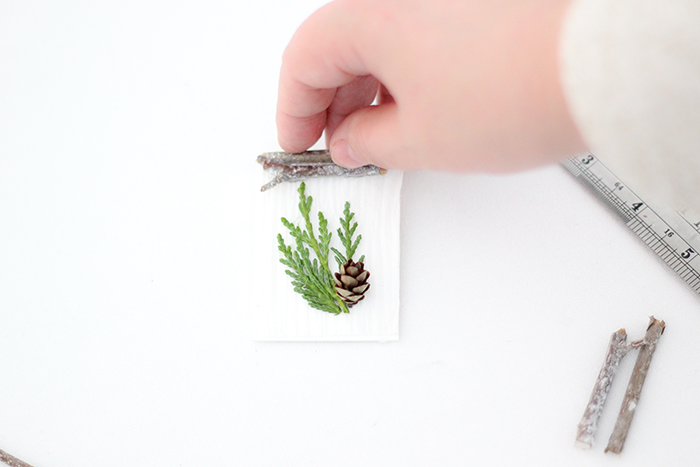
To add the twig frame, measure the length and width of the card. Mark the twigs with pencil, a piece each for the top and bottom, and one for each side of the card, the same measurement as the outside of the card. Cut the twigs on the pencil marks with wire cutters or florist shears. Cut out another set of twigs for all four sides, about a quarter of an inch smaller. If you like, you can lay the twig beside the card and eyeball the measurement you need, and mark it with the pencil before cutting it. The twigs you use don’t have to be perfectly straight and smooth-they can have a curve, or have little branches and knots on them. Those will just add character and interest to the design. Dot hot glue to the back of each twig, and carefully hold into place until the glue cools just enough to set it. You can add extra twigs to the outside edges of the card for extra trim if you like.
Note: A coating of archival, matte varnish can be added as a protective finish to preserve the texture and detail of the natural materials.

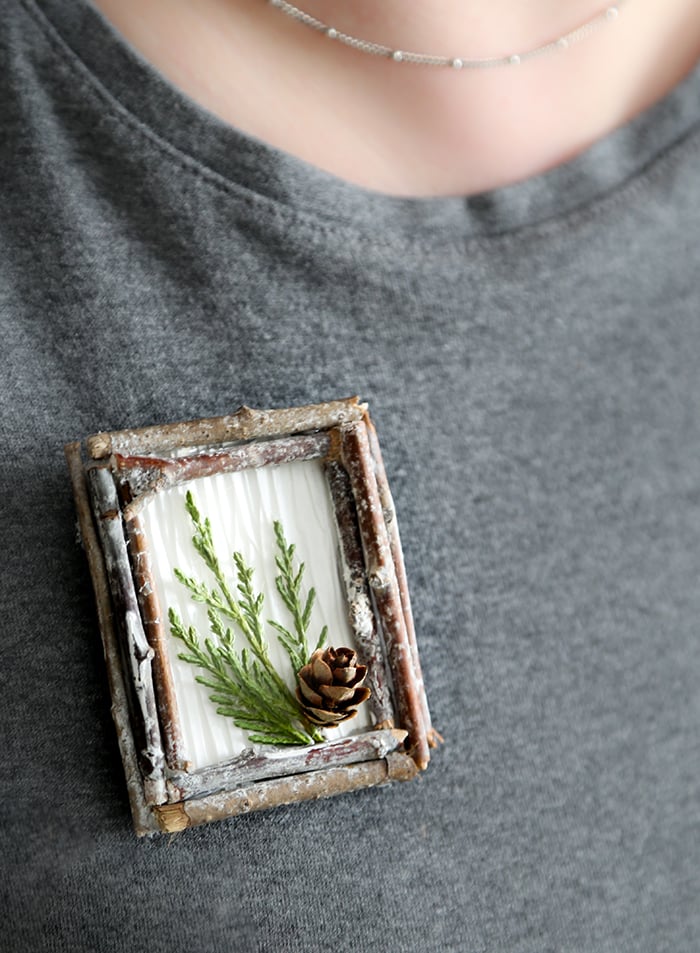
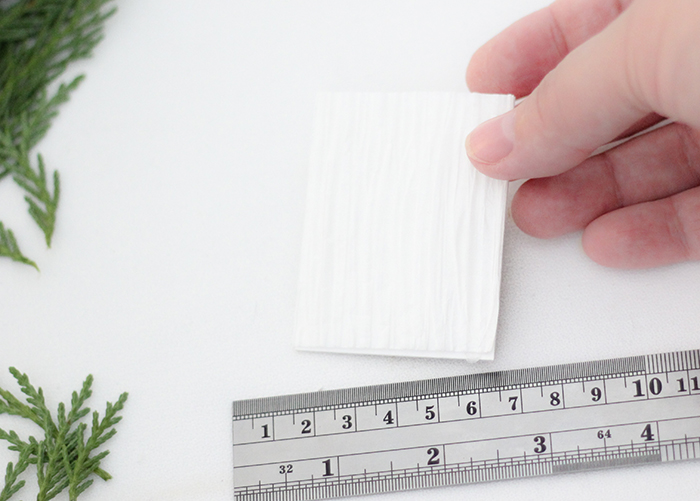
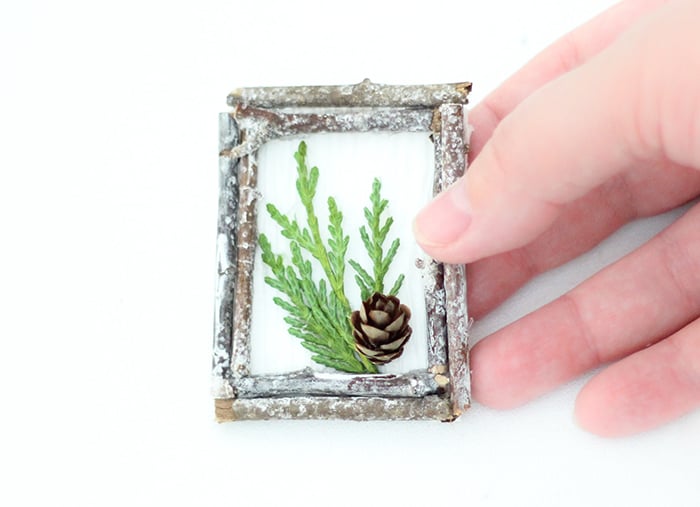
Natural elements and materials bring a unique beauty to each tiny framed botanical. All these are made to a roughly 1 1/2″ to 2 1/2″ scale, but this idea can be made in a larger size to create ornaments or wall art.