
Welcome to Part 2 of the Plastic Craft Pumpkin Makeover! One thing your transformed pumpkin can be used for is a Fall Pumpkin Floral Arrangement. It’s an extra way to display pumpkin décor that will bring more seasonal color into any interior setting.
Use the pumpkin as a vessel for a versatile arrangement that you can display every year. If you redesign a room or display it in a different setting, you can easily make changes to it because there is minimal gluing involved. It’s a nice pop of color you can display throughout the season until you are ready for Christmas decorations.

Florals, Supplies and Tools
There is a huge selection of fall silk florals and artificial greenery available online or in craft stores right now. Choose a style and color palette that suits your taste. It’s a great time to shop because the craft stores are already having clearance sales to make way for Christmas merchandise! One bush embellished with additional picks and leaves was enough to fill this 9″ pumpkin. I used a single Yellow Mixed Sunflower and Mum Bush, a Yellow and Green Berry Leaf Pick a Cream Sunflower and Pinecone Pick and one 14.5″ Clay White Pampas Pick, all from Michael’s. These are all in a softer fall palette, and add different textures and details to my arrangement. Be sure to have enough greenery to make your arrangement look full and bountiful, depending on the size of the pumpkin.
You’ll also need floral shears and a low temperature glue gun and with extra glue sticks, just in case. A block of sturdy floral foam that is large enough to lodge inside the pumpkin, with an additional piece for rest of the arrangement is essential. This 1.9″x3.9″x11.8″ block was the perfect size to fit in this 9″ pumpkin.
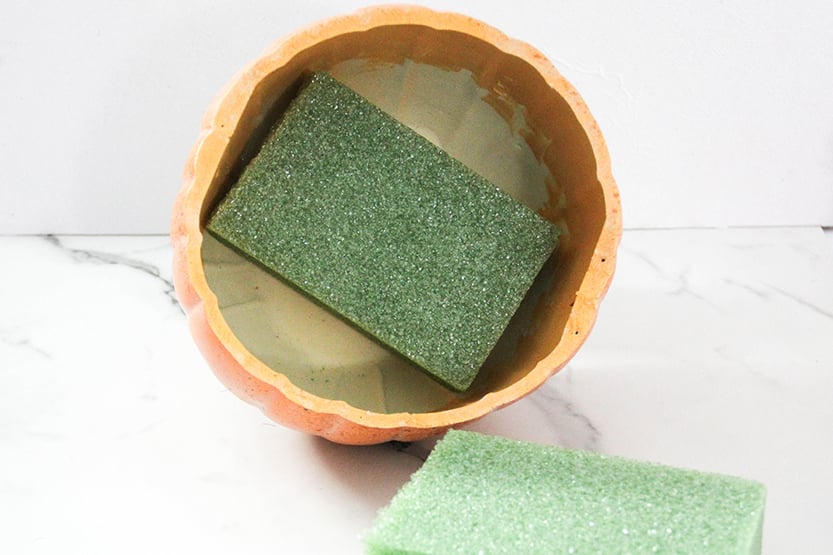
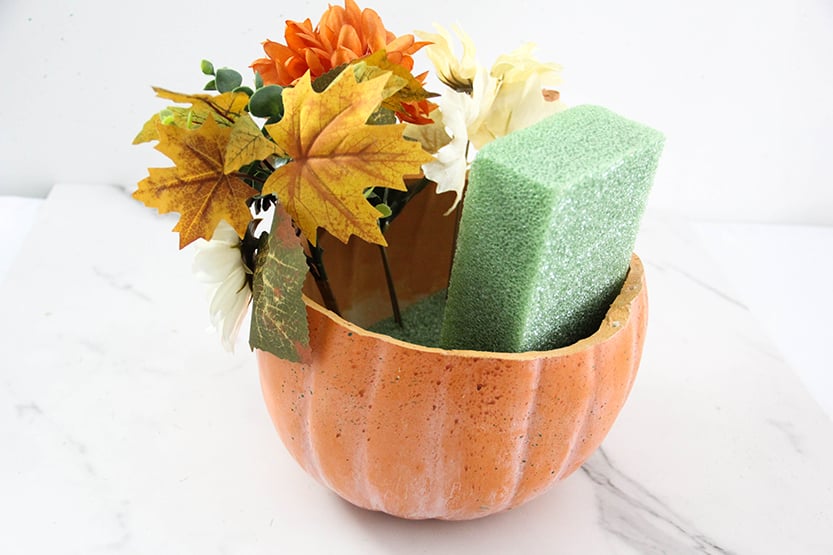
Placing the Base
If you need to, cut the foam large enough that it fits inside the pumpkin. It needs to push slightly against the sides and not slip or float around. In this case a bit more than half the block fit perfectly; You can measure it with a ruler before cutting if you like. Be sure to save the rest of the foam, or make sure you have another block to use. Place the foam at an angle that will face toward front of the arrangement. Do not glue the block into place yet.

Building the Base
Use the floral shears to cut individual stems off the bush. This makes greenery easier to place where you want and to spread the flowers out. Pull the foam block back out of the pumpkin. Stick any flowers and leaves that will be at the bottom front of the arrangement along one edge of the block.
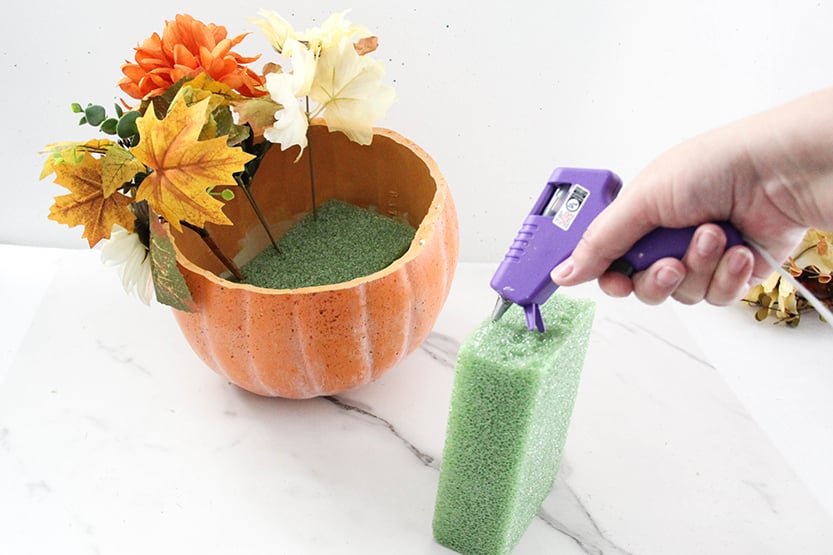
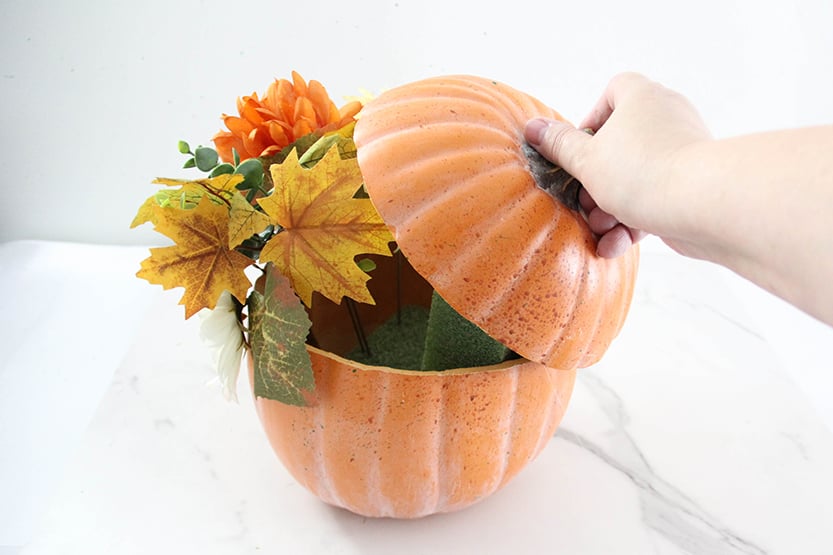
Press the block back into place inside the pumpkin. Glue the block into place if you want, but that step is optional. Stand the other piece of floral foam on end and apply one or two thick strips of hot glue along one side of edge.
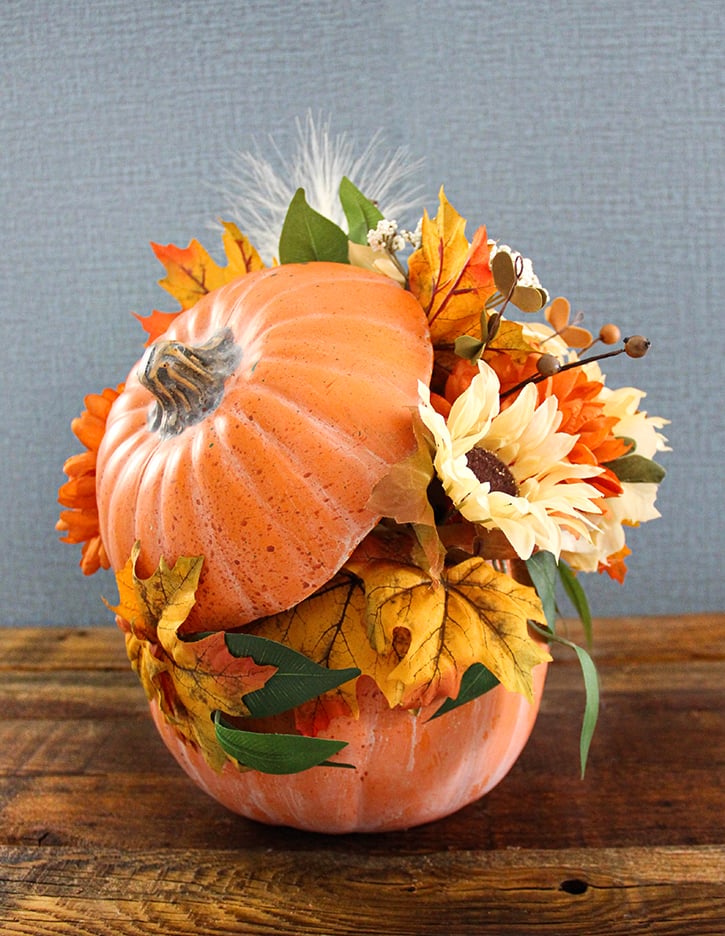
Propping the Pumpkin Lid
Quickly before the glue cools, set the glued edge of the block so it is on the edge of the base block inside the pumpkin. Make sure about three inches of the block is sticking up out of the pumpkin like this.
This is really a floral arranging stunt, not a hack! But this technique is actually an easy way to prop the lid of the pumpkin into place. Apply two or three heavy strips of hot glue right inside back edge of the protruding block of foam. Then quickly place the inside of the lid on that glued edge of the foam. Hold it in place at an angle, so that part of the lid rests against the bottom of the pumpkin. Hold it steady for a couple of minutes until the glue cools enough and the lid stays in place.
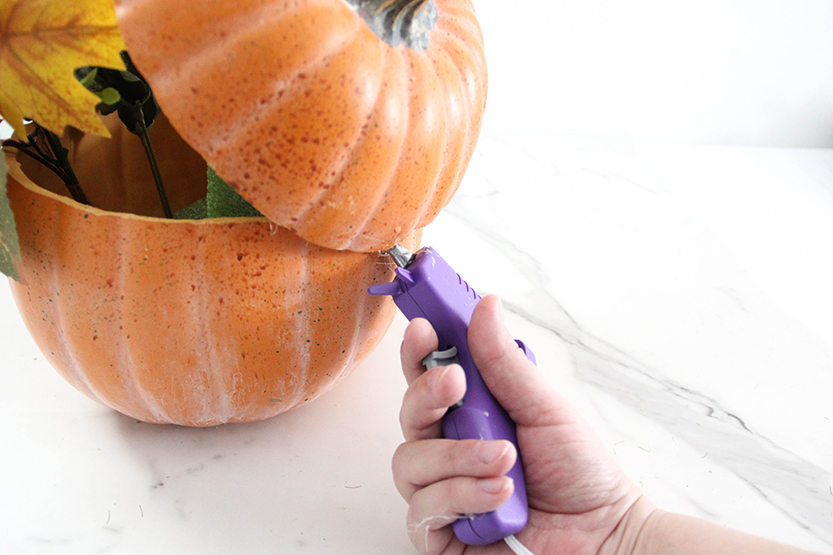
You can reinforce the bottom of the lid onto the pumpkin with more glue if you like.
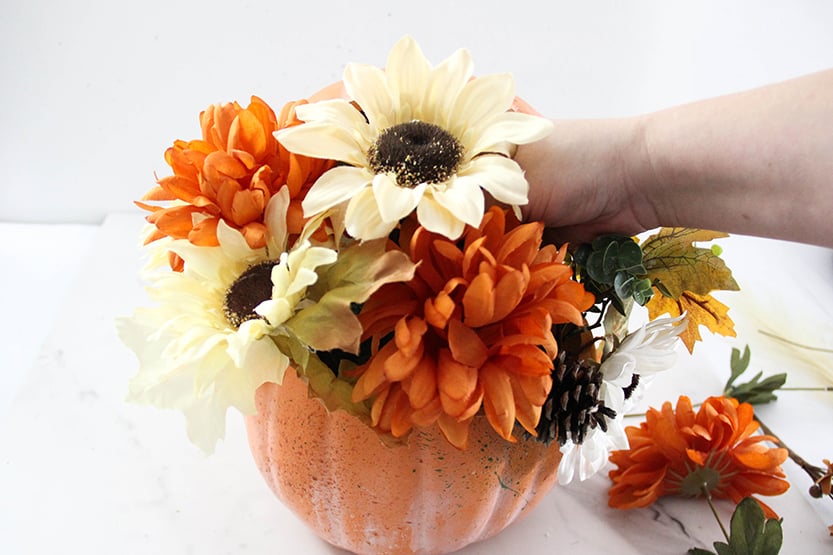
Finishing Your Arrangement
Now you can finish your Fall Pumpkin Floral Arrangement. Add taller pieces to the arrangement in front of the lid. Be sure to fill in the sides so that no foam shows. Press leaves, berries, and and smaller floral picks into place in any gaps to make your arrangement look nice and full.
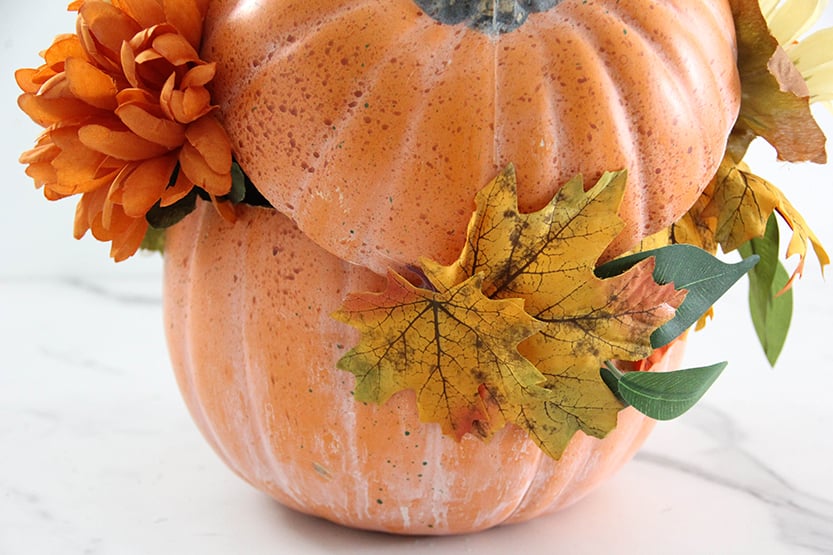
An Extra Detail
I tacked some leaves on the back of the pumpkin, under the edge of the lid. This covered some excess glue, but also added a nice design element that enhances the arrangement when seen from any angle.
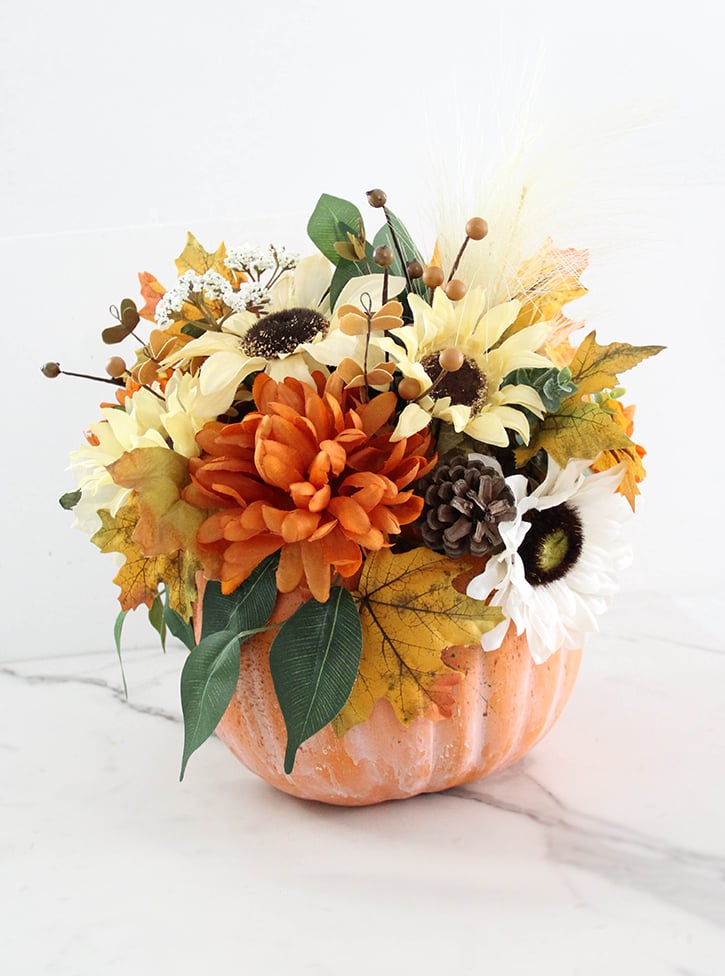
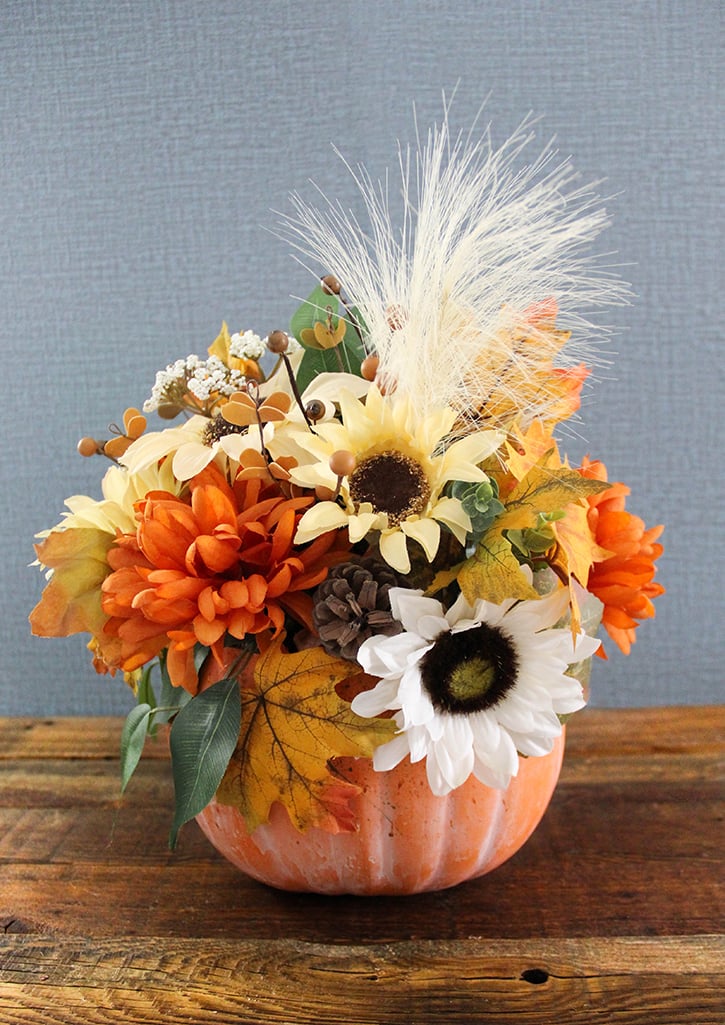
Your finished arrangement is ready to display! It will make a beautiful centerpiece for a dining table, or a focal point for a buffet or foyer table. Display on a mantle or coffee table, or add a pop of fall color to an office.

This Fall Pumpkin Floral Arrangement is a creative way to bring the glorious shades and plants of the season indoors. Choose a more naturalistic or rustic look, or make yours more dressy or contemporary. Use florals and greenery from any color palette you choose, to set a mood and tell a story with your own Fall Pumpkin Floral Arrangement.
Don’t forget to see Part ONE of this two part project – Plastic Craft Pumpkin Makeover.